
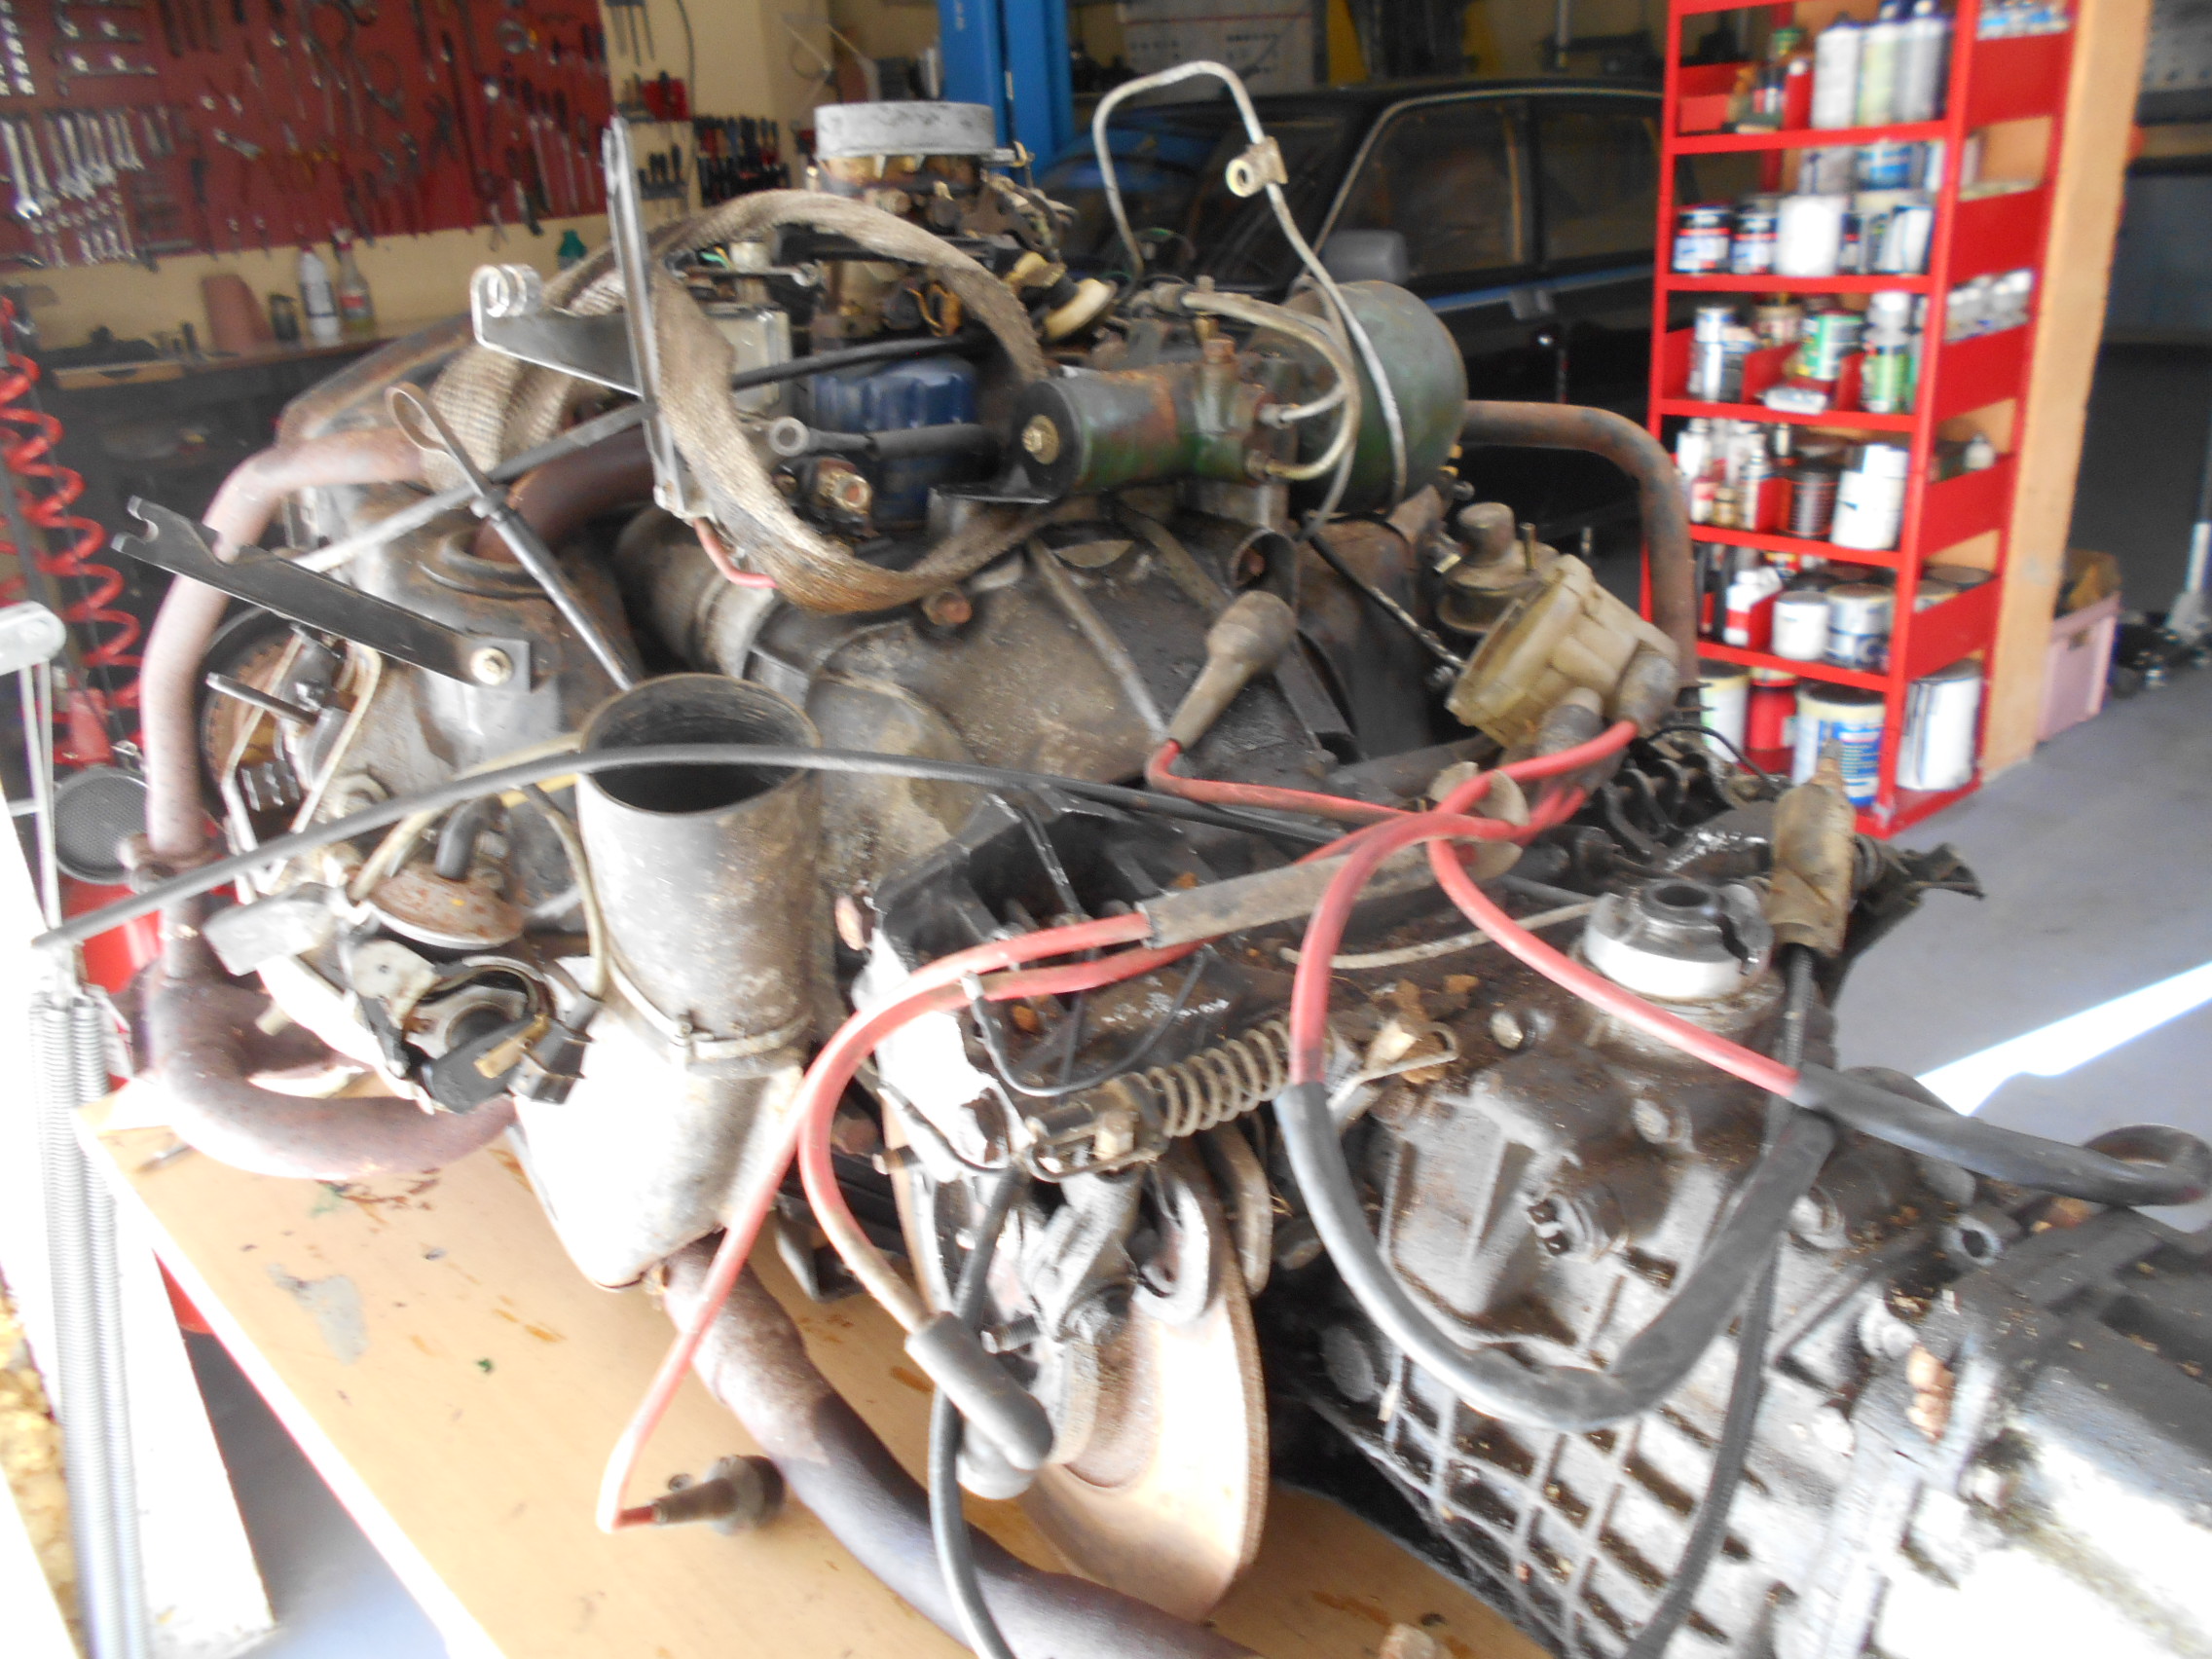
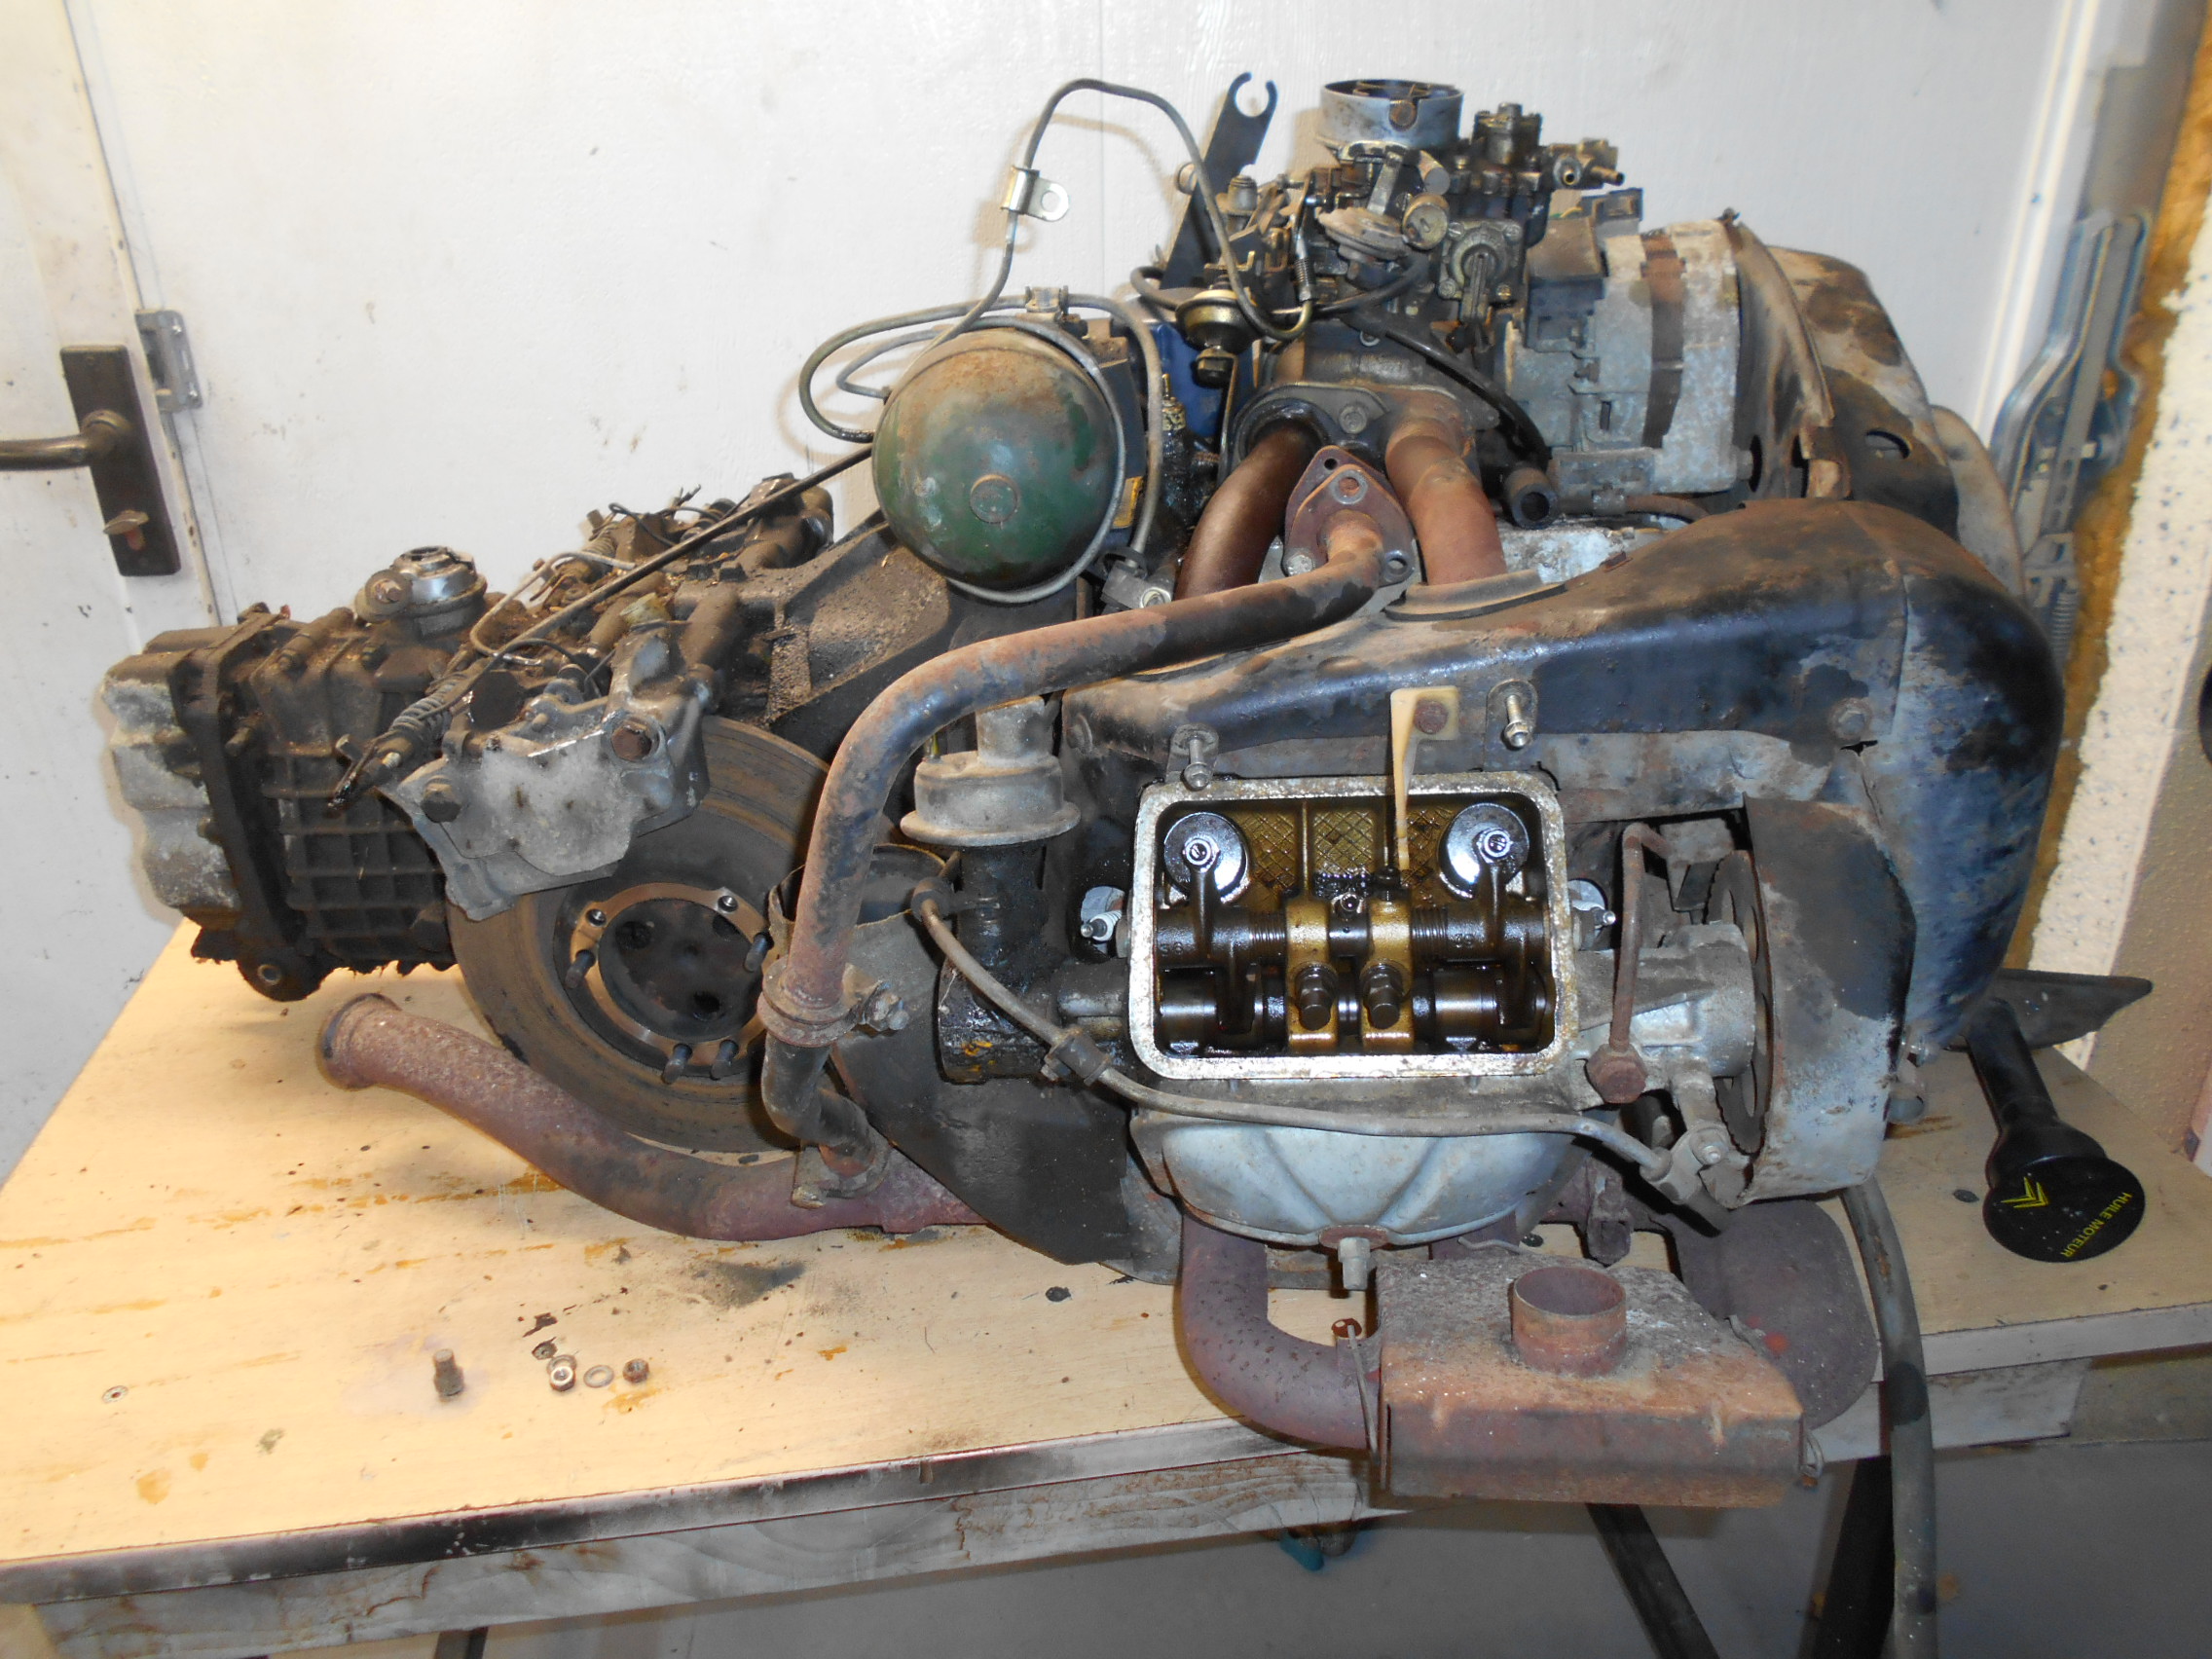
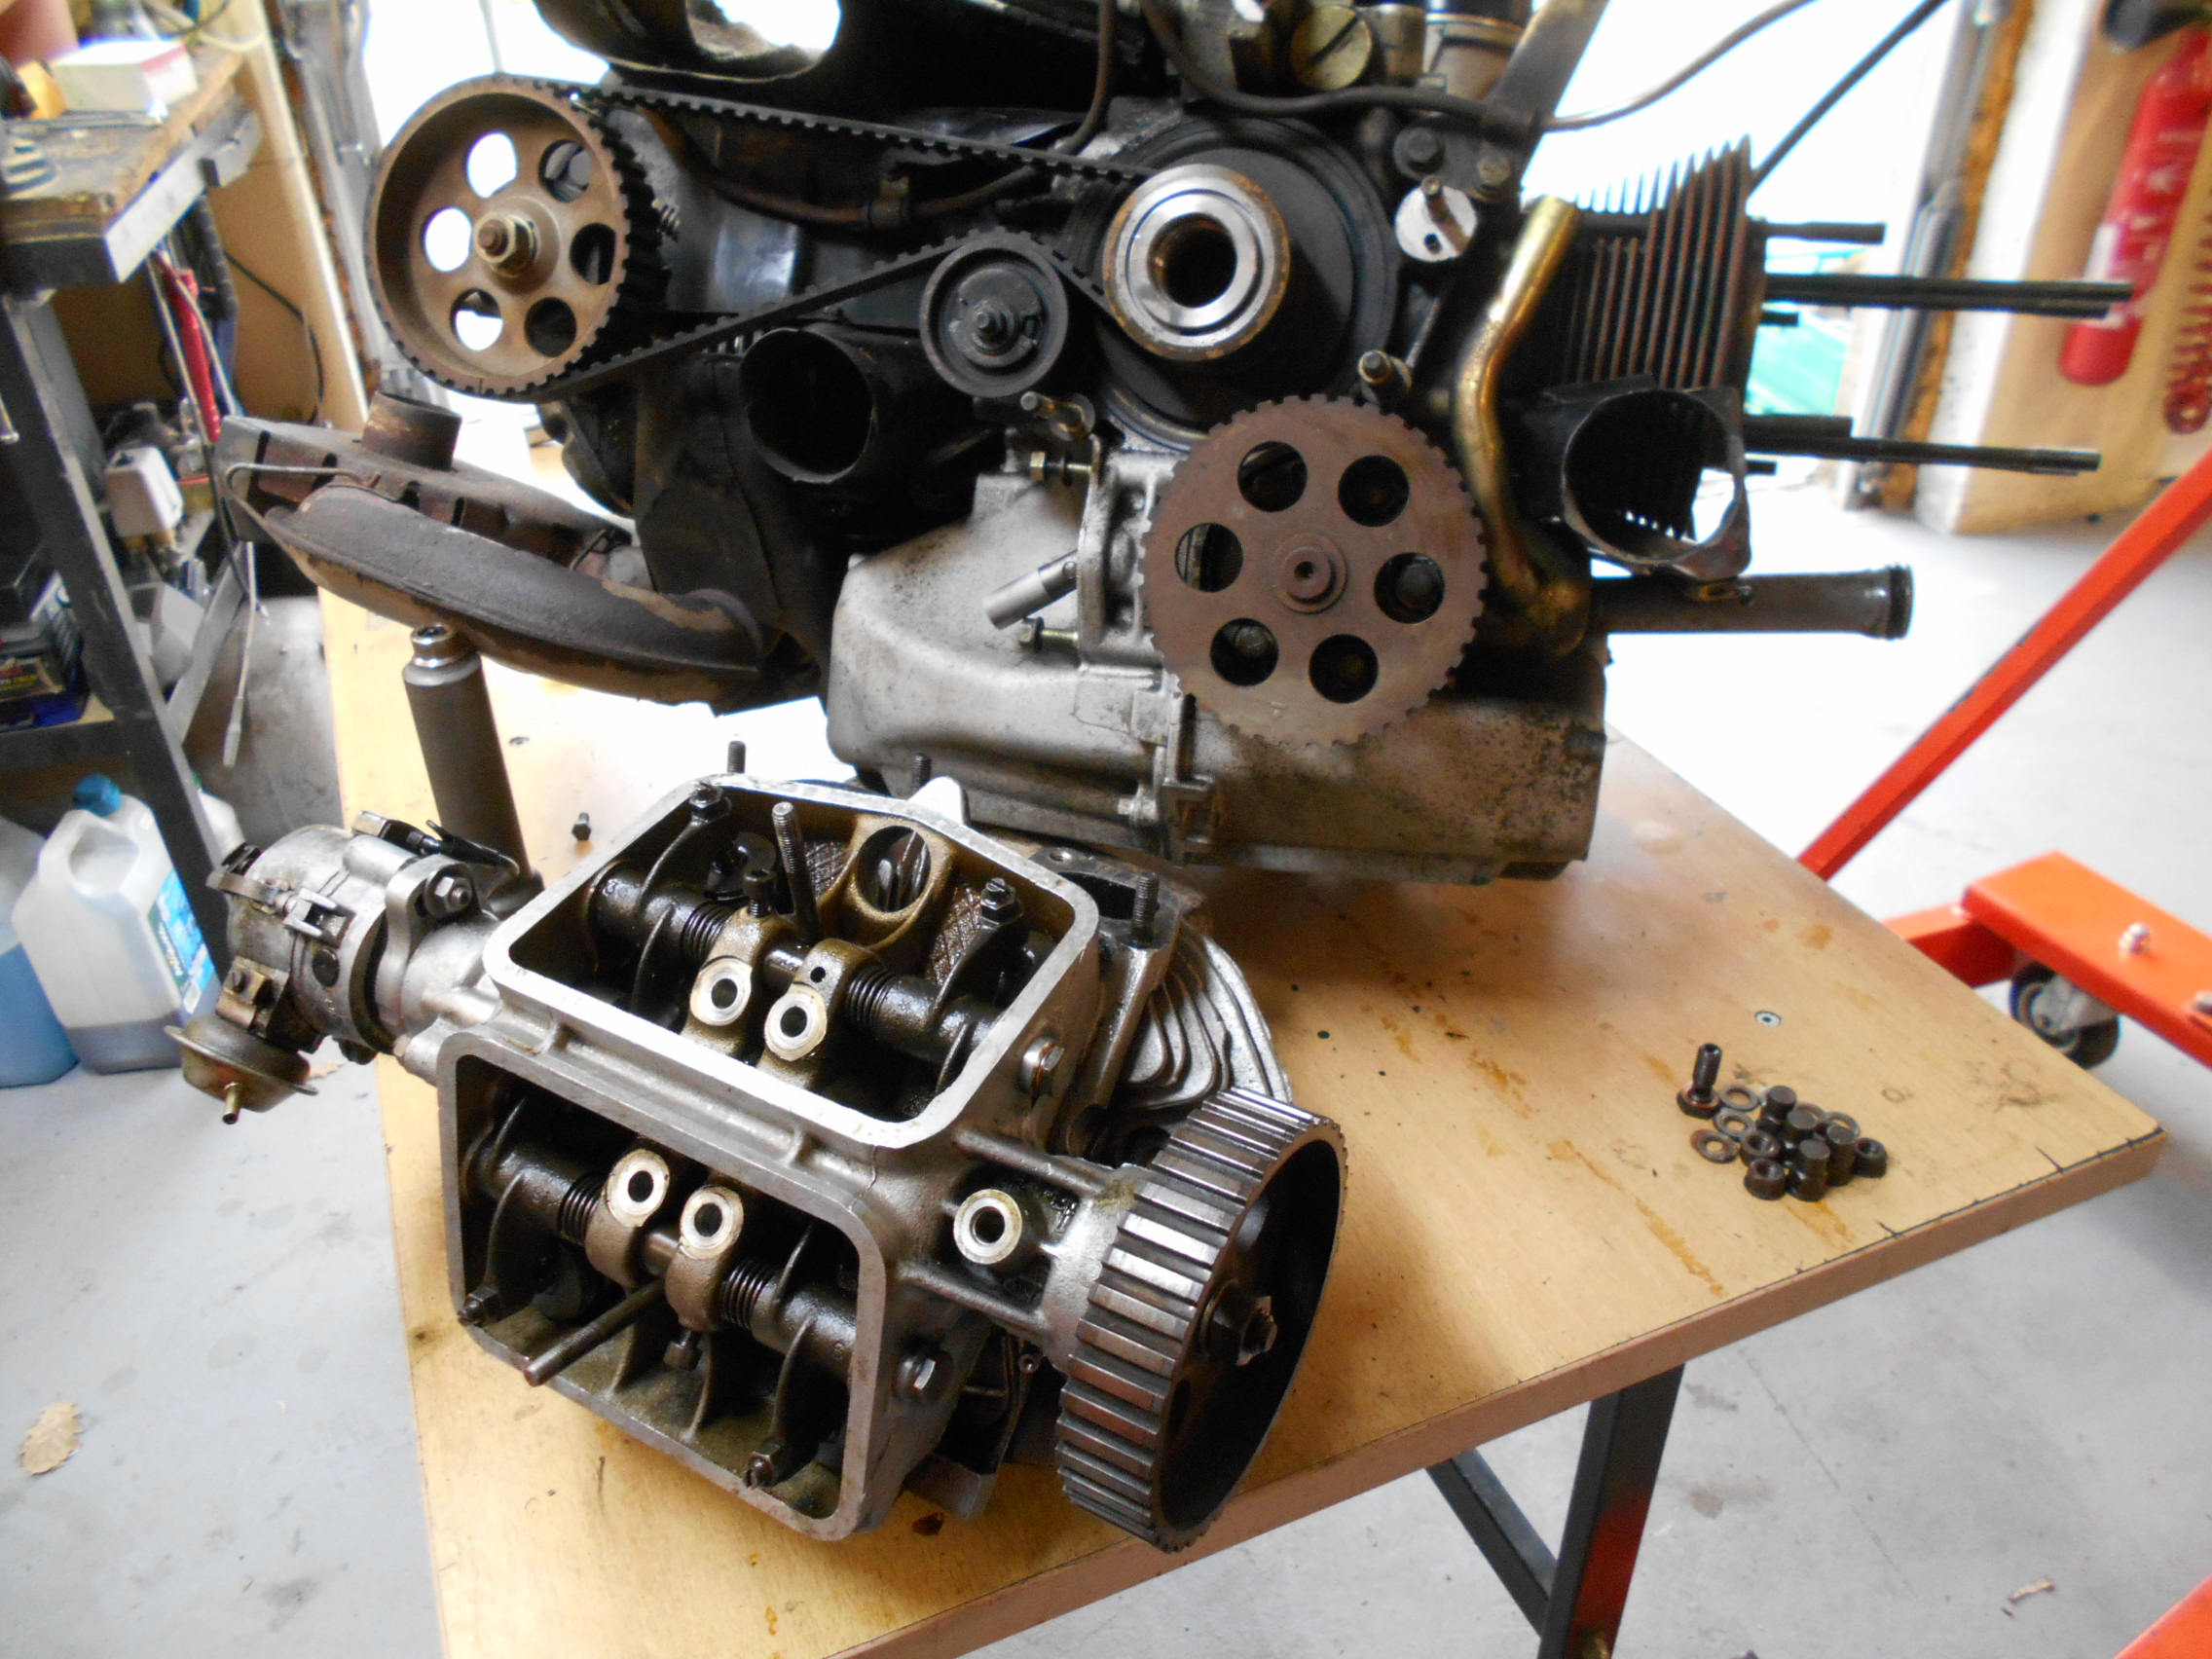
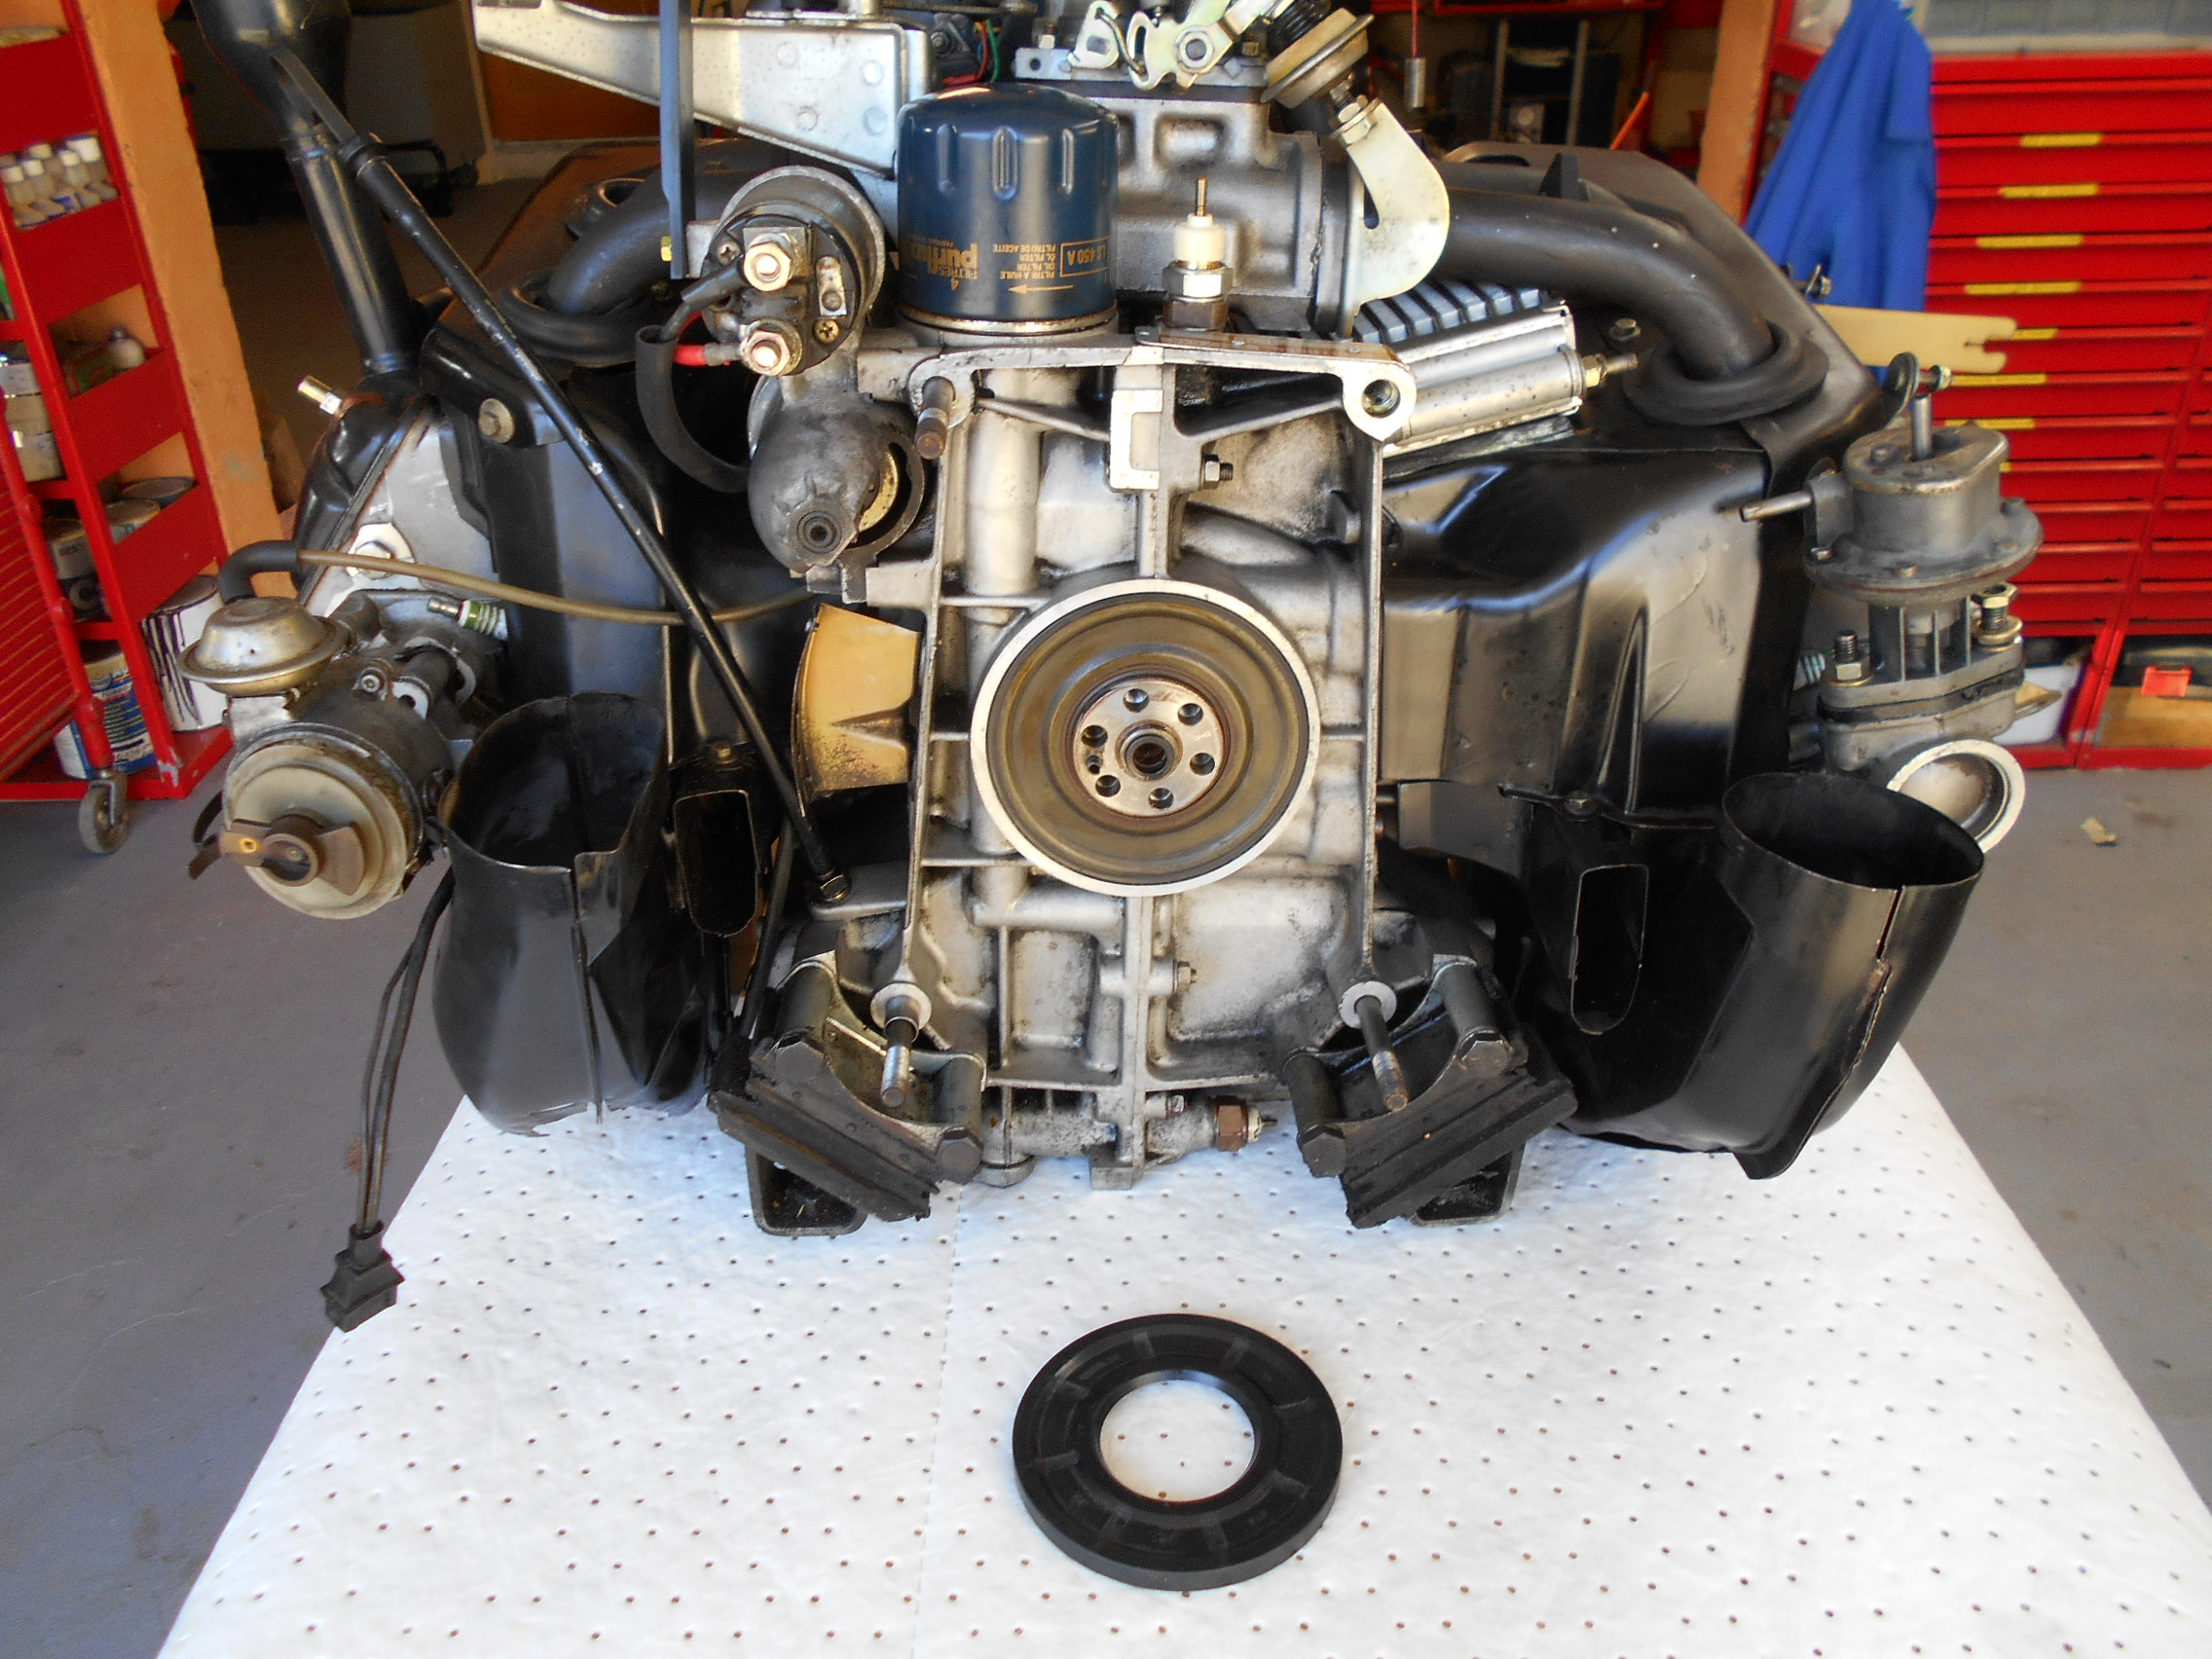
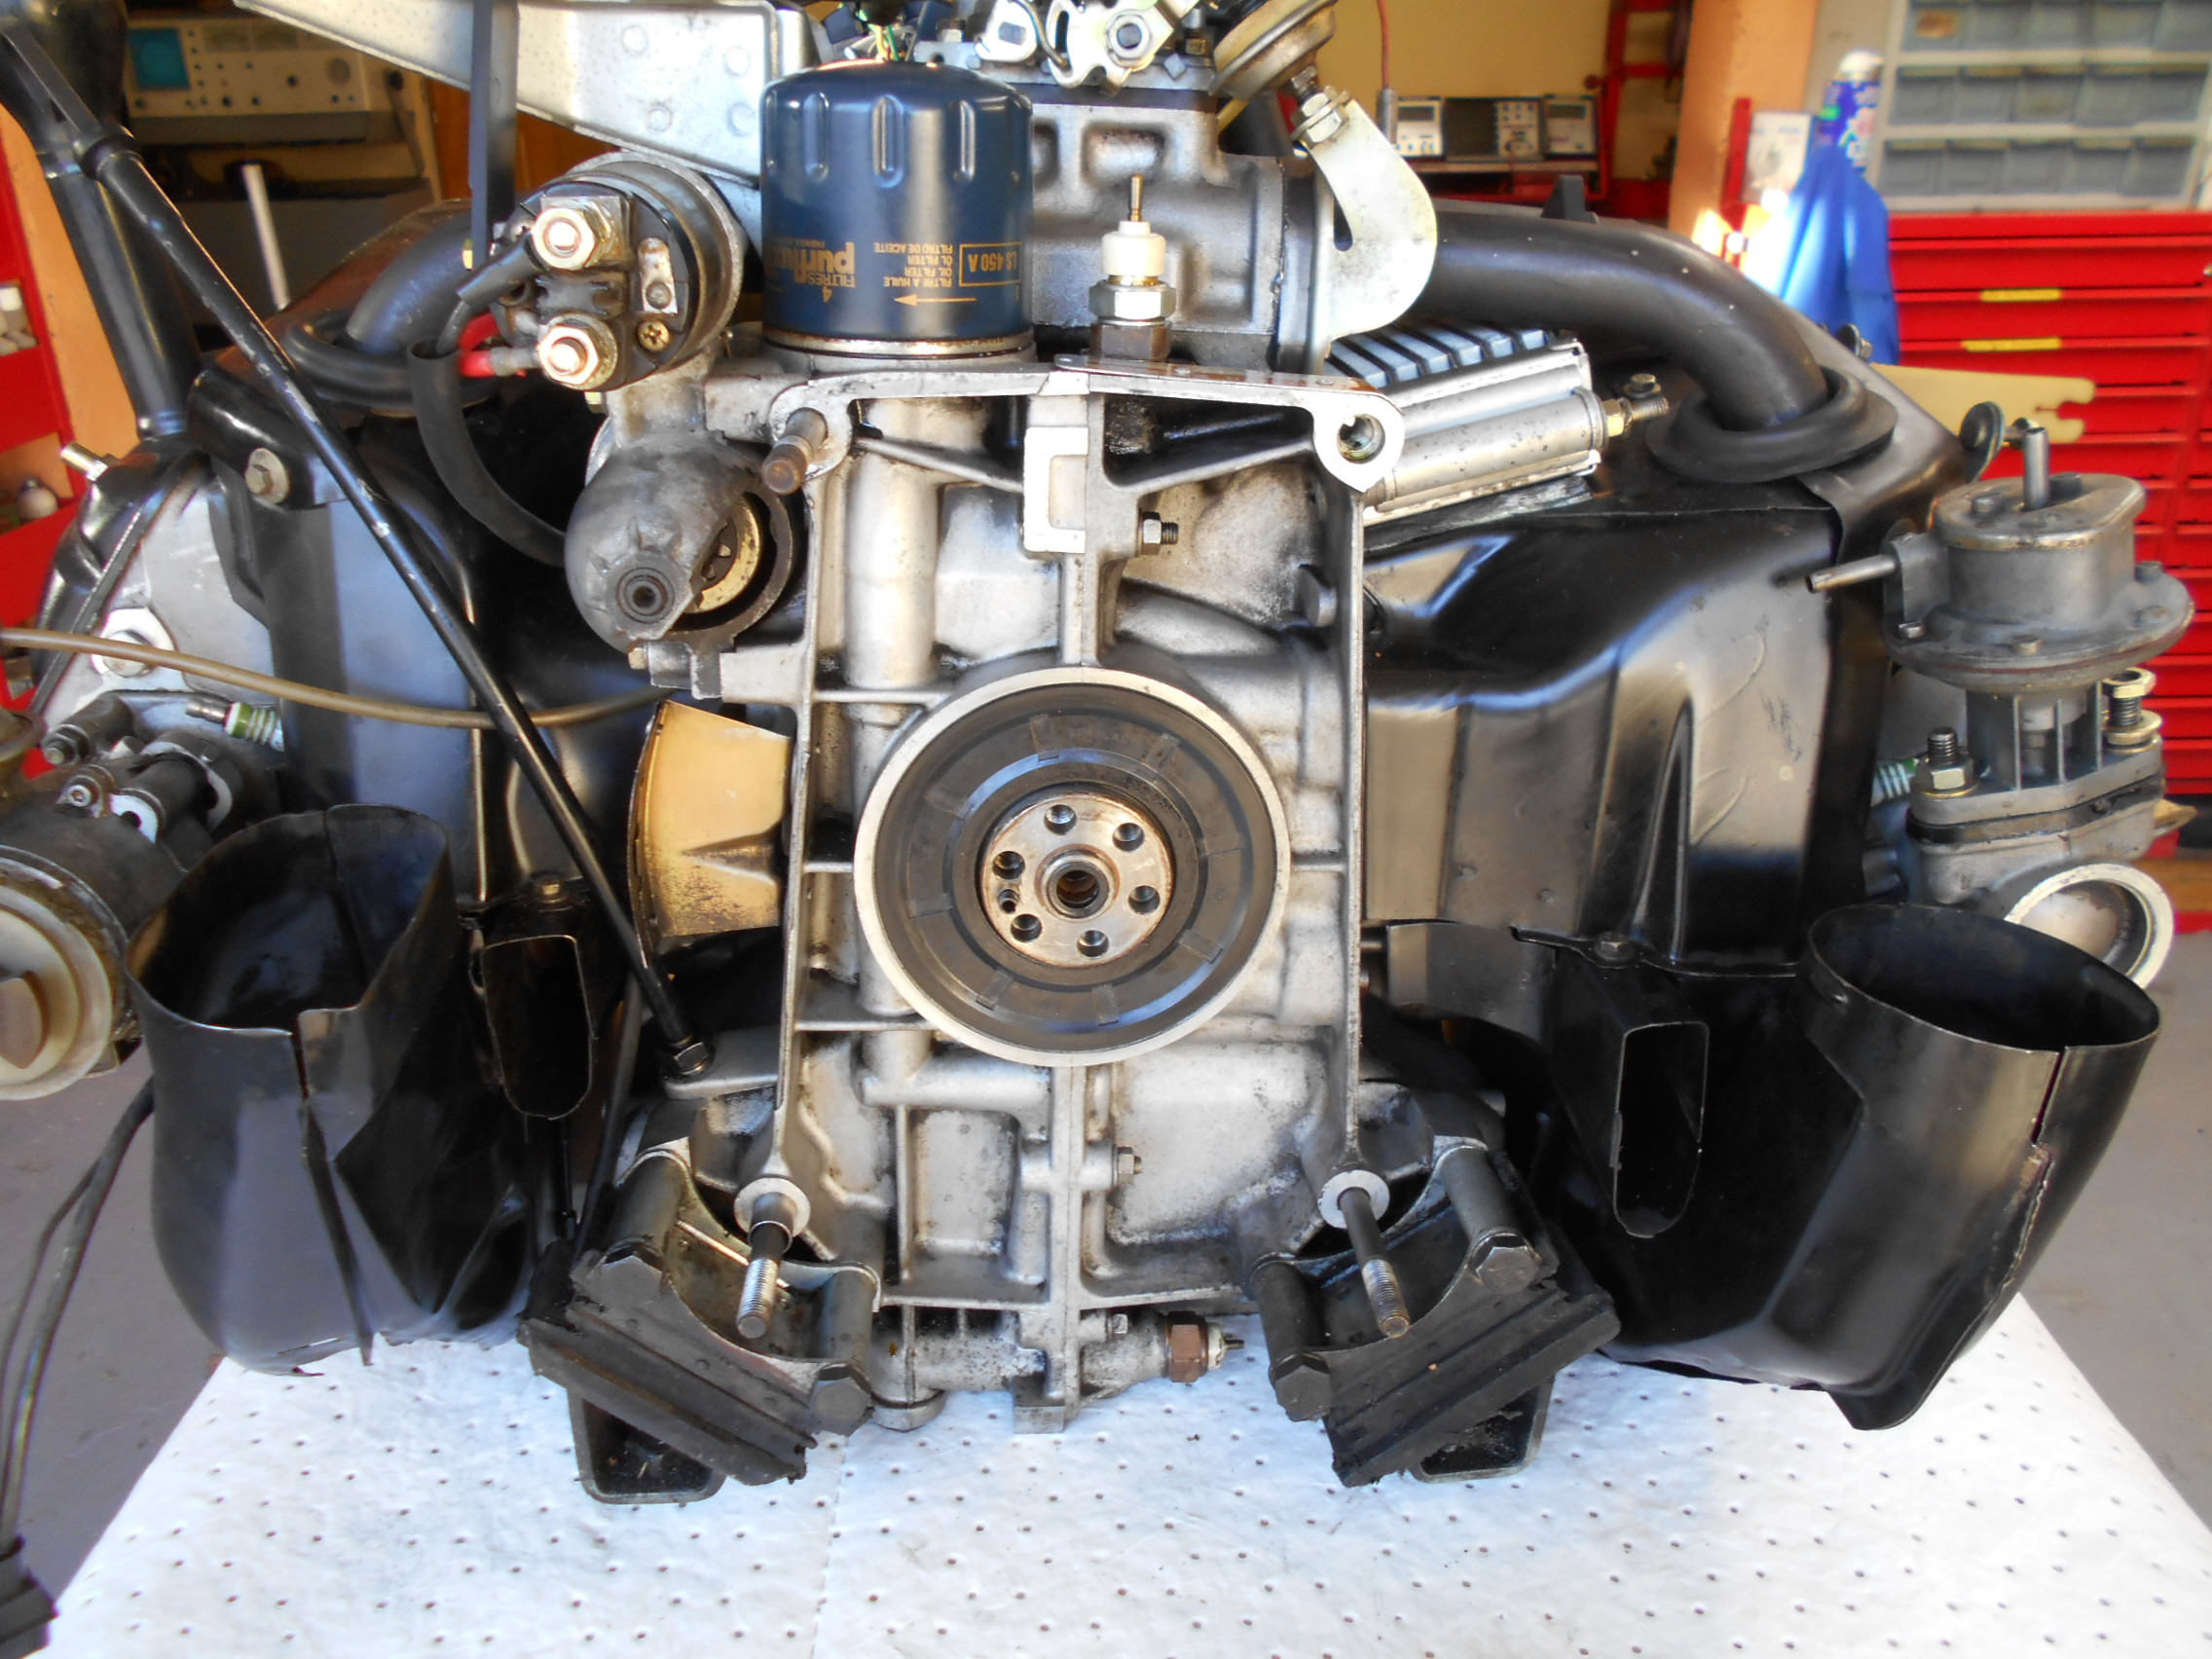
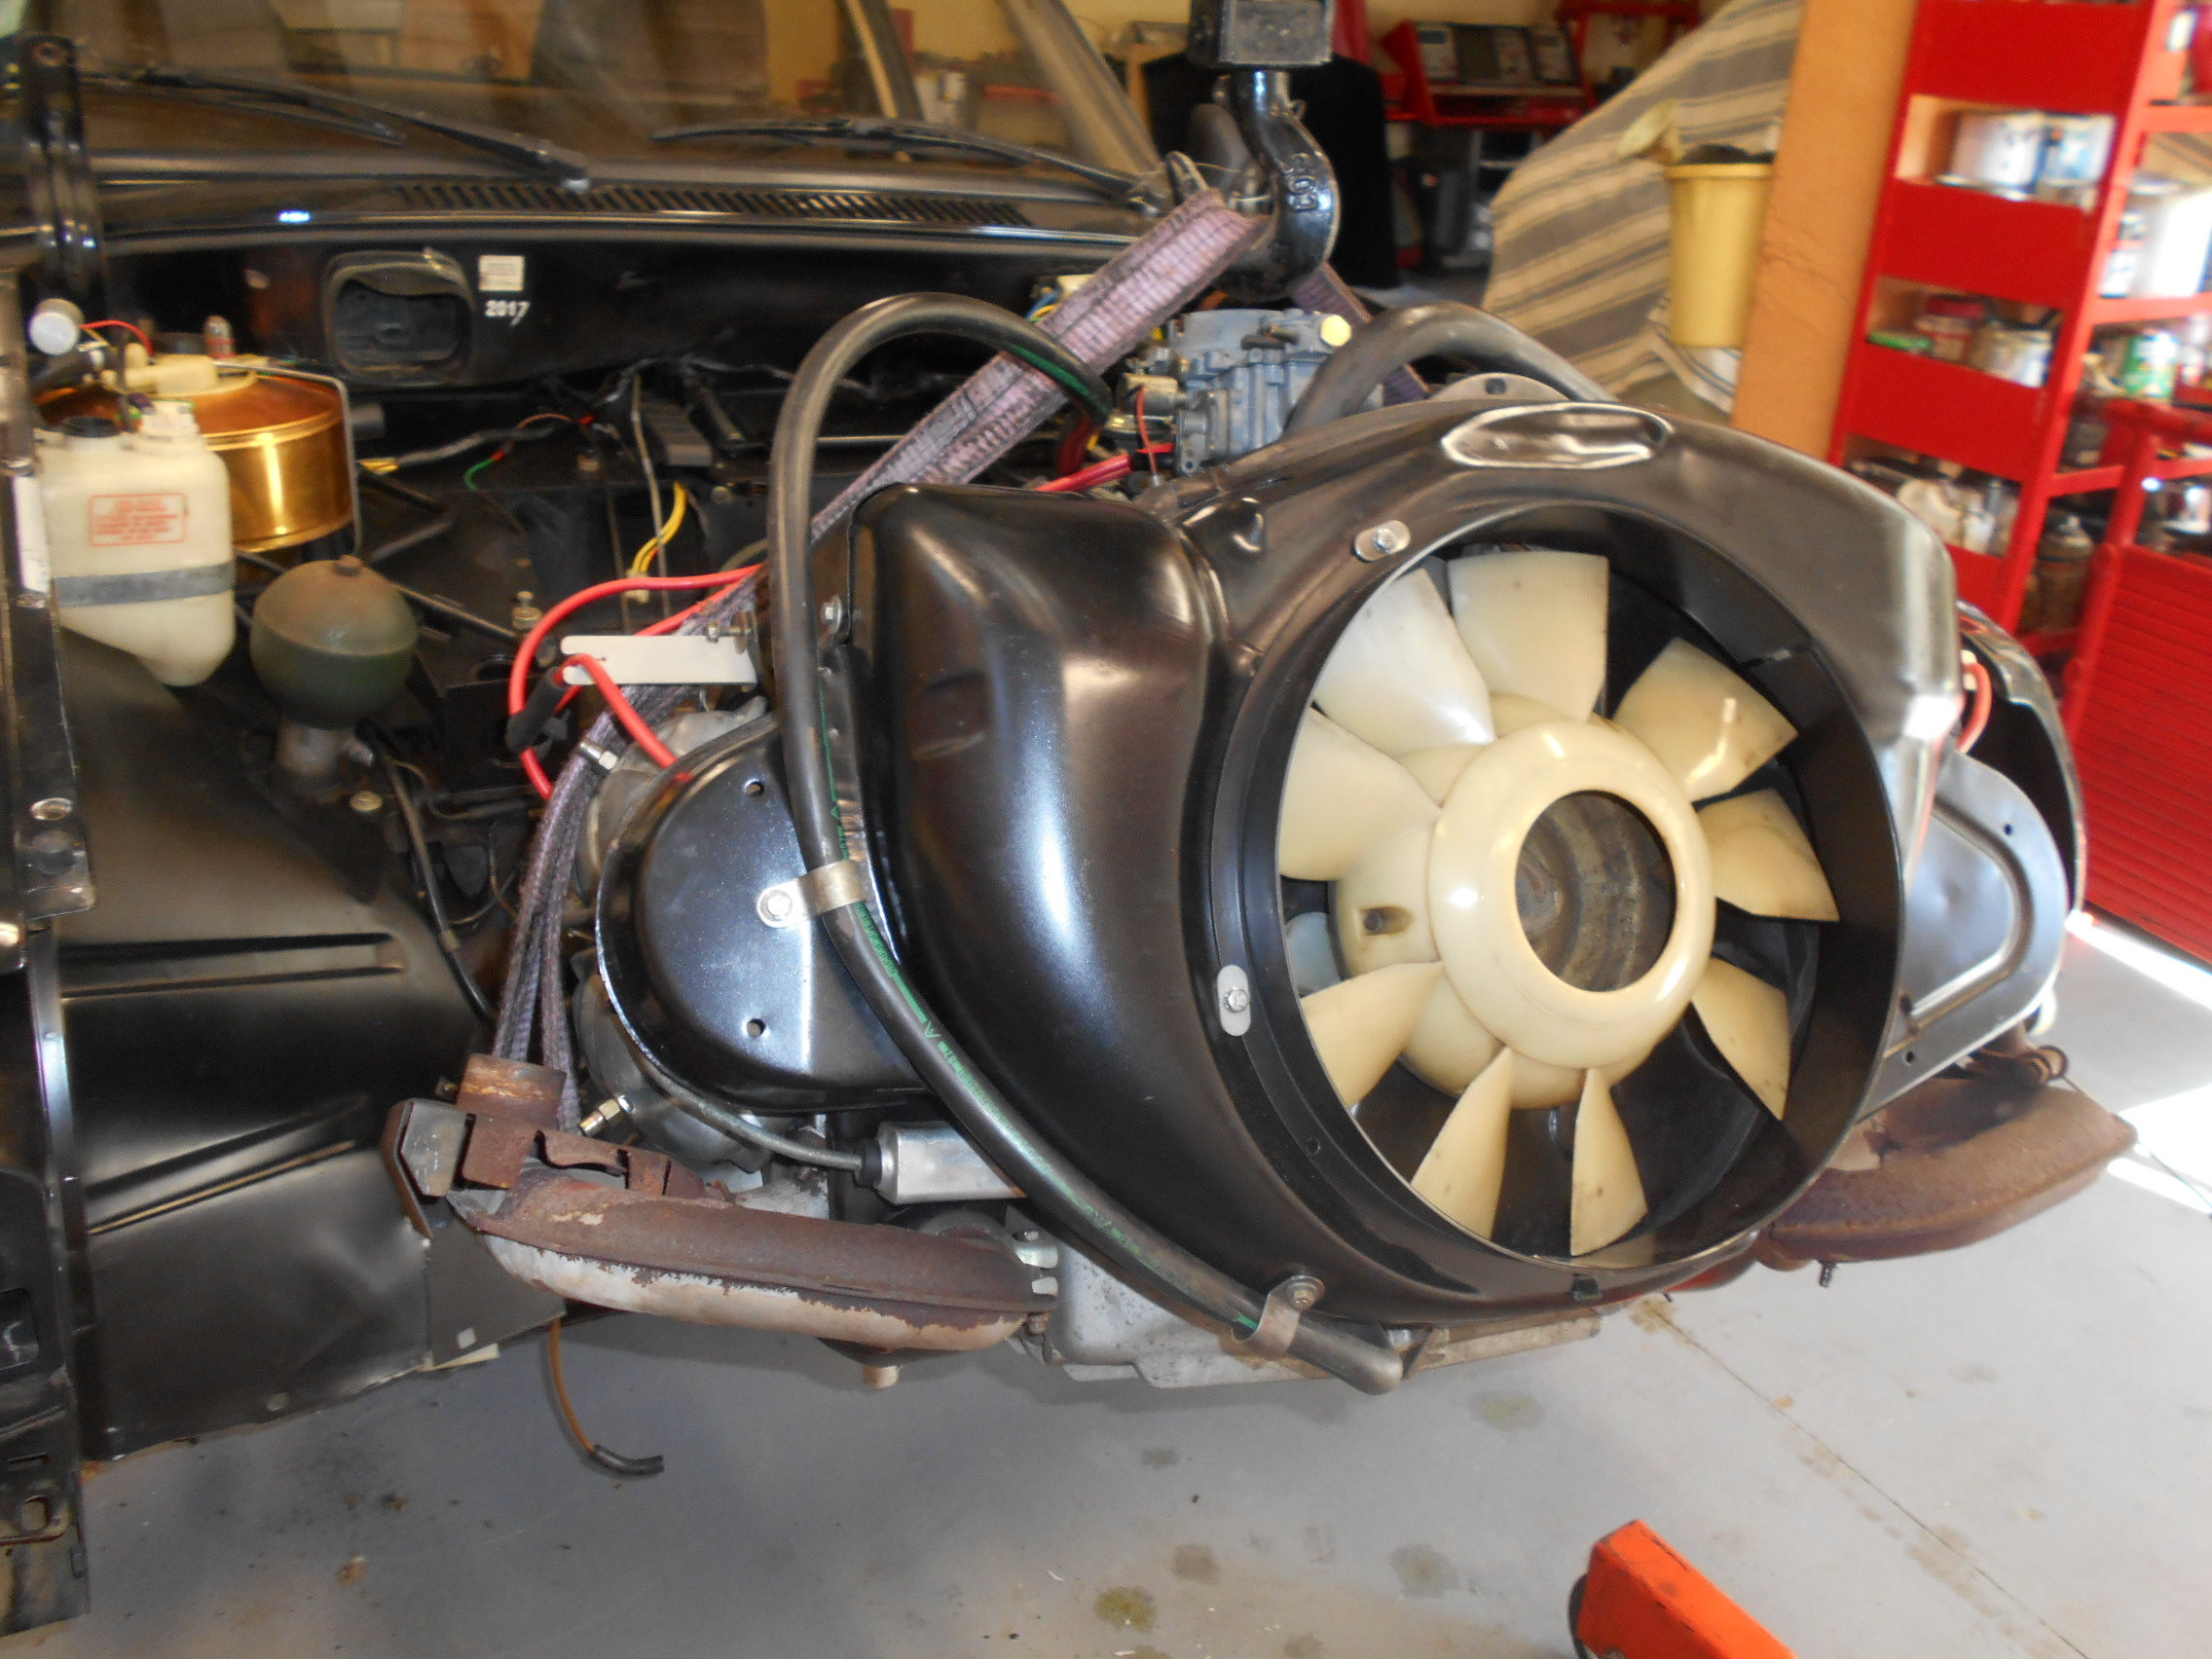
Replacing the timing belts on a GS engine creates a good opportunity to also consider resealing the engine. And while you’re at it, resealing the gearbox as well. There’s a great amount of effort saved by doing these three operations at the same time. Once the upper and lower front panels are removed, remove the entire engine-gearbox unit in one go and do a first external cleaning and inspection. Then separate the engine from the gearbox so the two parts can be worked on separately on a workbench (photos 1, 2, and 3).
Engine:
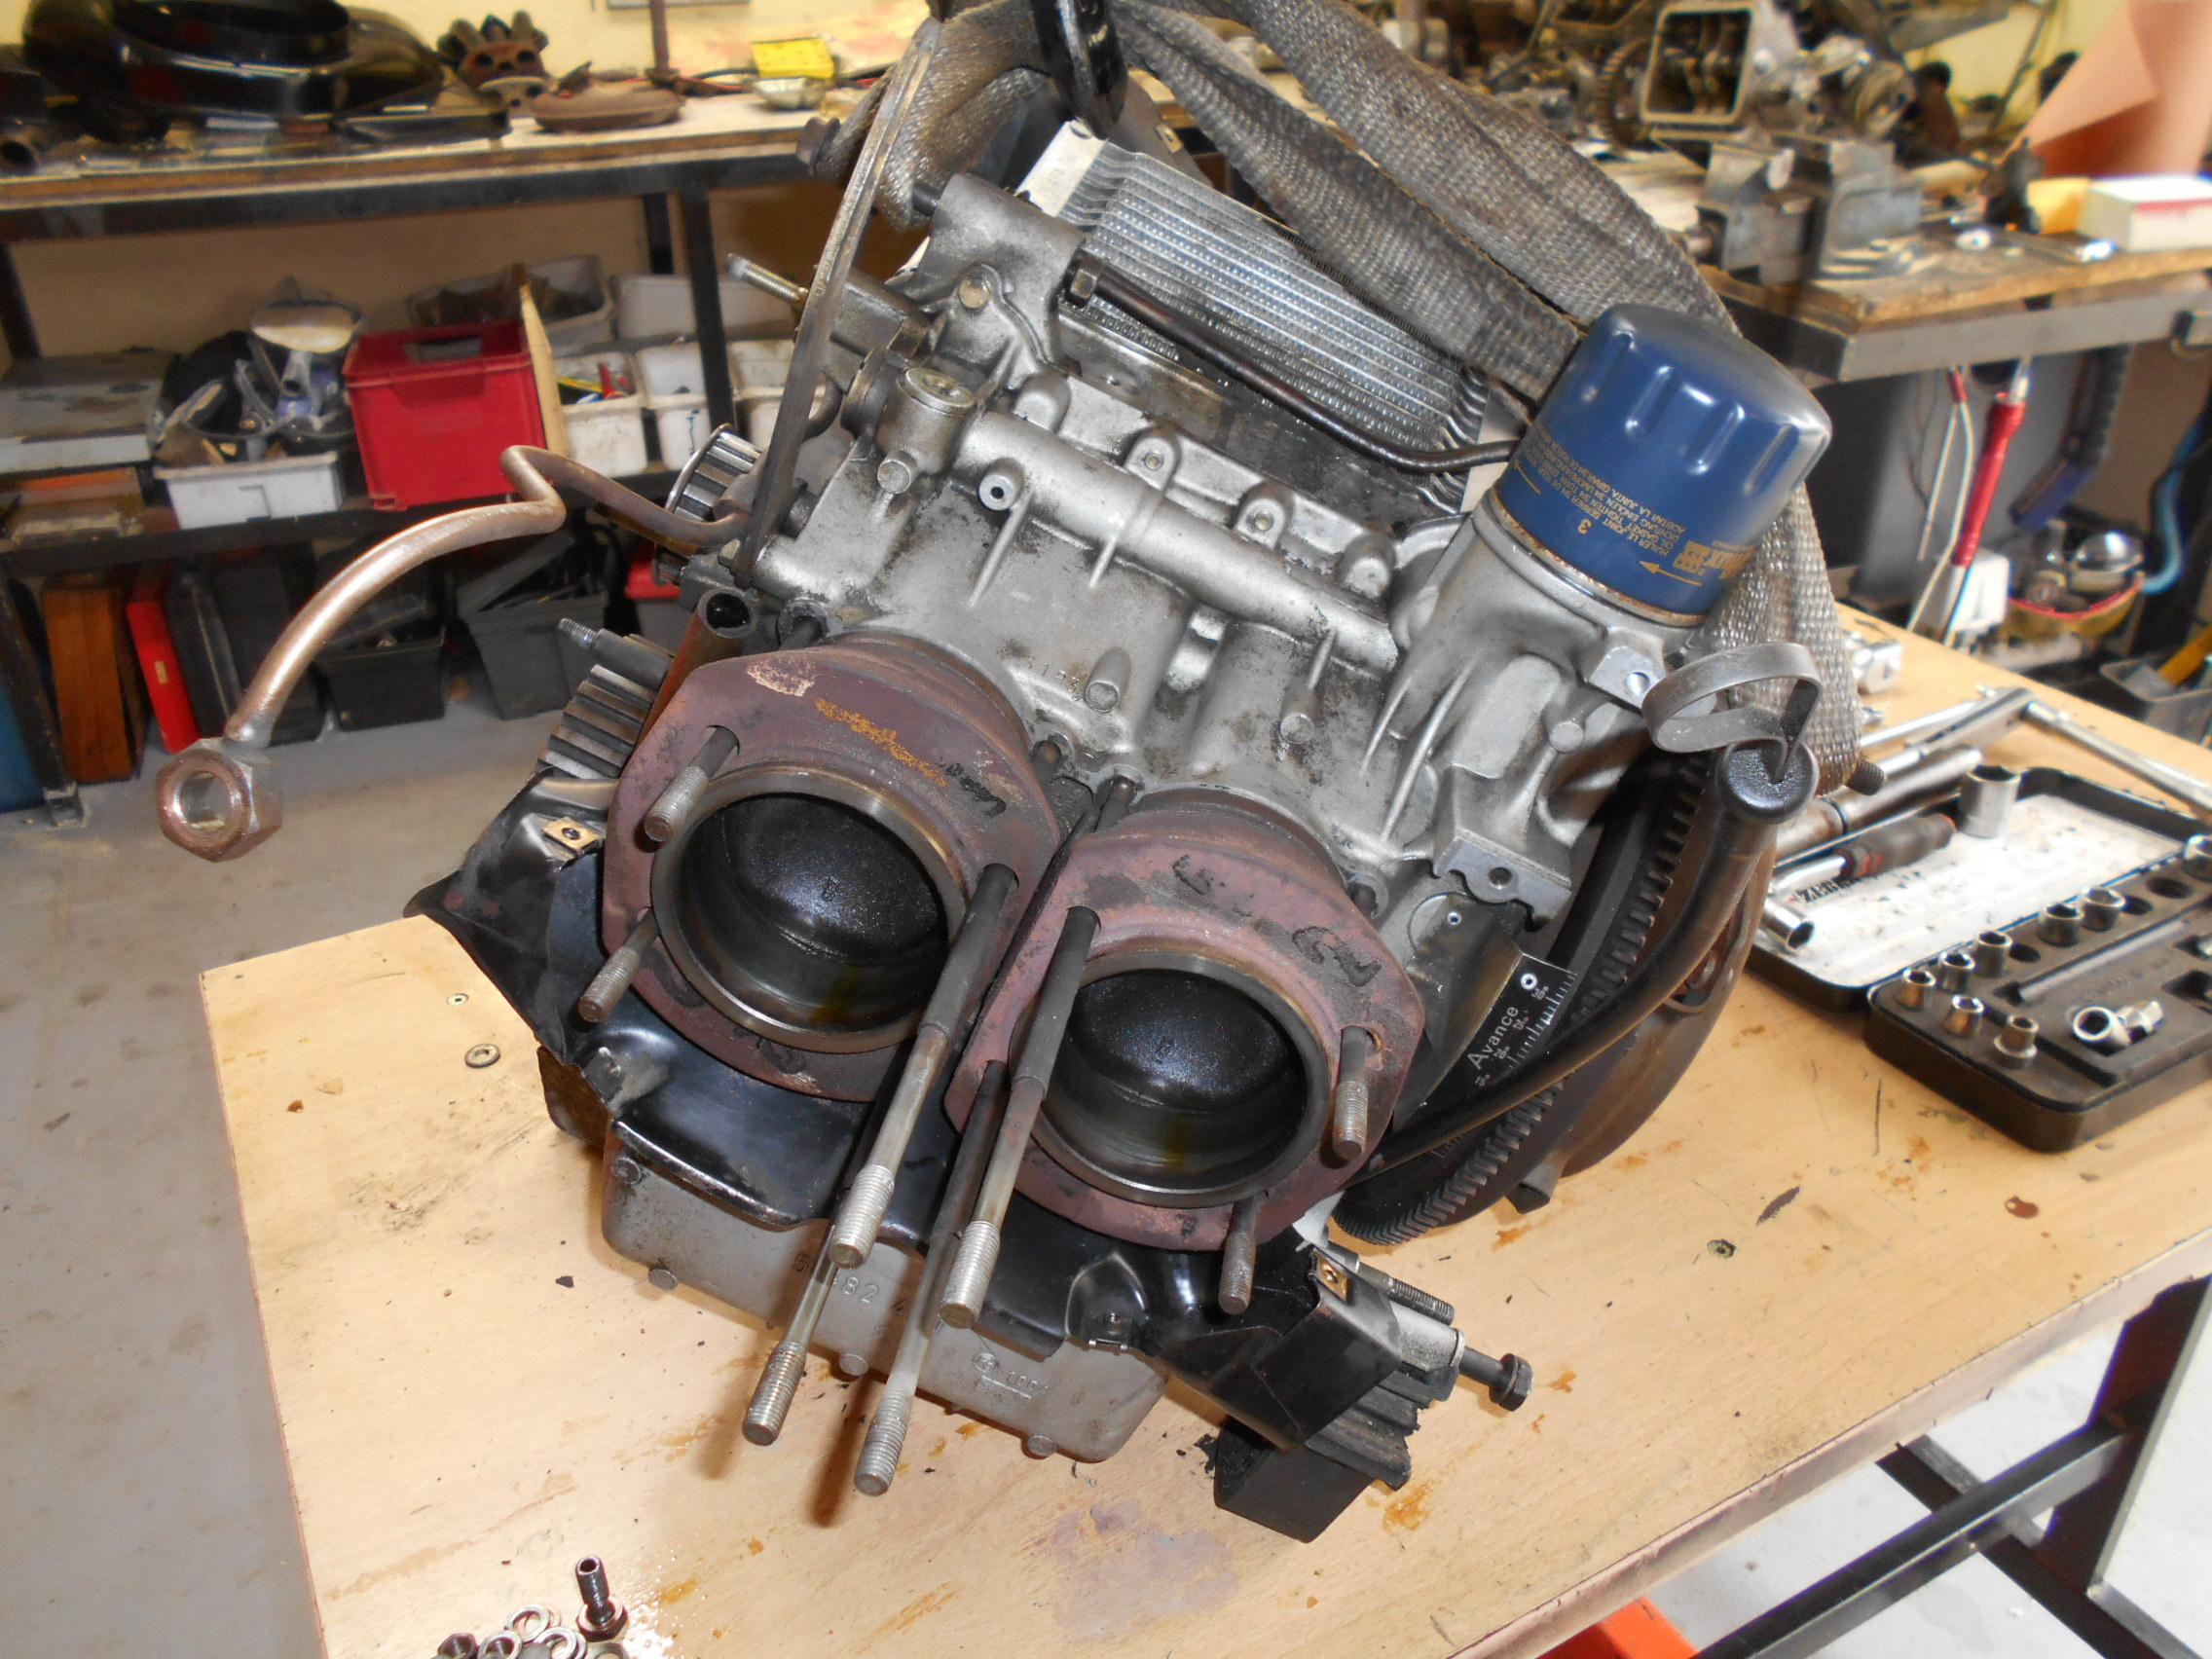
First, remove the timing belts, and then remove the cylinder heads. This makes it possible to replace the four nitrile O-rings on the two oil return tubes. These four O-rings are often the main source of engine oil leaks, and they should preferably be replaced by Viton O-rings which are superior in terms of heat resistance and durability (photos 4, 5, and 6).
Also replace the eight small O-rings and eight copper washers located at each end of the four rocker arm shafts.
After reinstalling the cylinder heads and adjusting the rocker arm clearances to 0.20 mm cold, the cylinder head covers must be refitted with new, lightly oiled gaskets and tightened to the recommended torque (1 daNm).
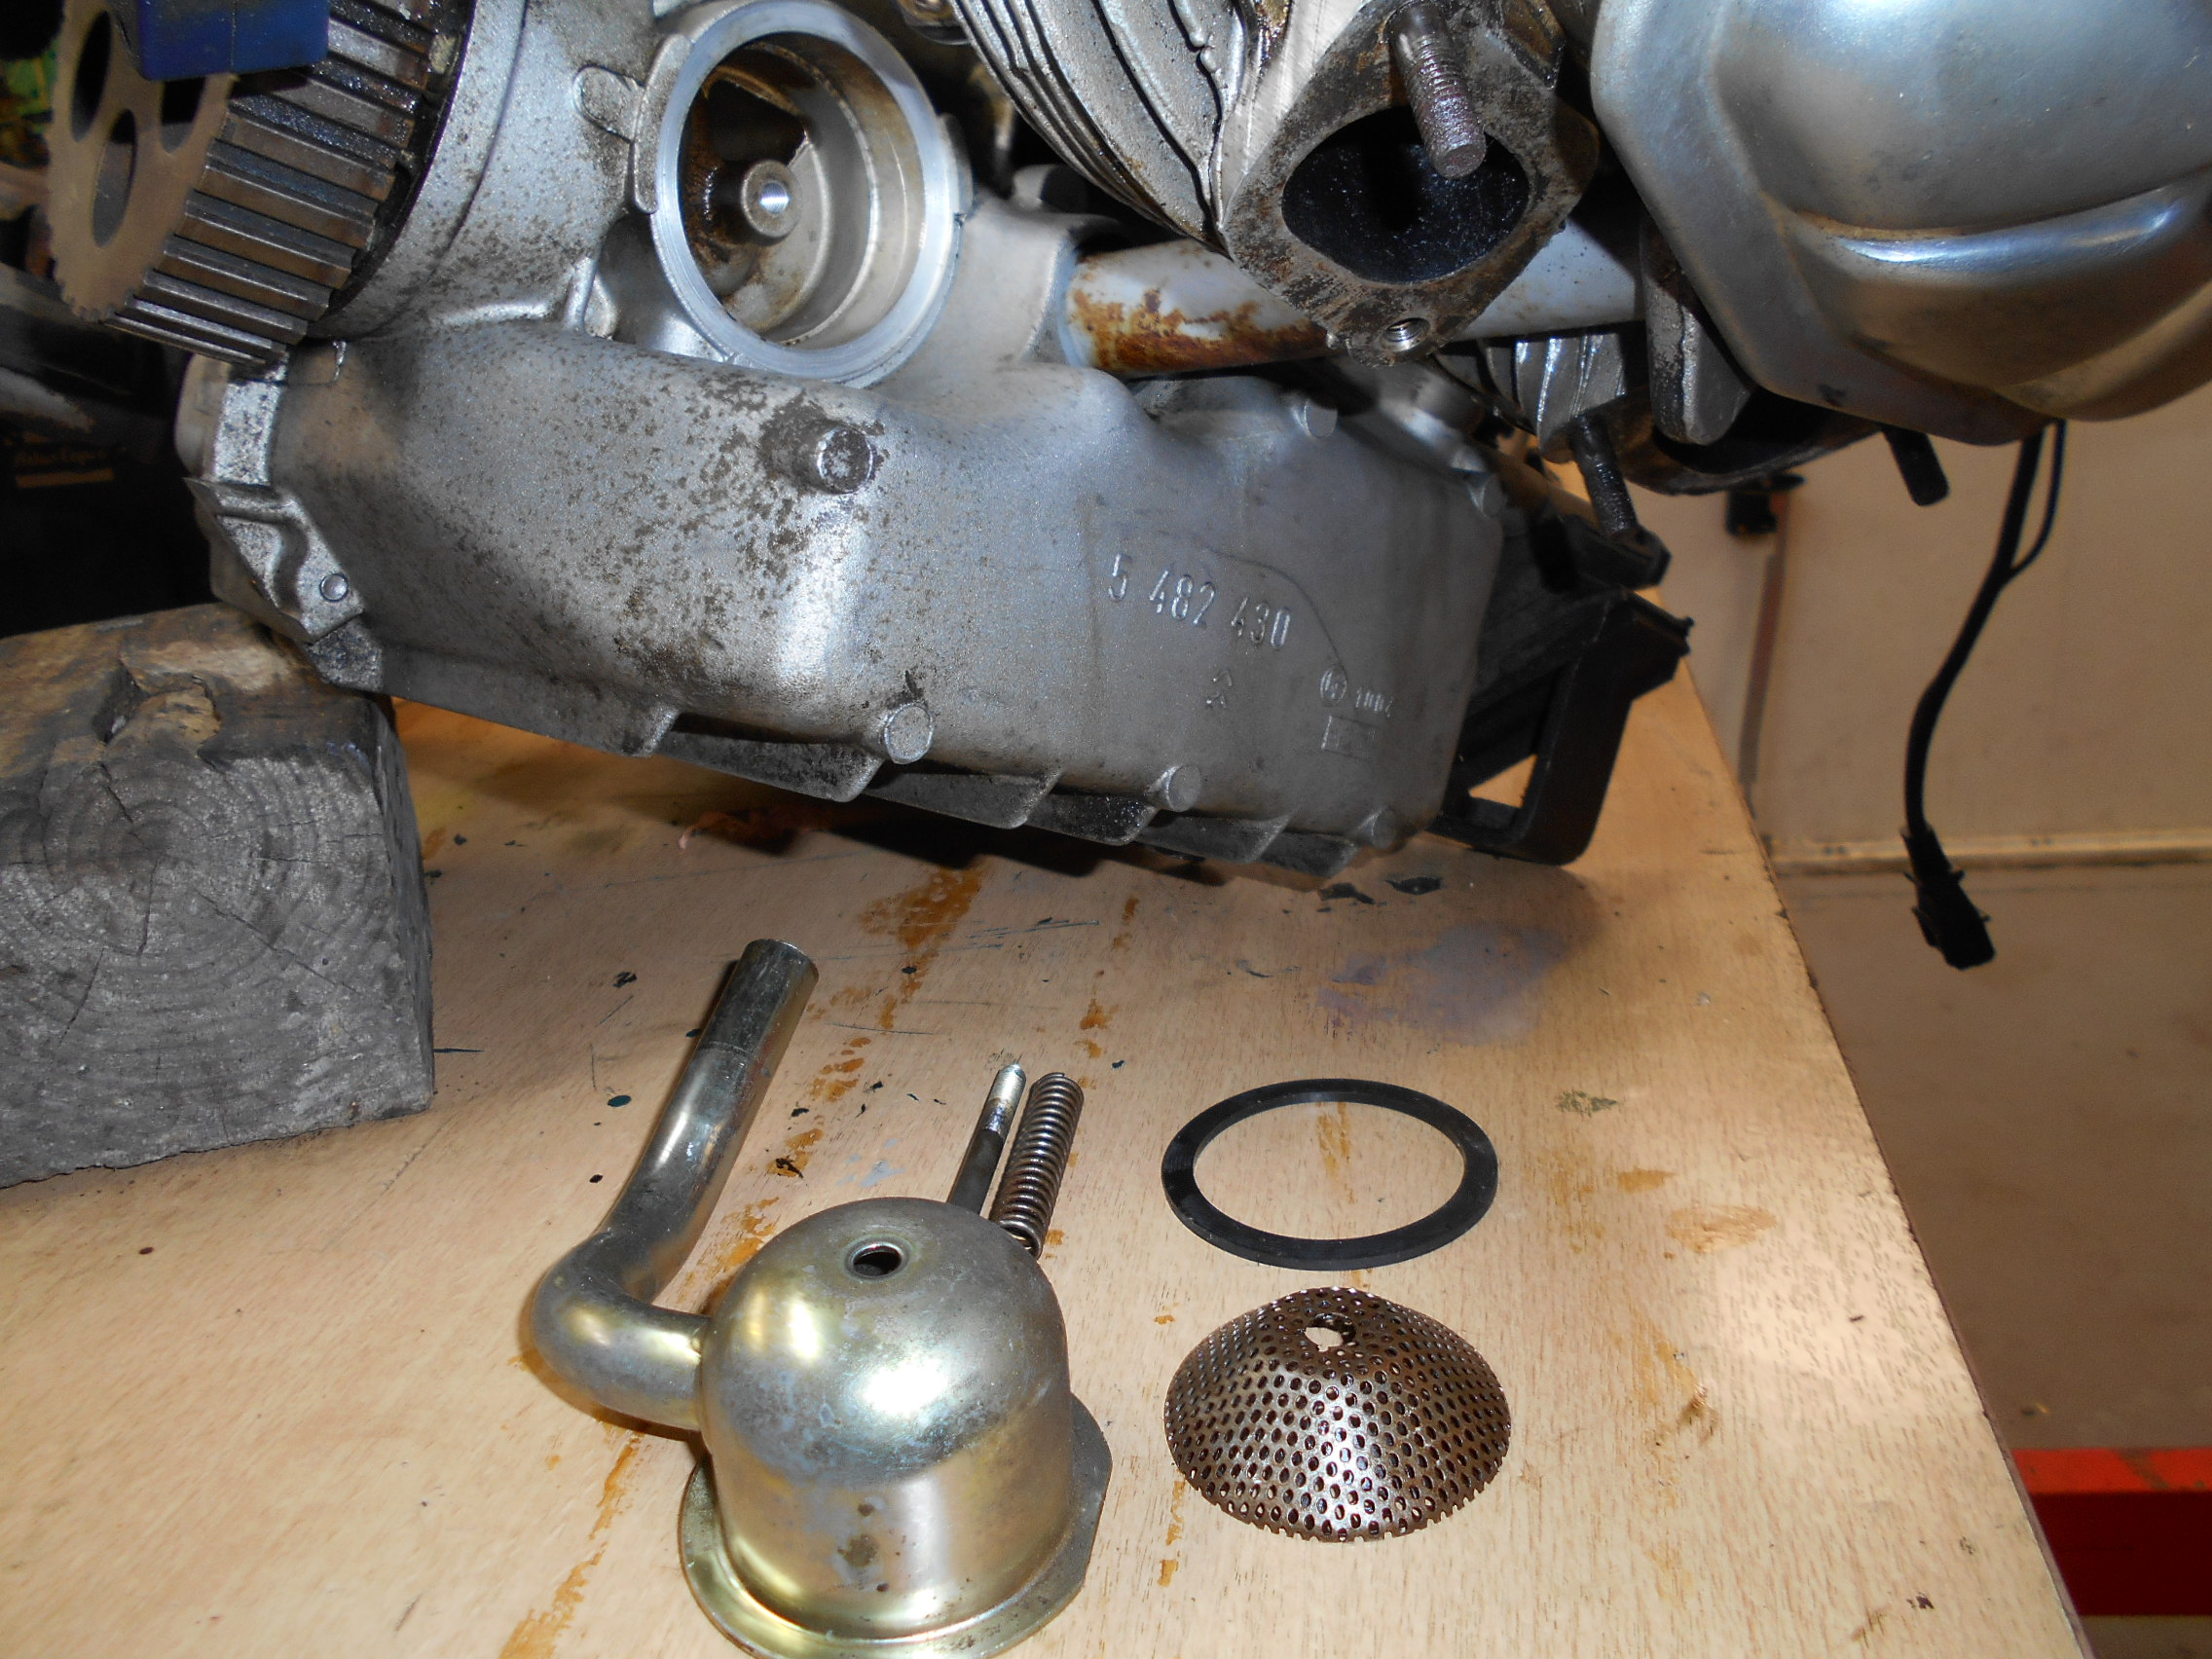
Replace the breather seal (photo 7).
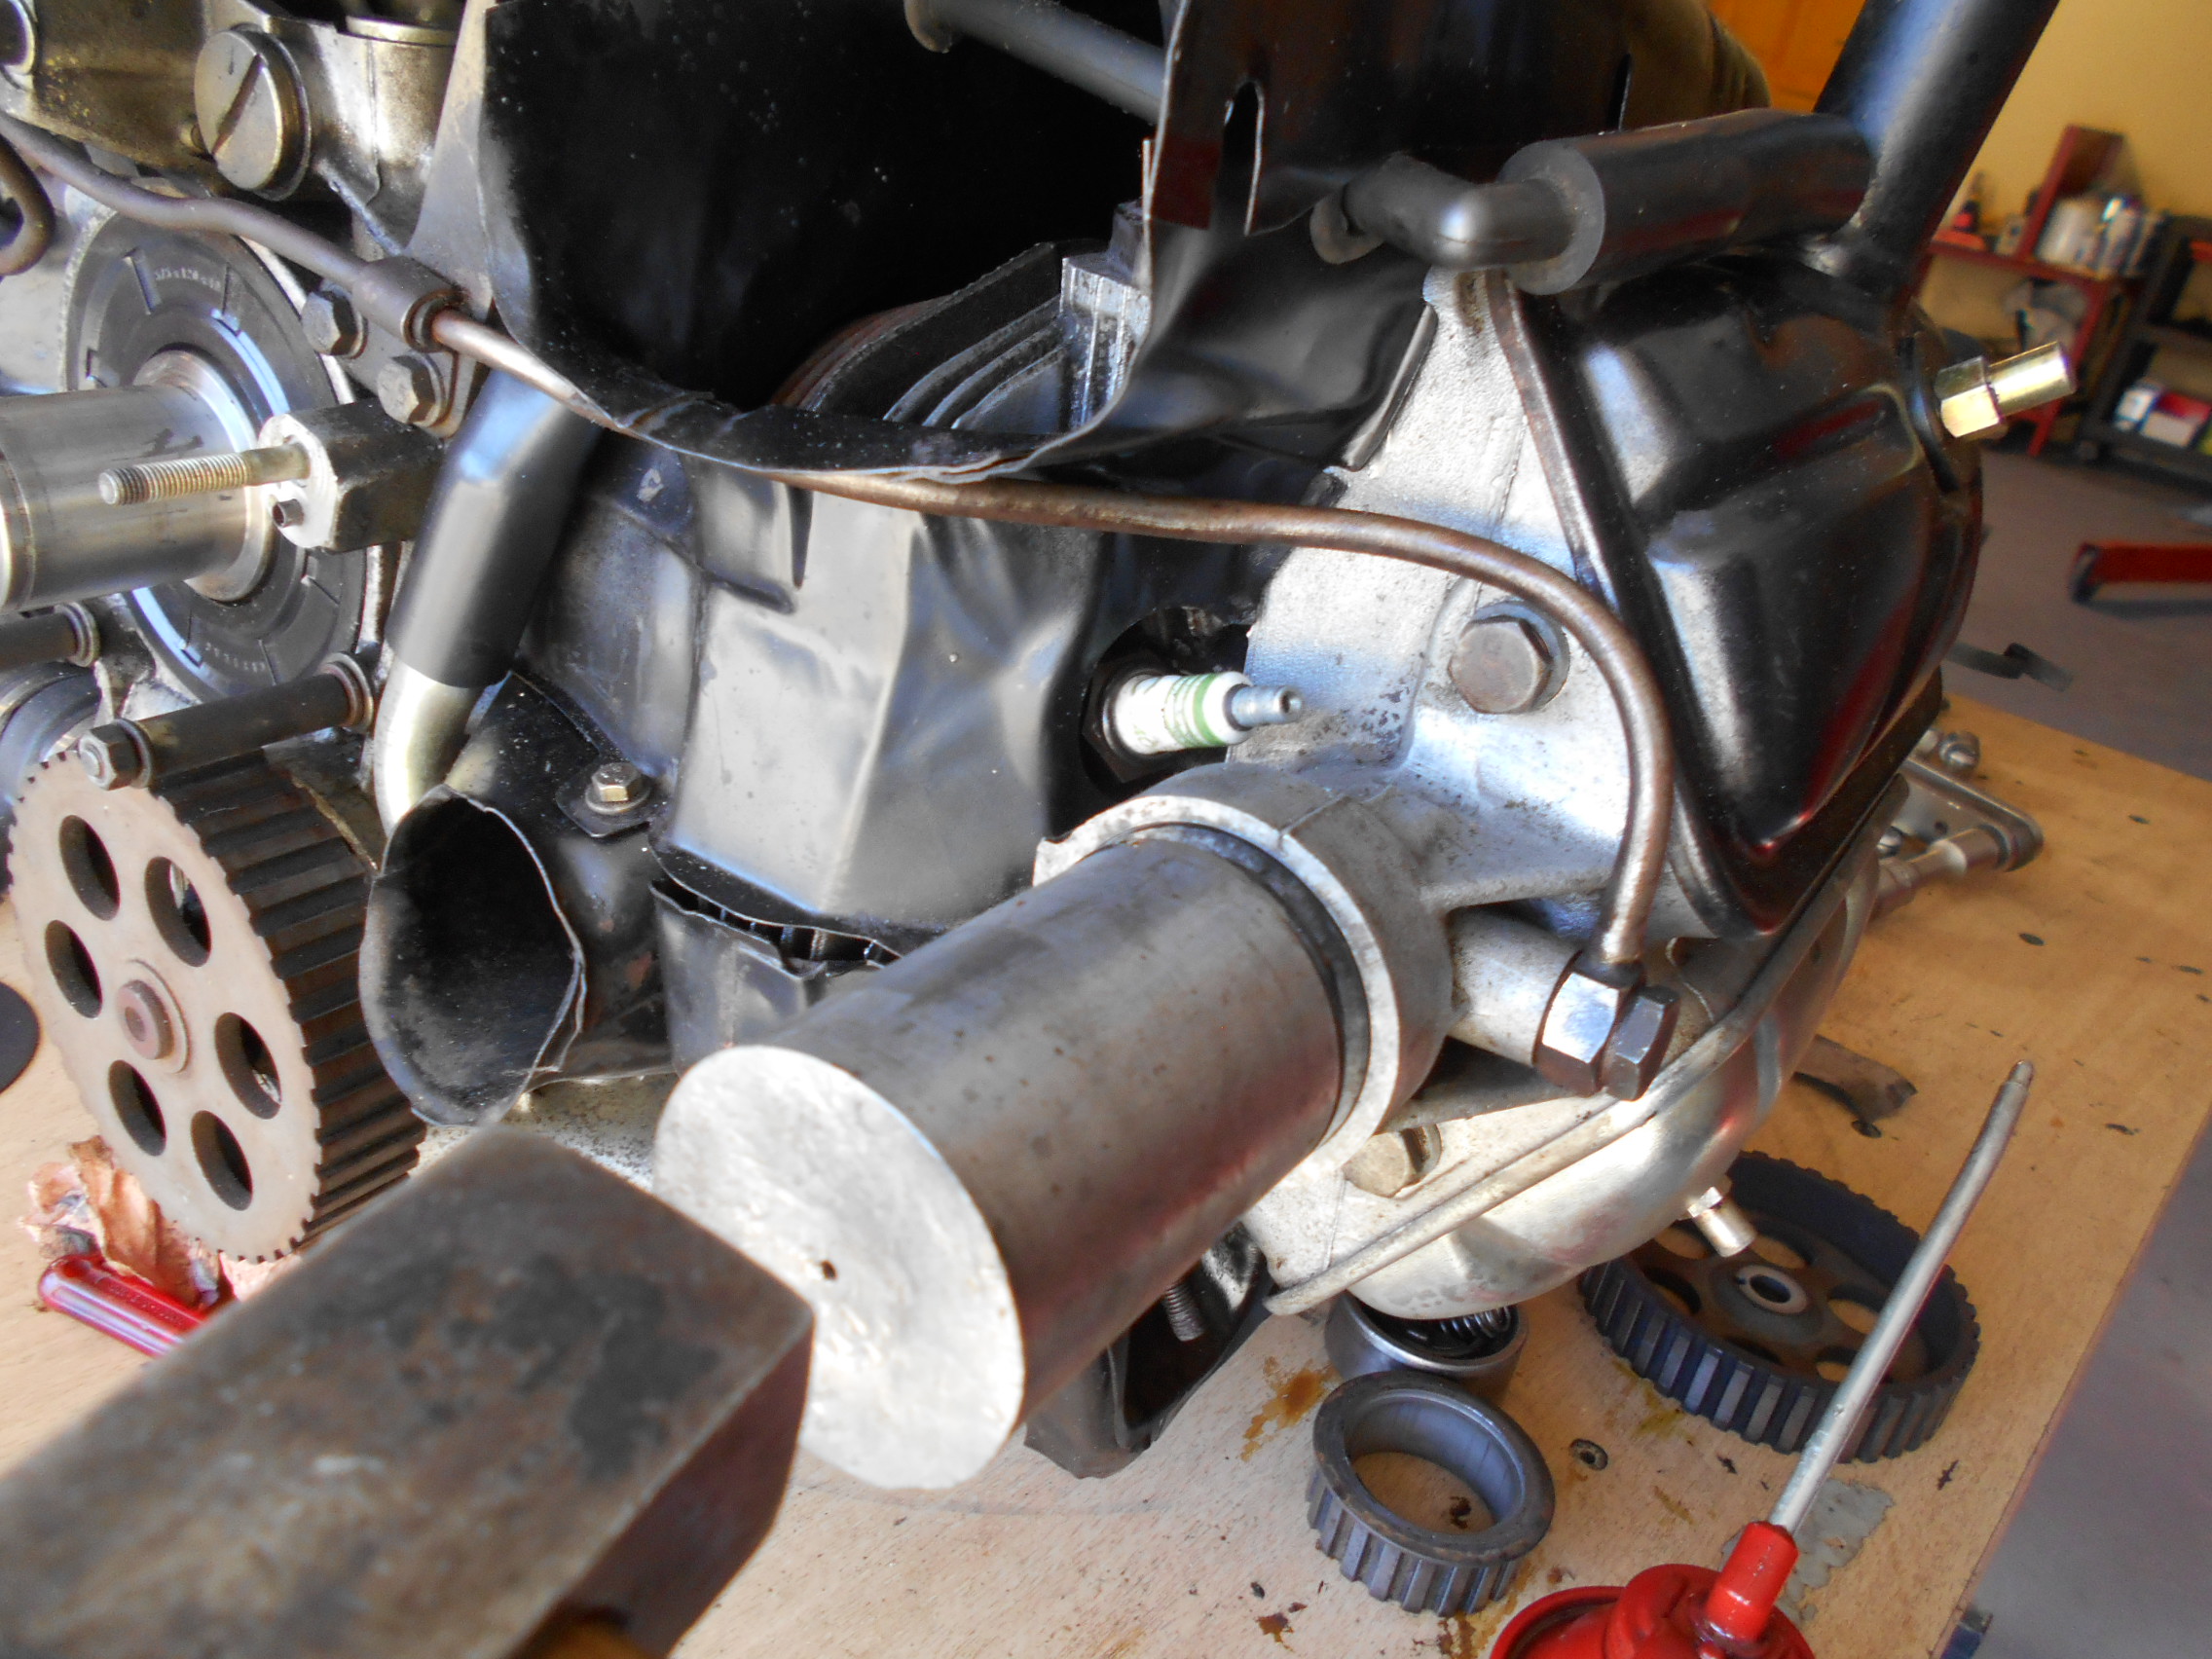
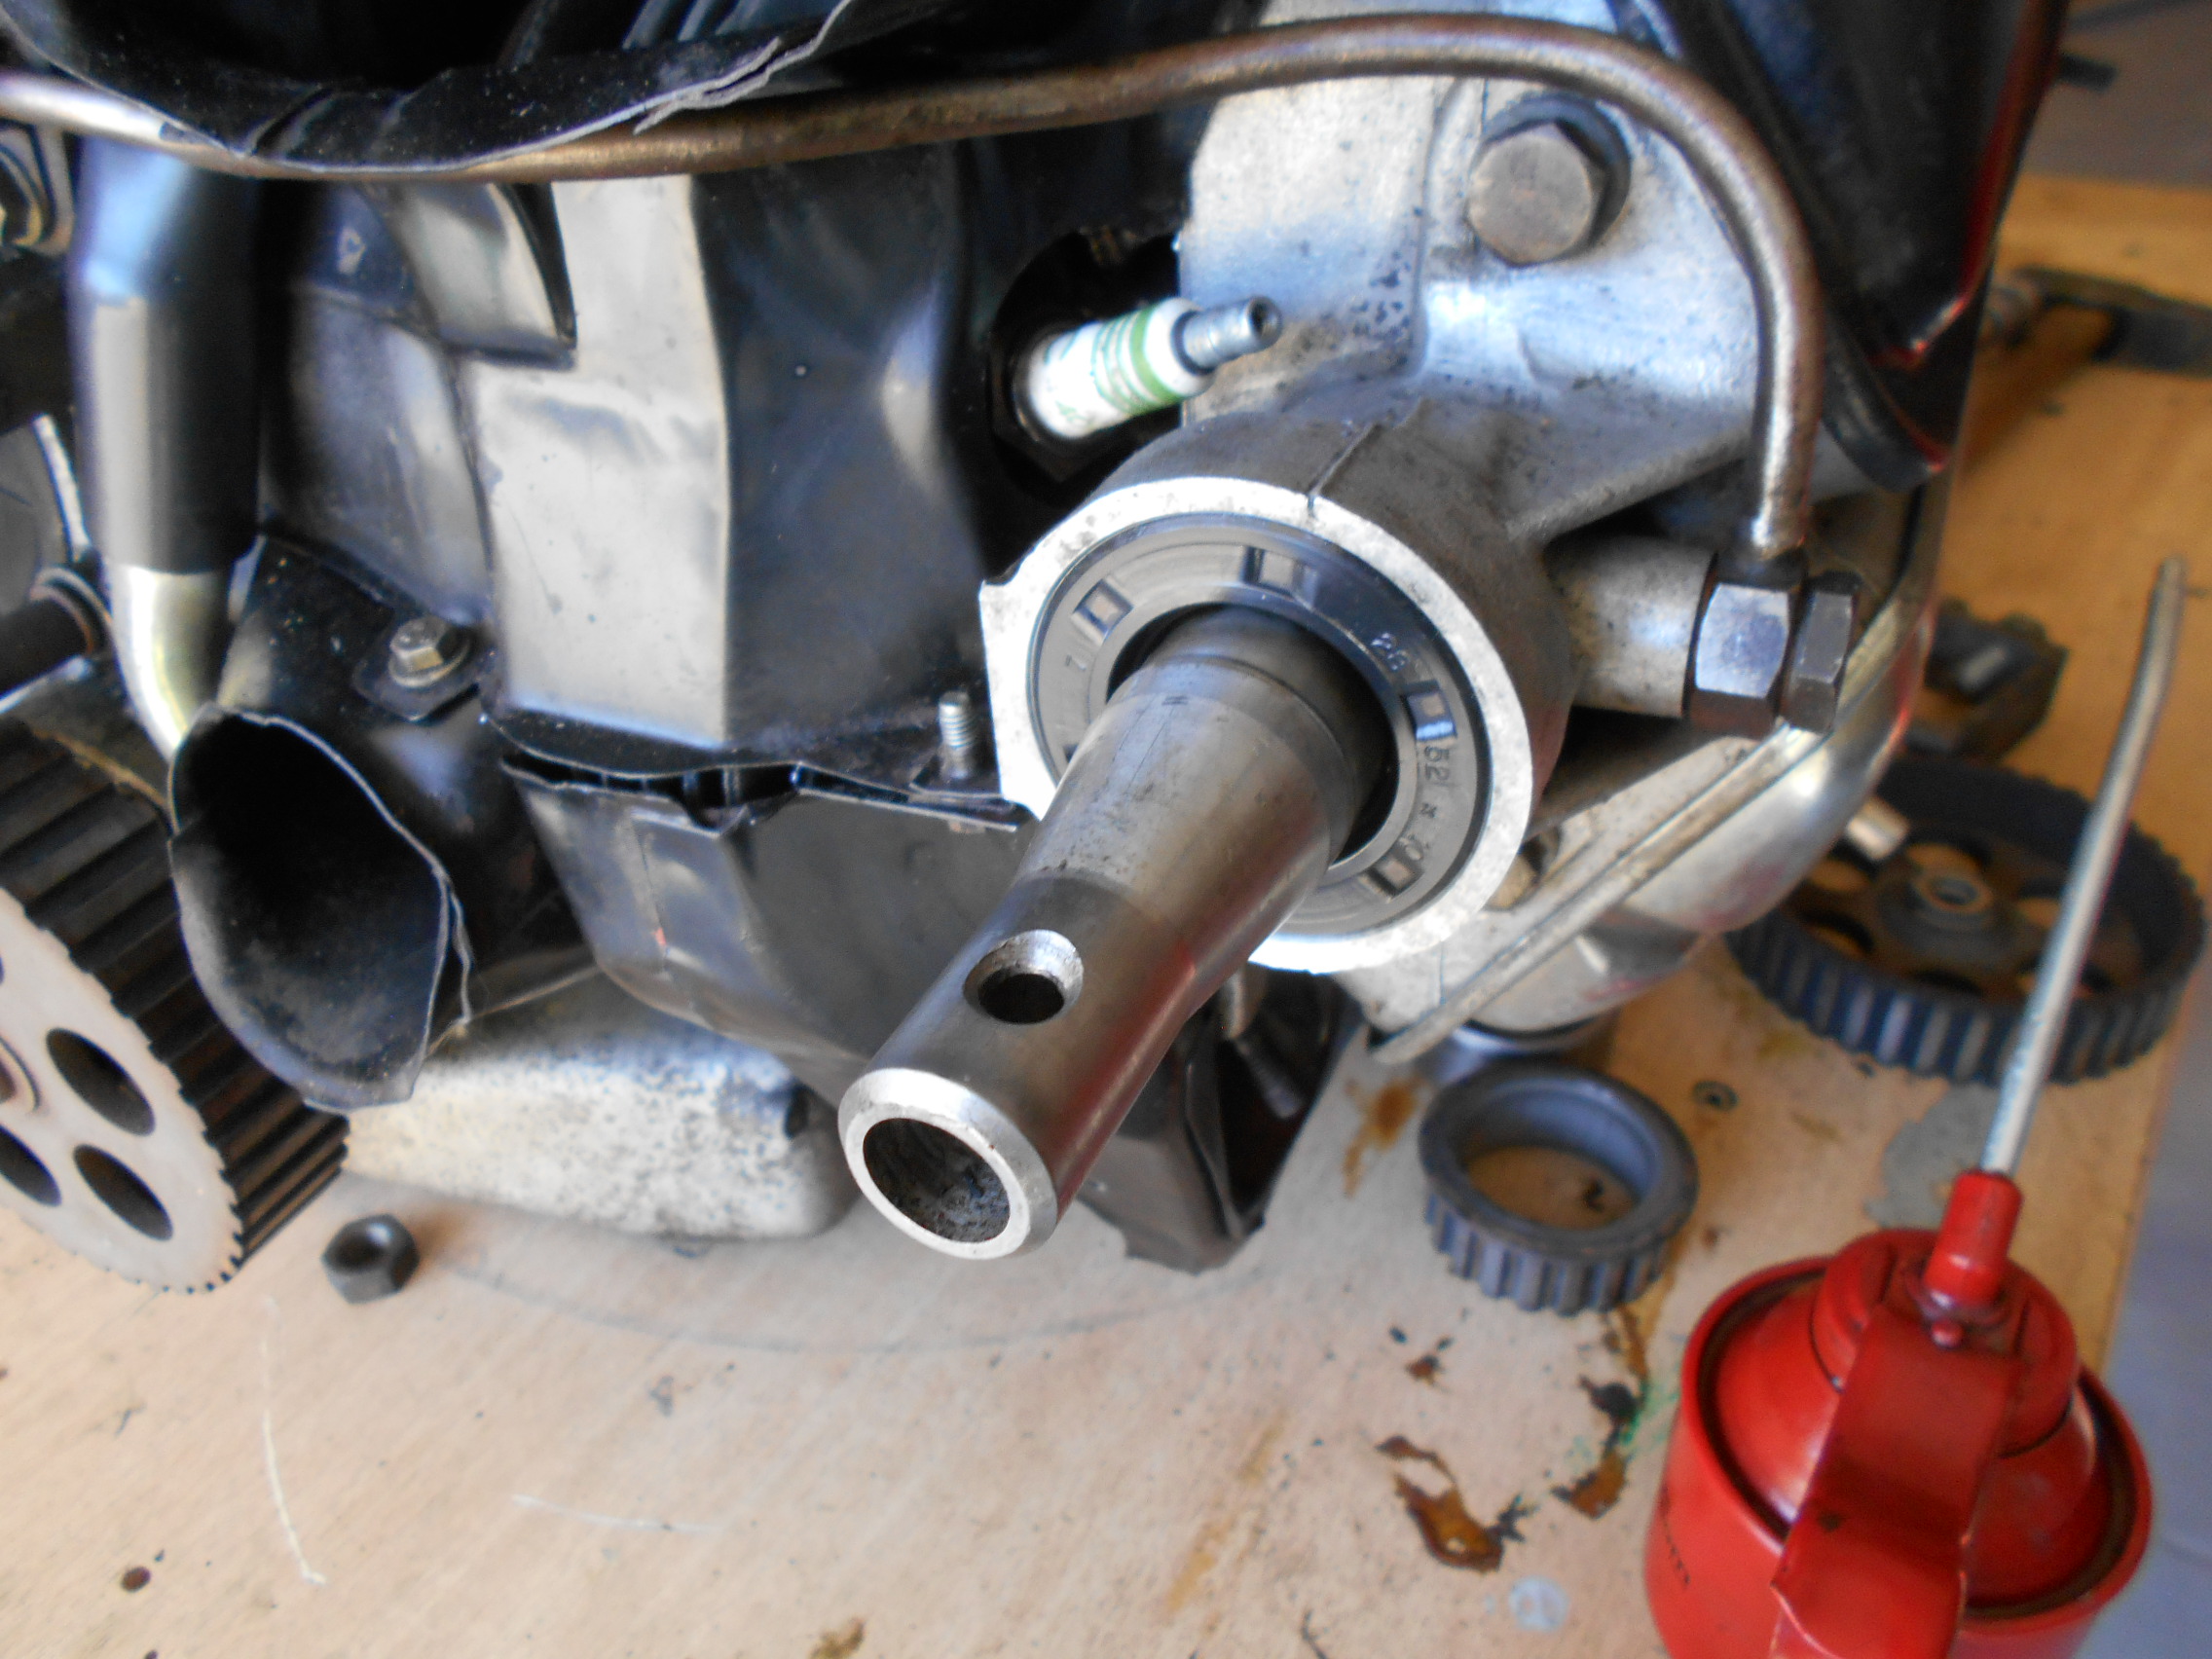
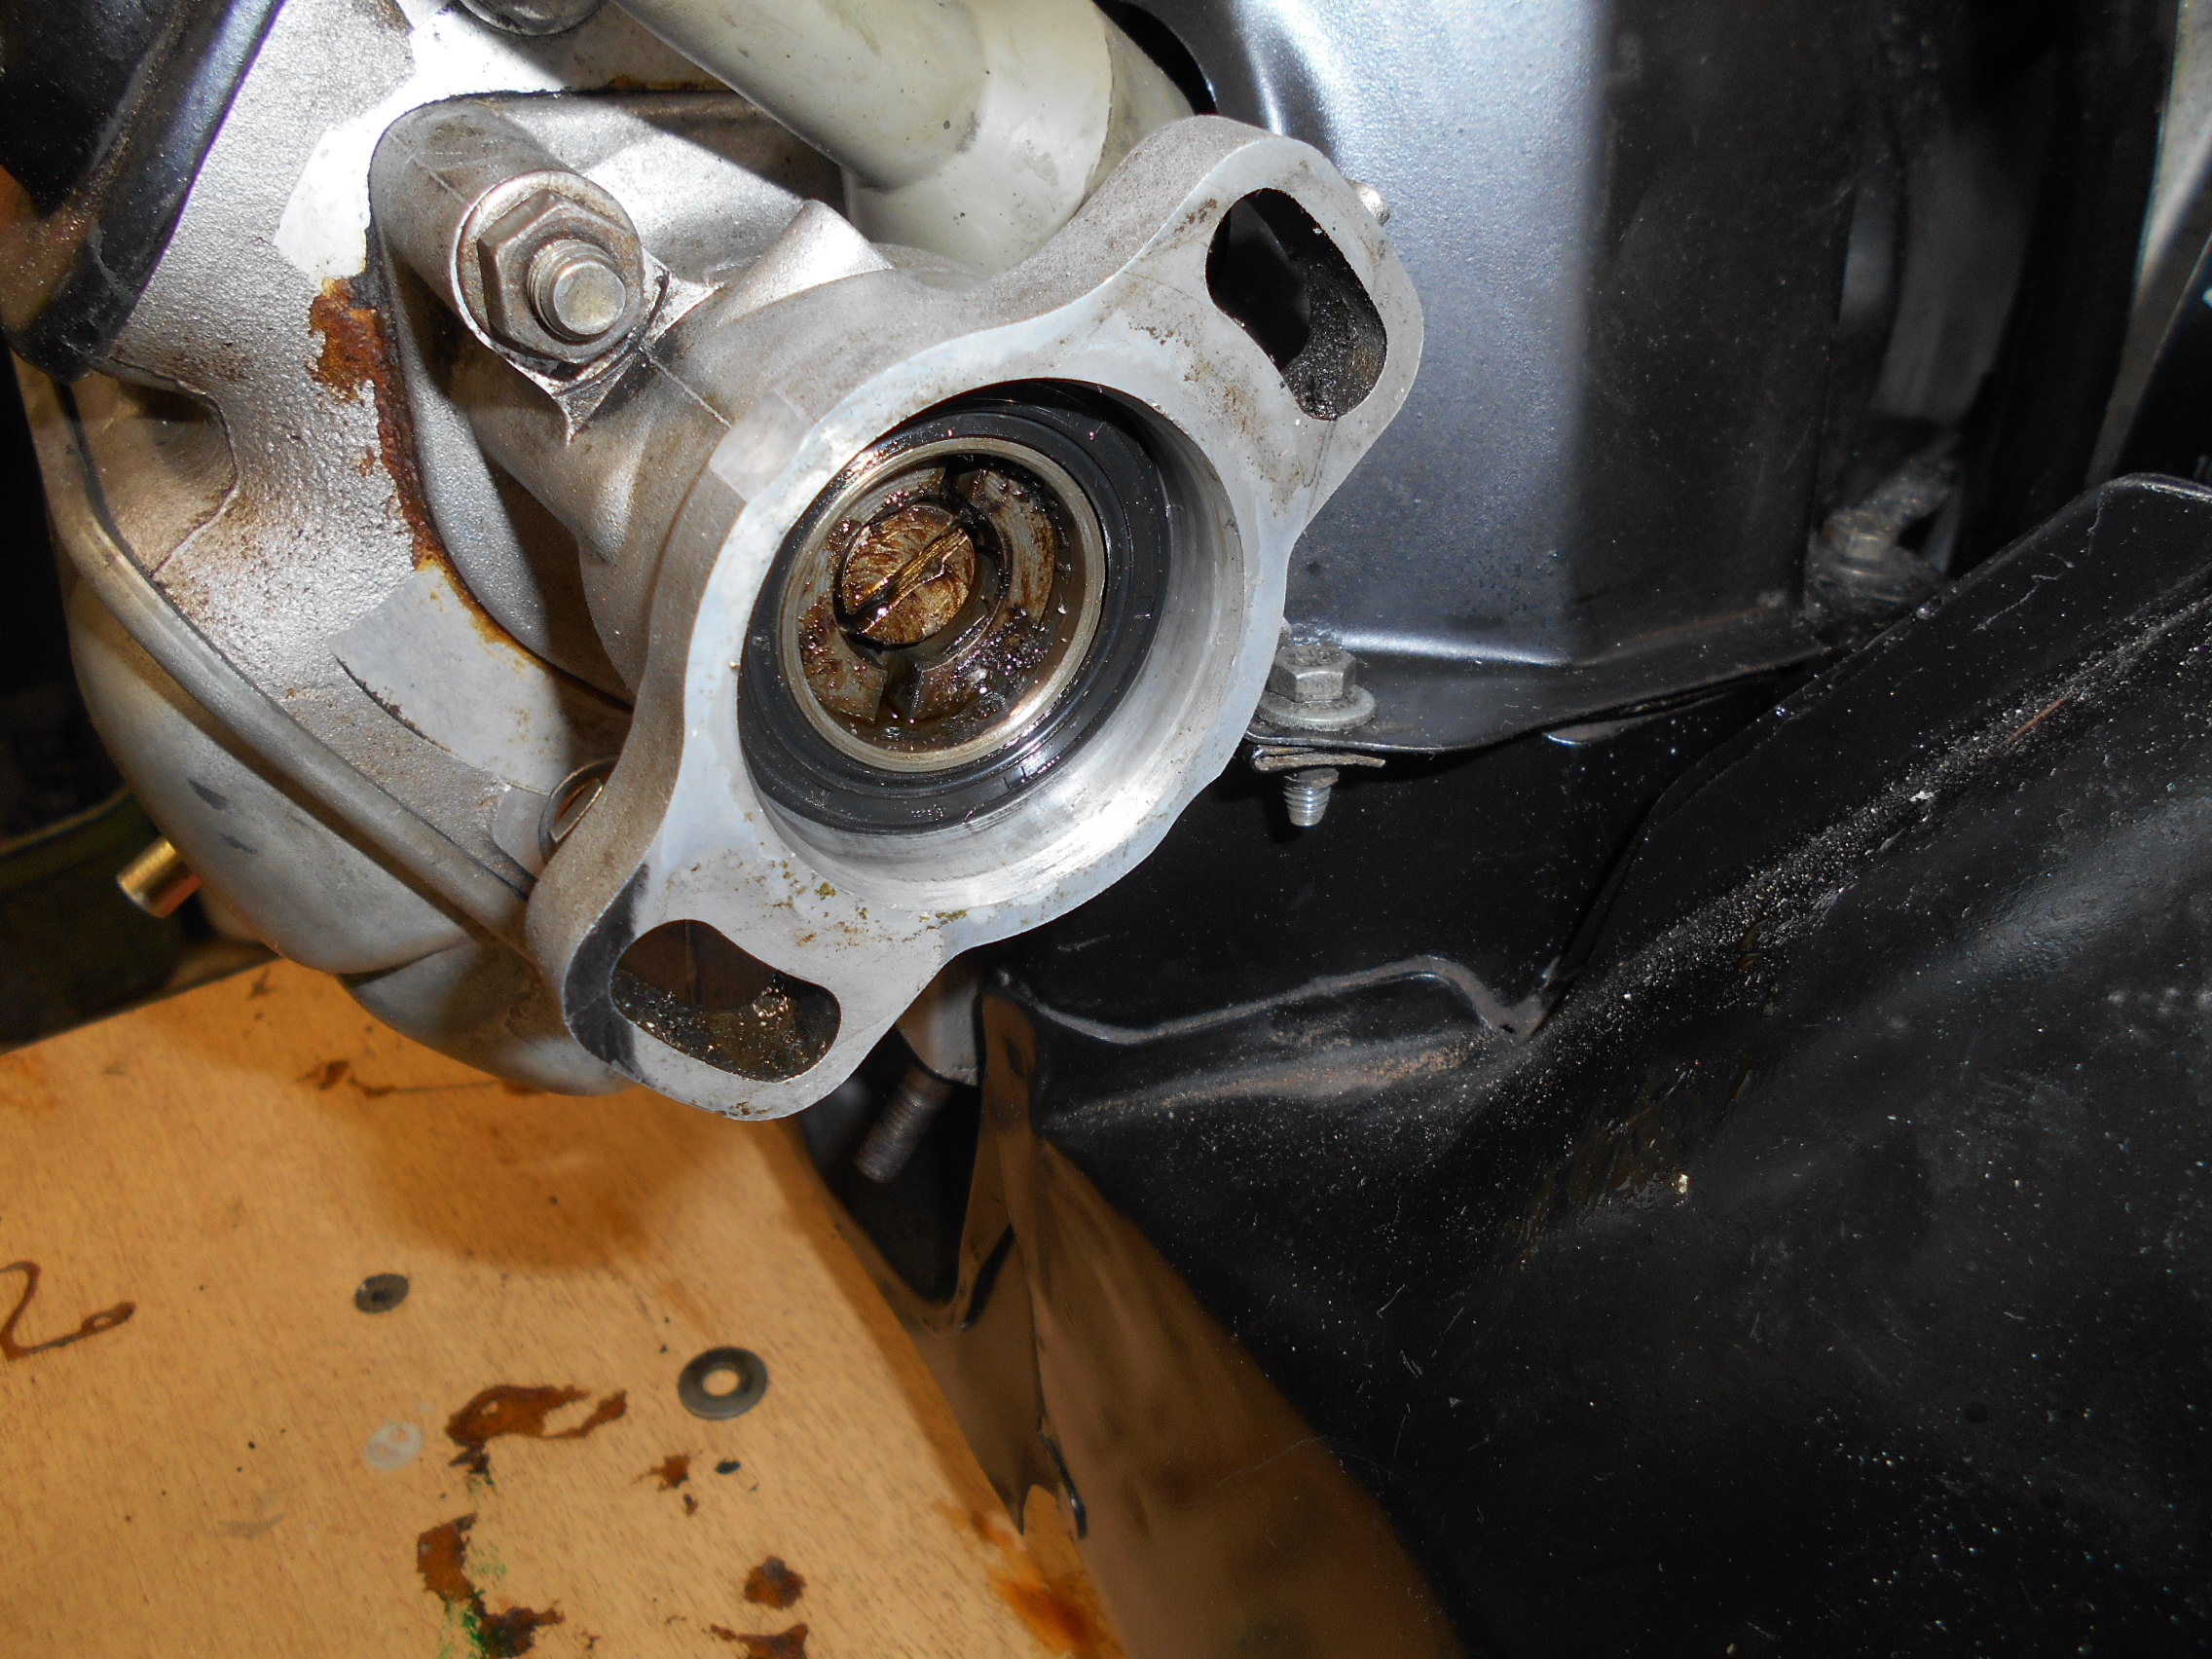
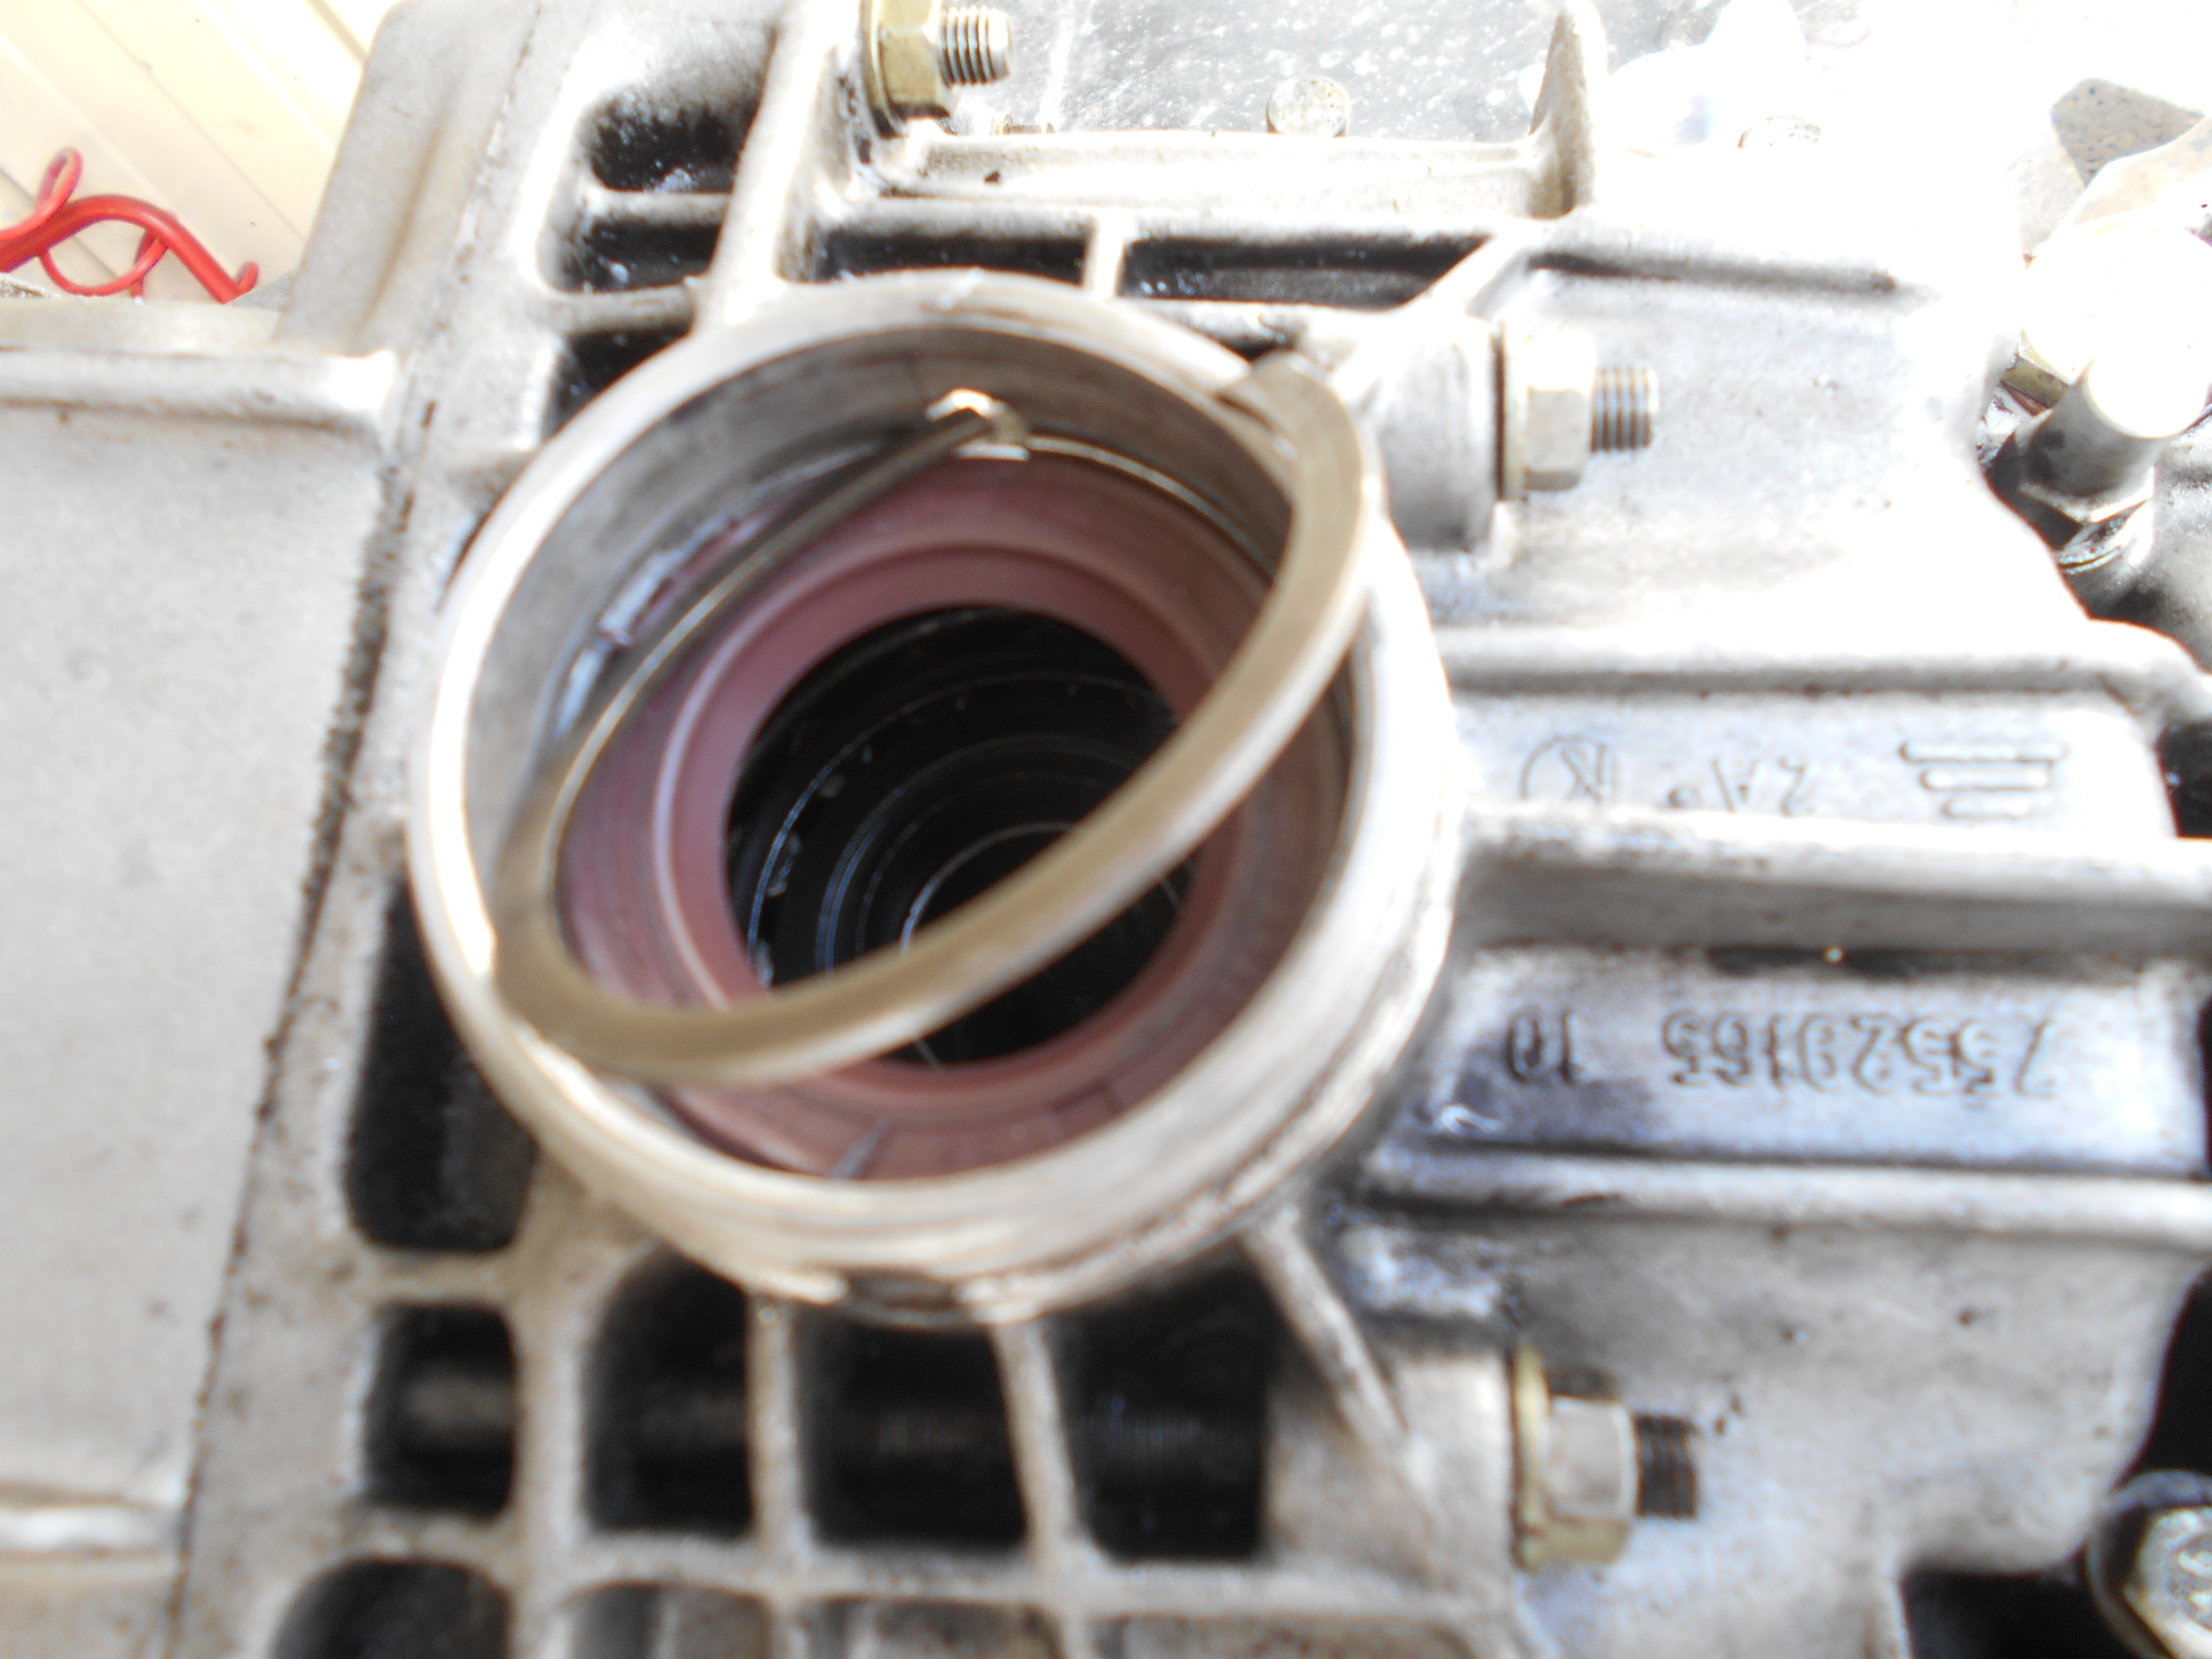
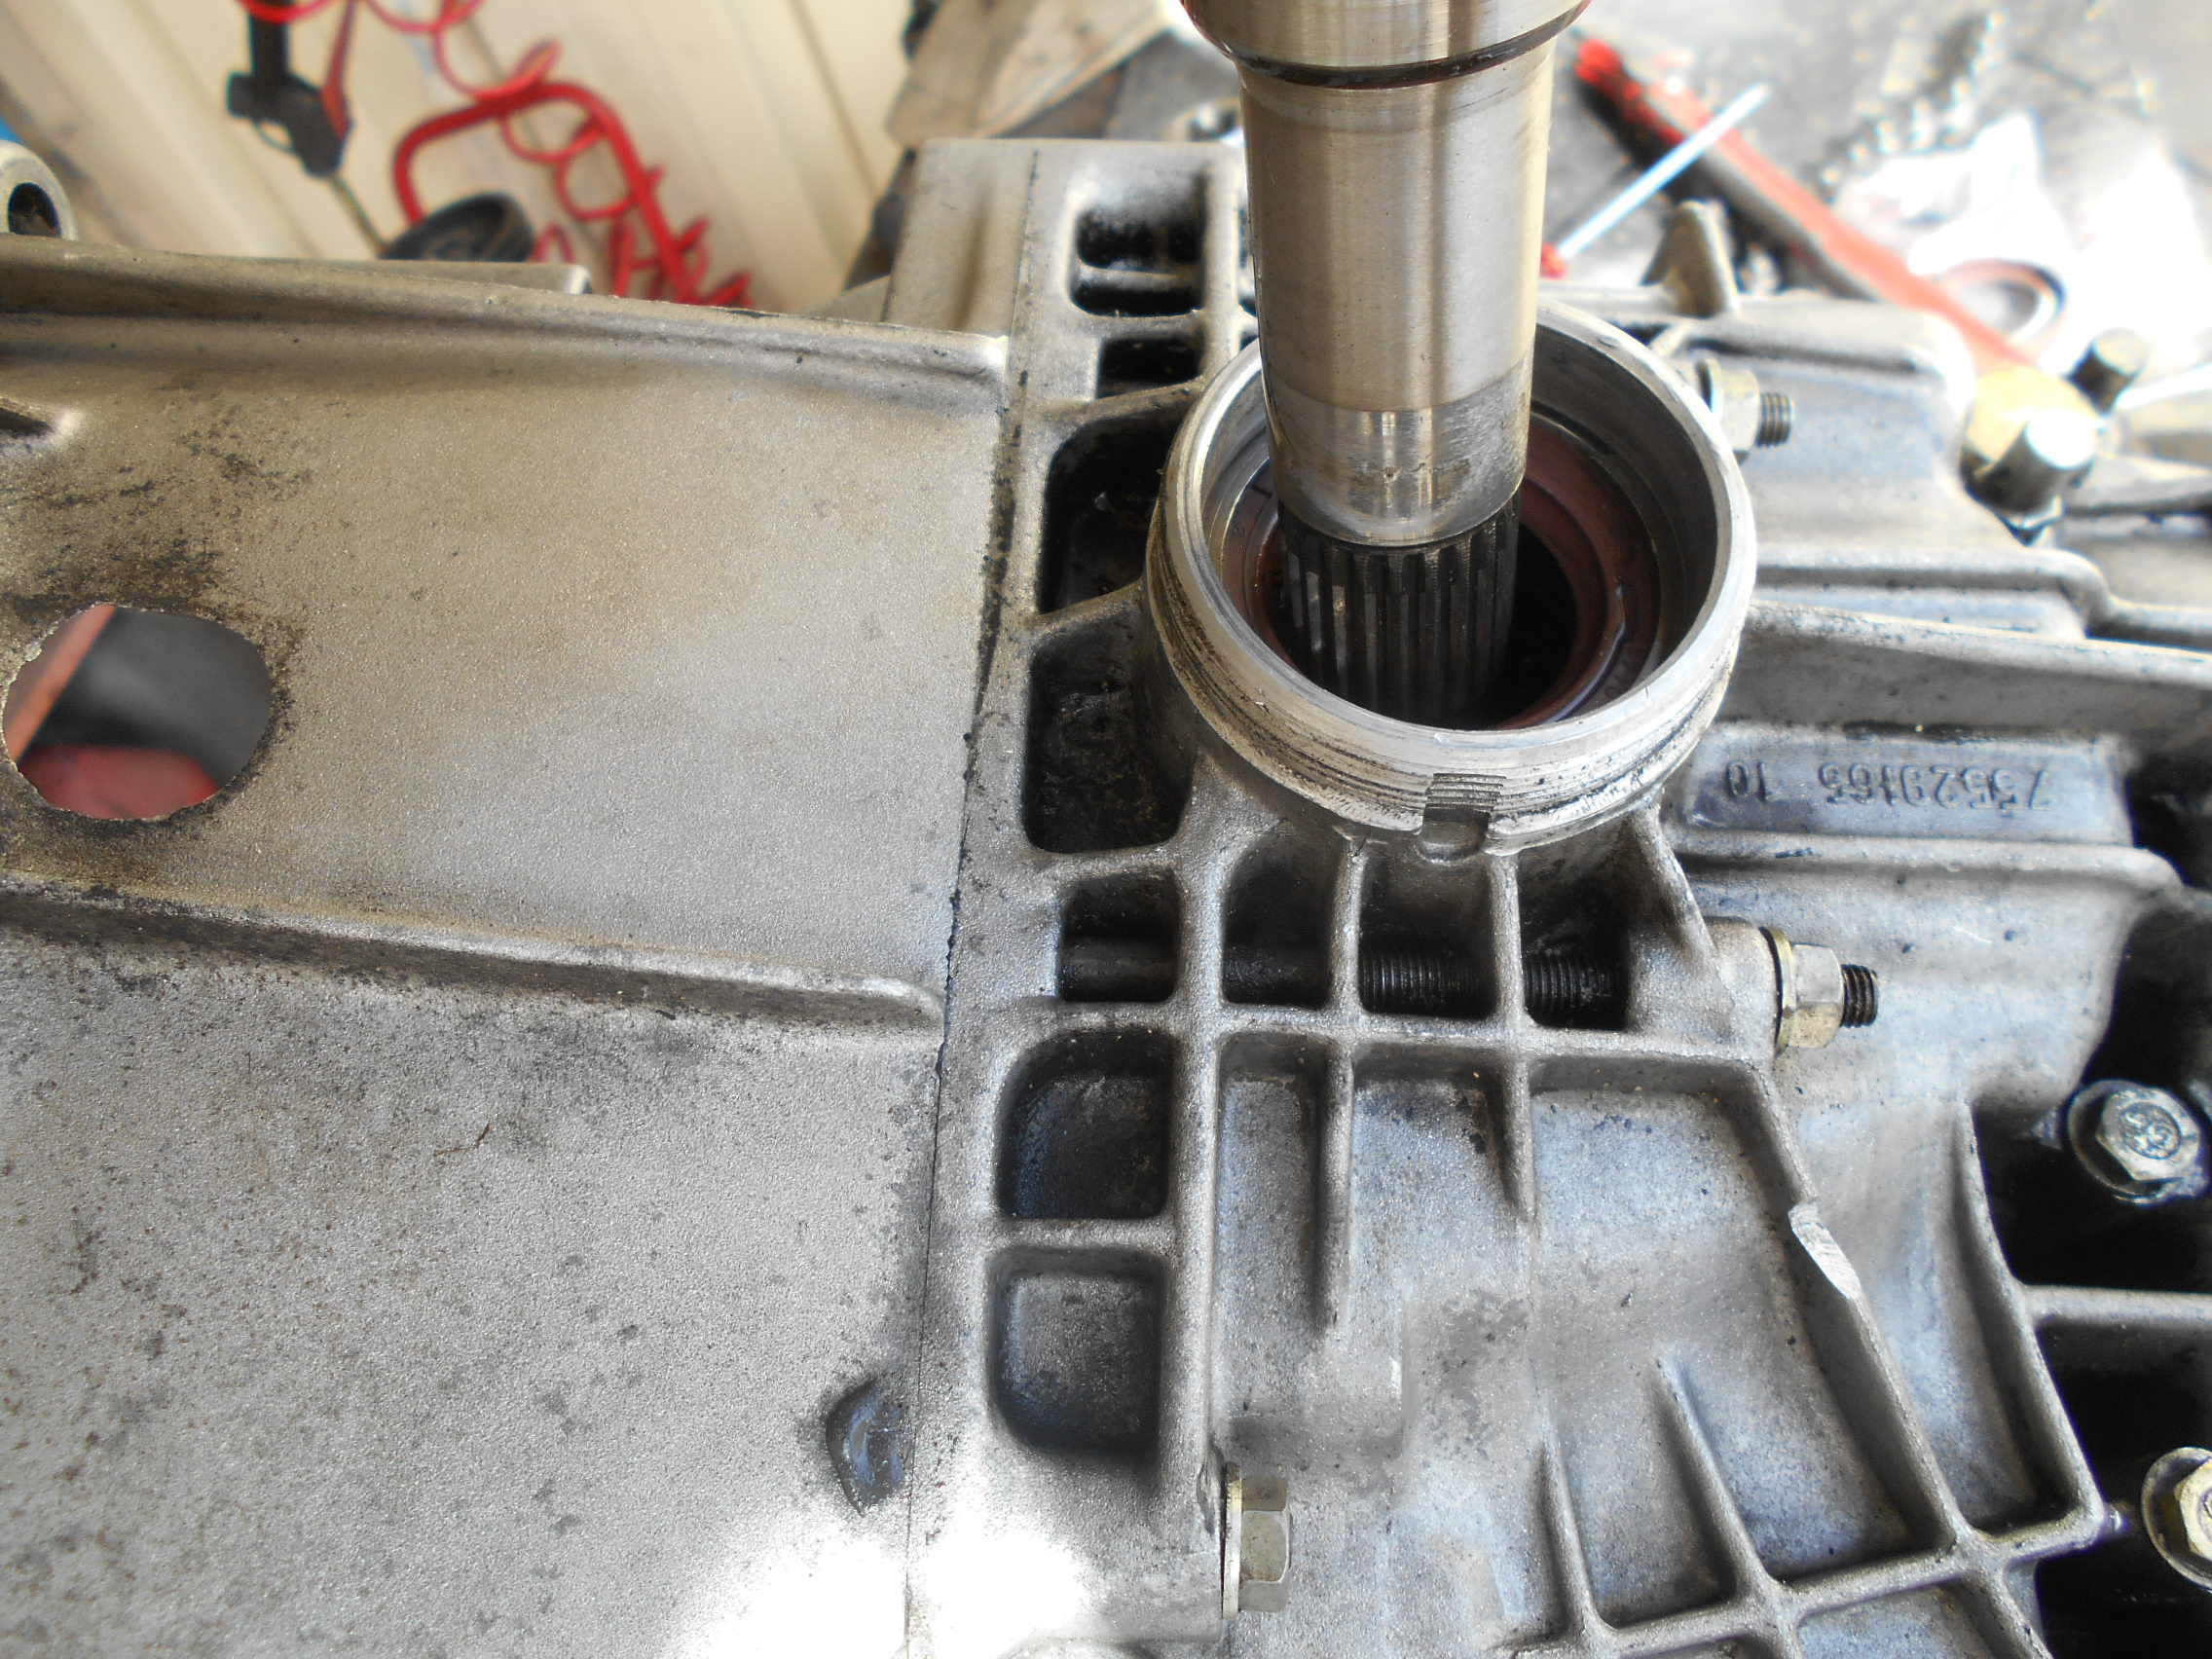
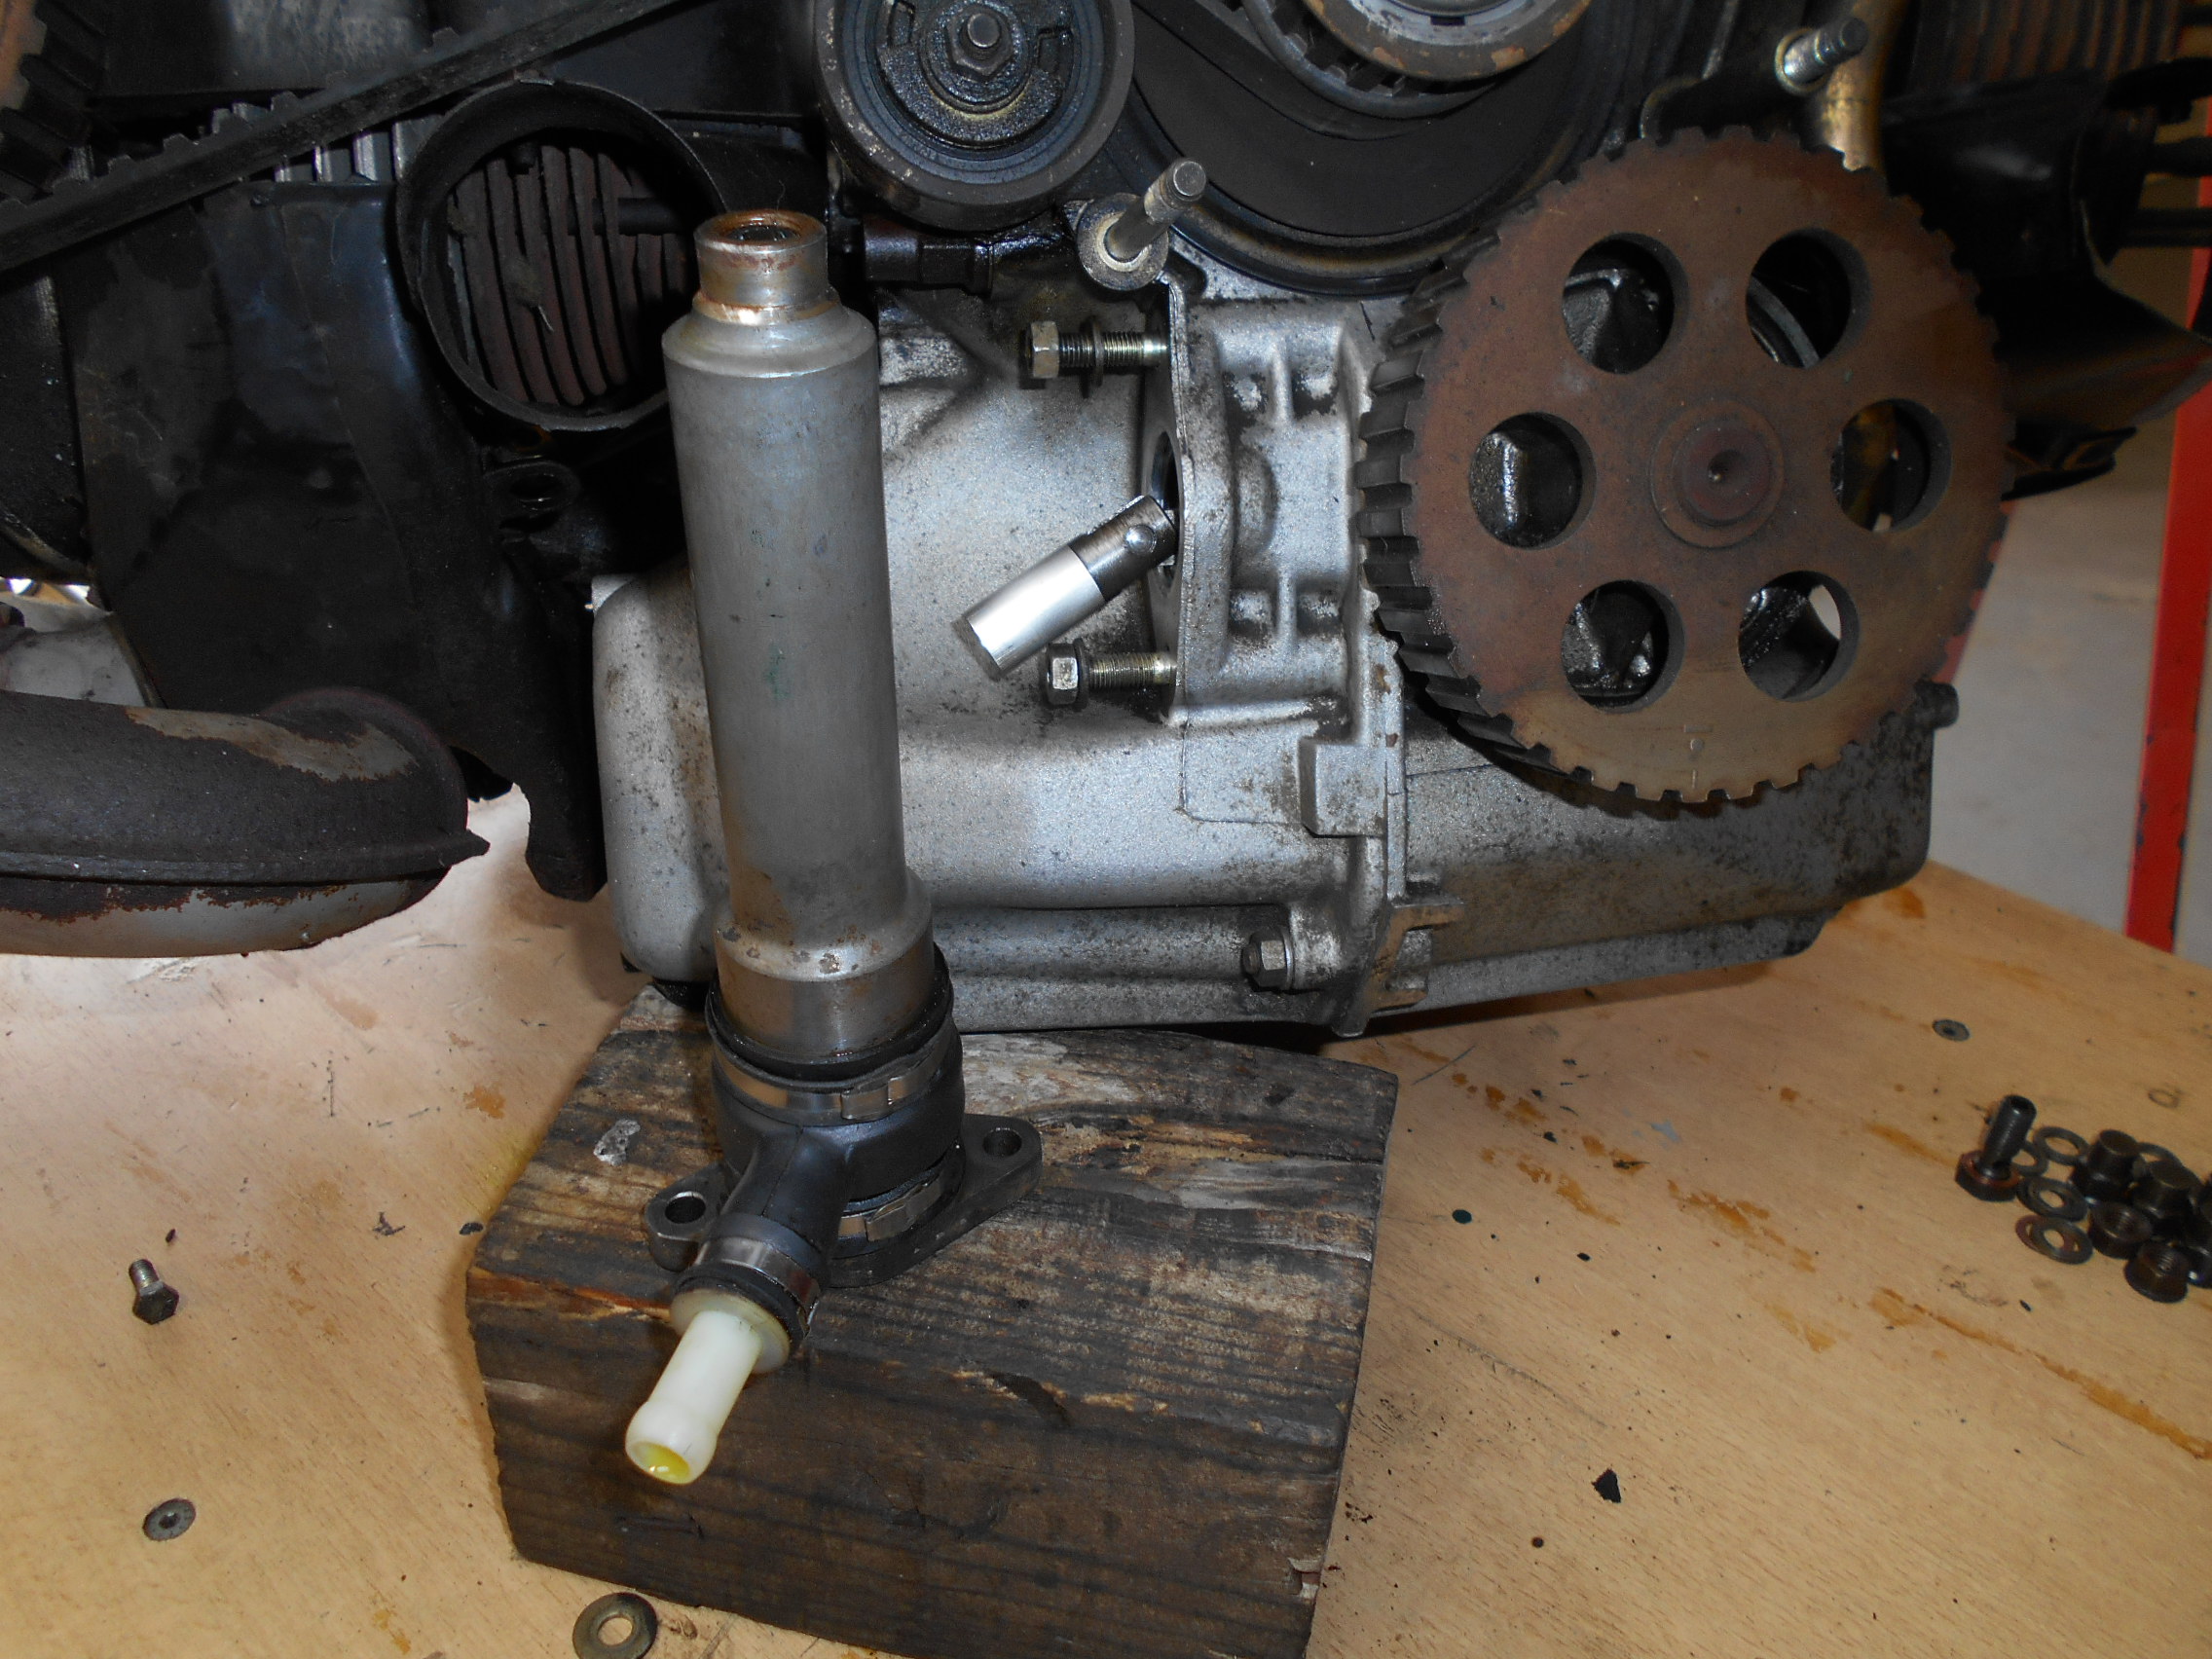
Prior to installing the new timing belts, this is the time to replace the front and rear crankshaft seals (photos 8, 9, and 10) and the camshaft seals (photos 11, 12, 13, and 14). The original Citroën tools are preferable for the proper installation of these seals.
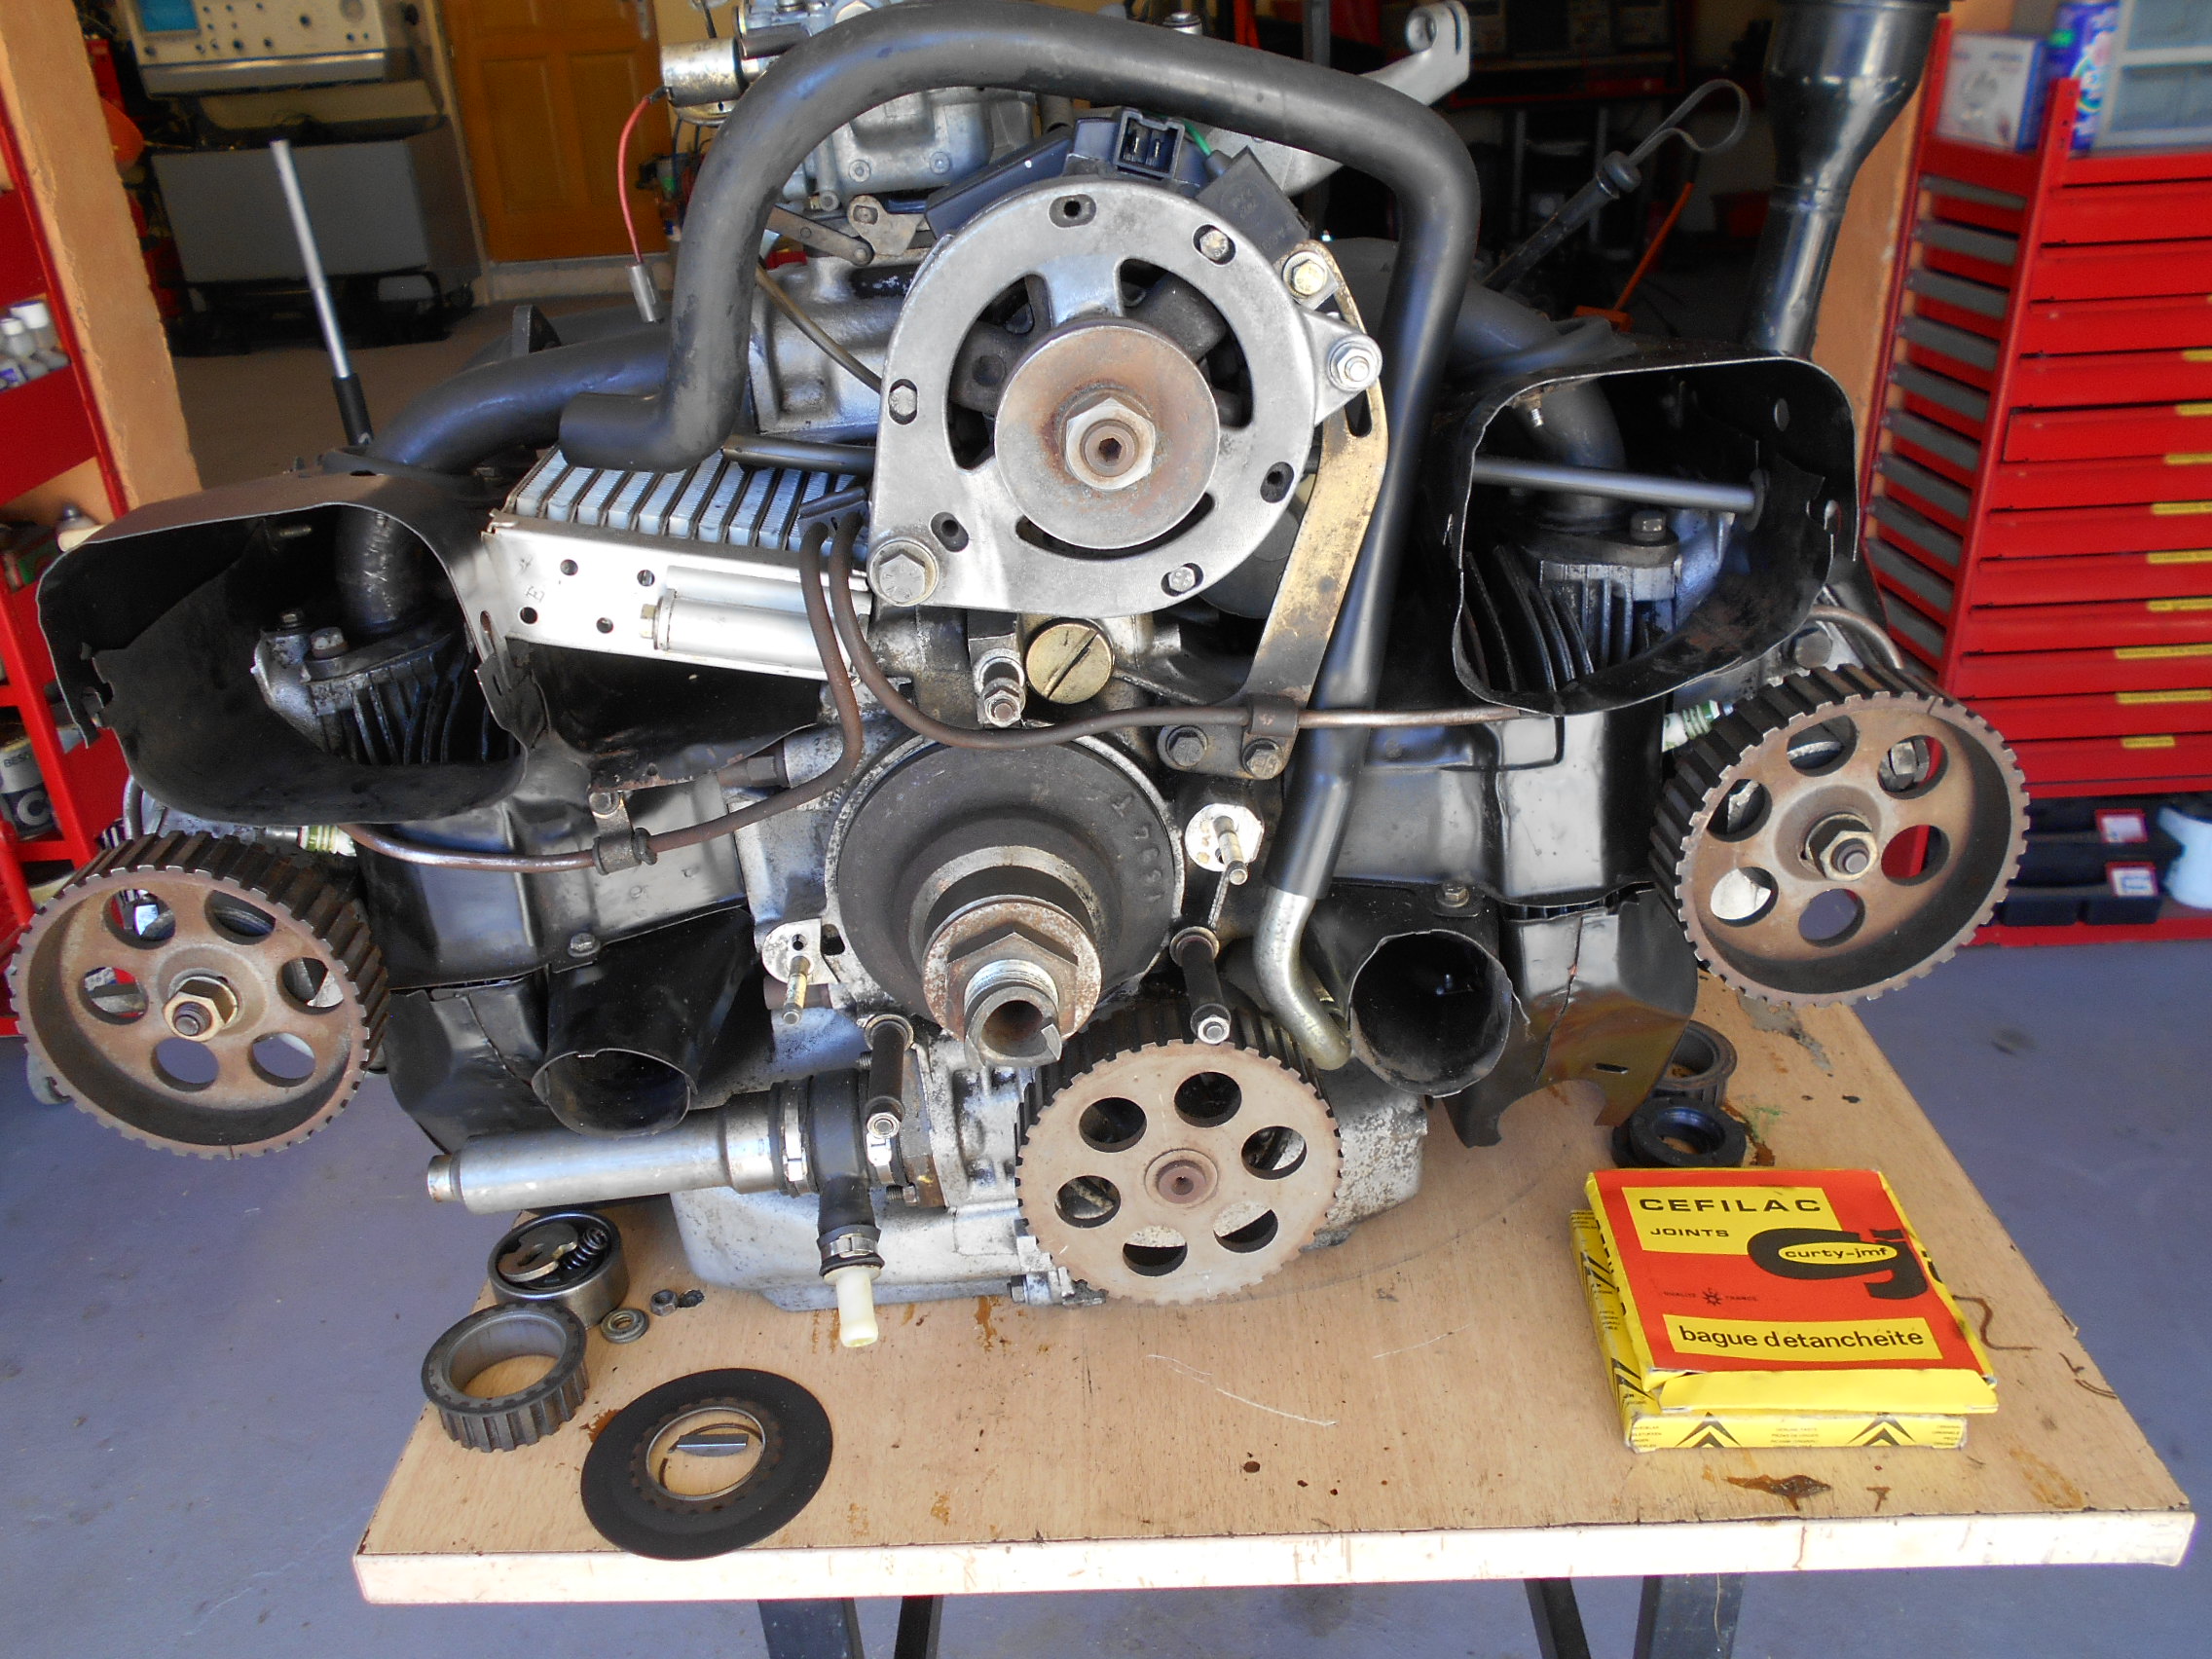
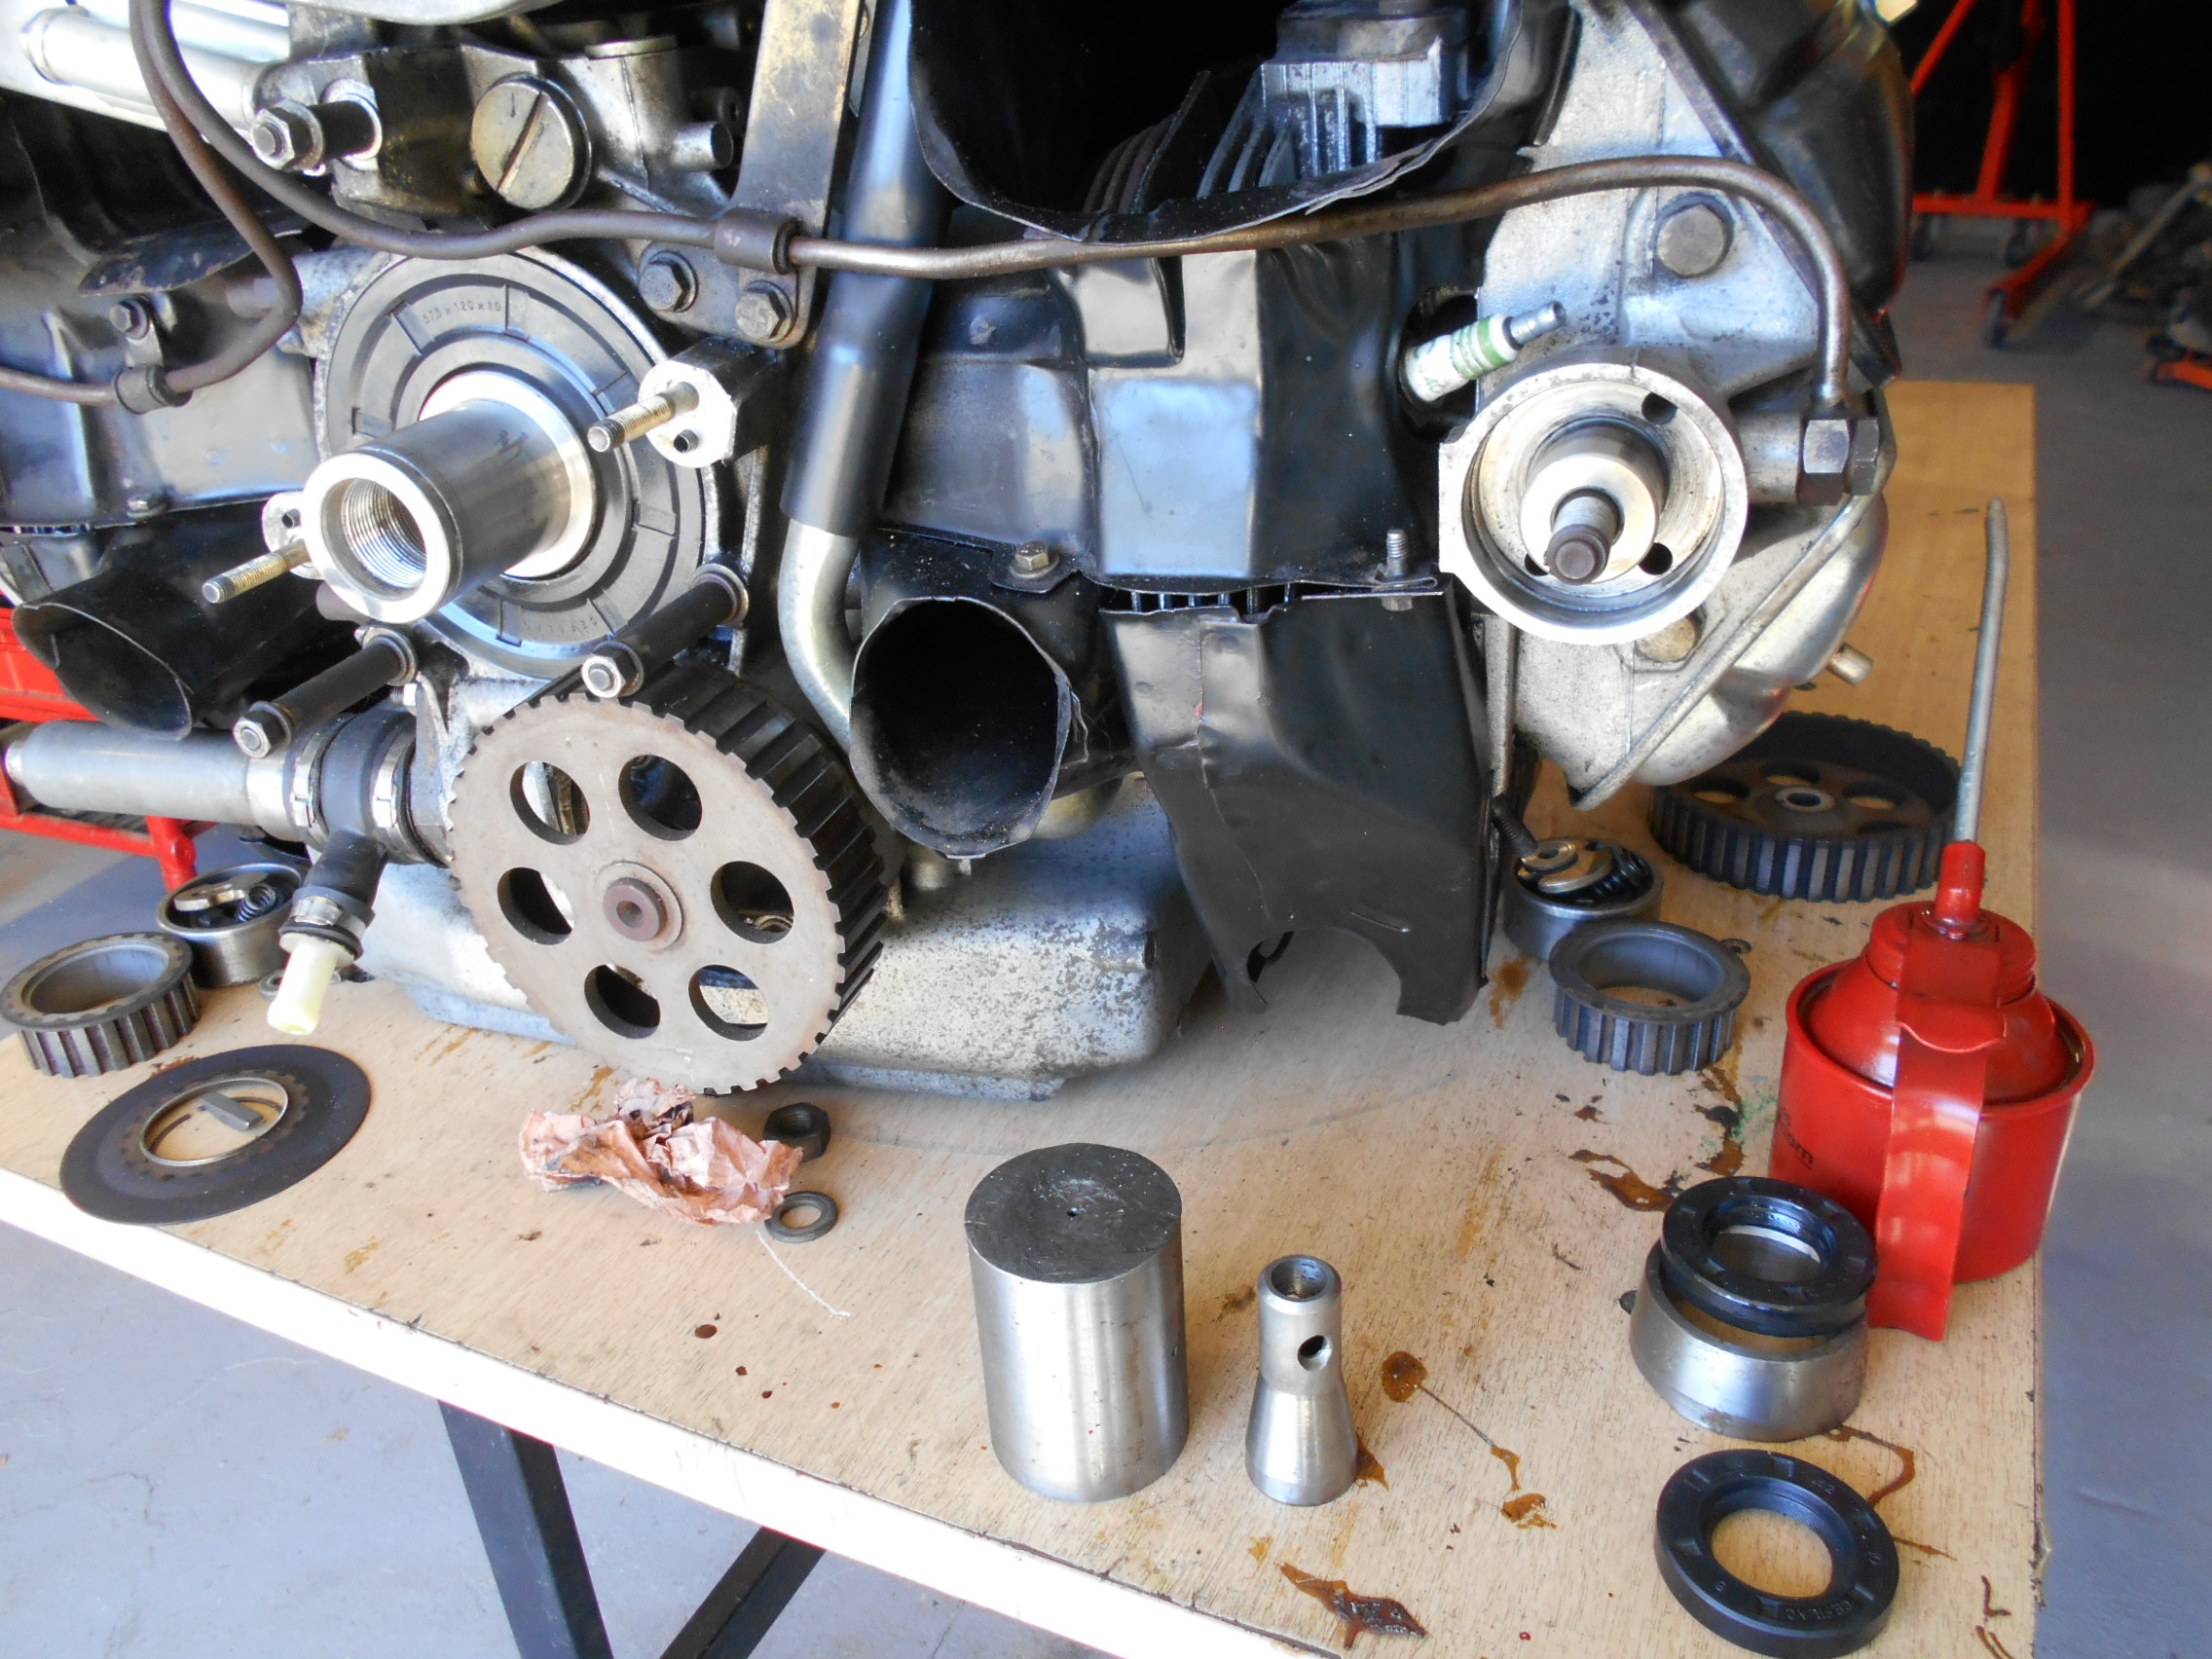
The installation of new timing belts should be accompanied by fitting new belt tensioner rollers, following the step-by-step method described in every GS/A workshop manual (photo 15).
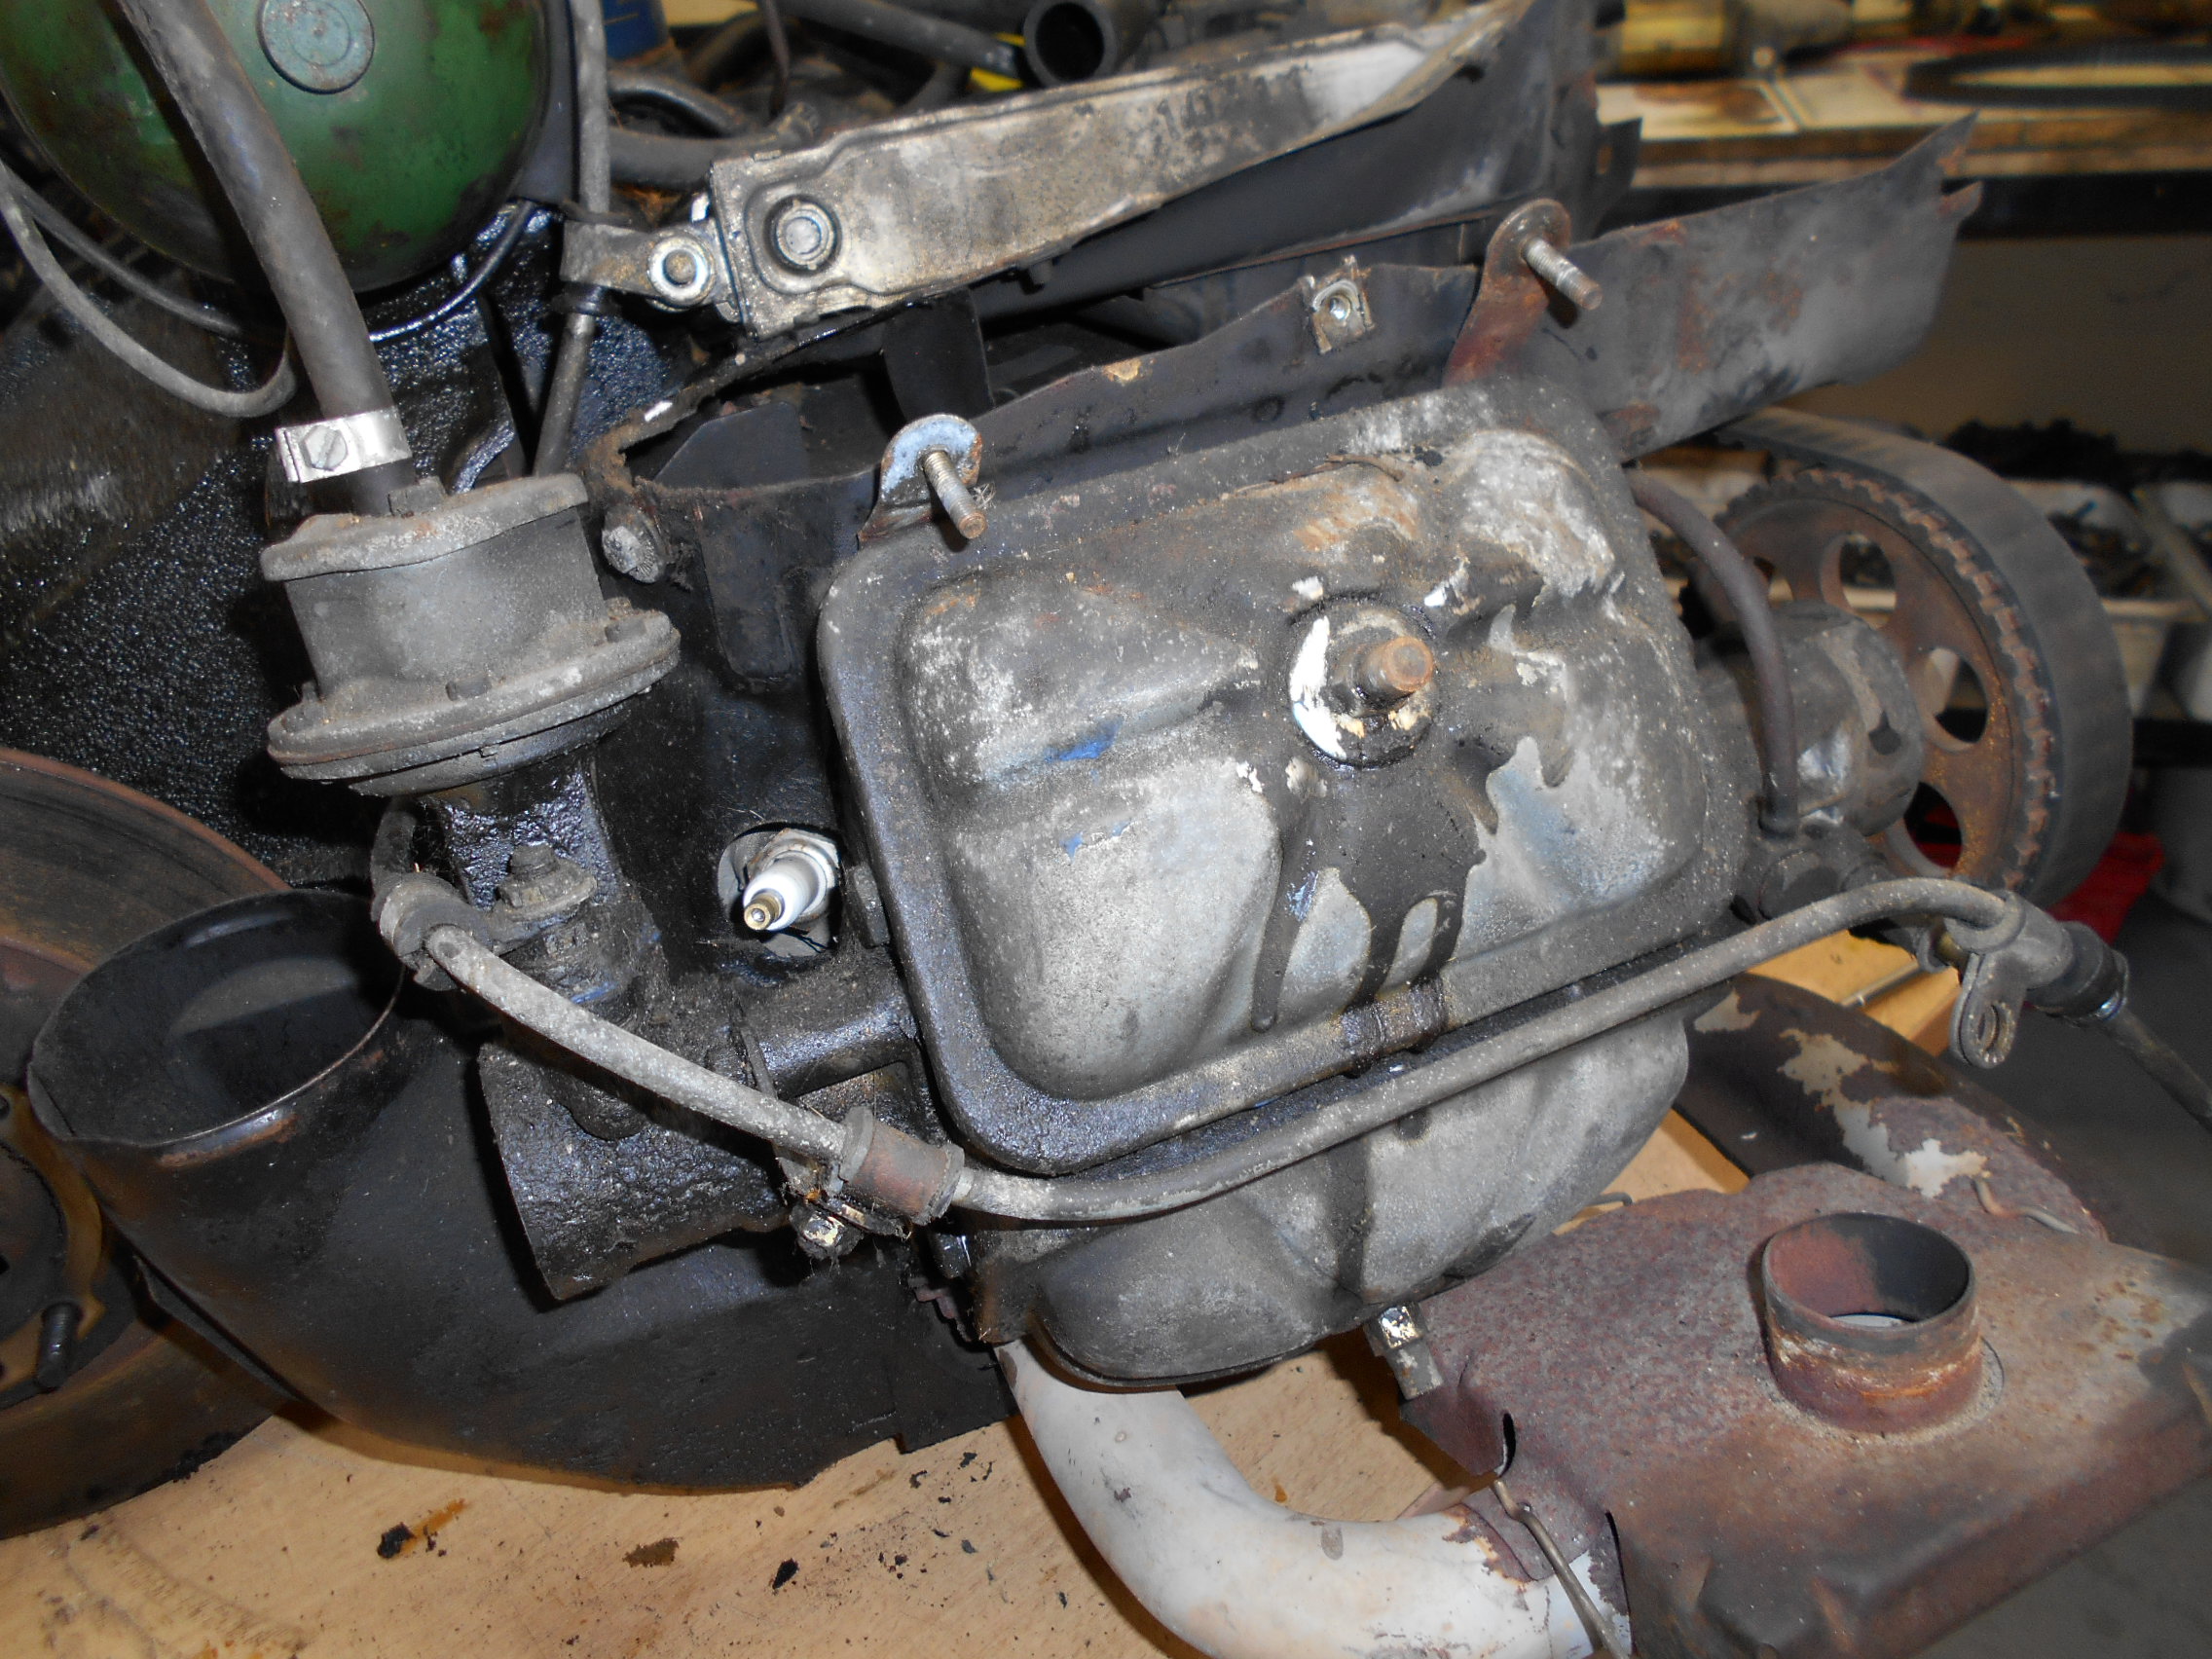
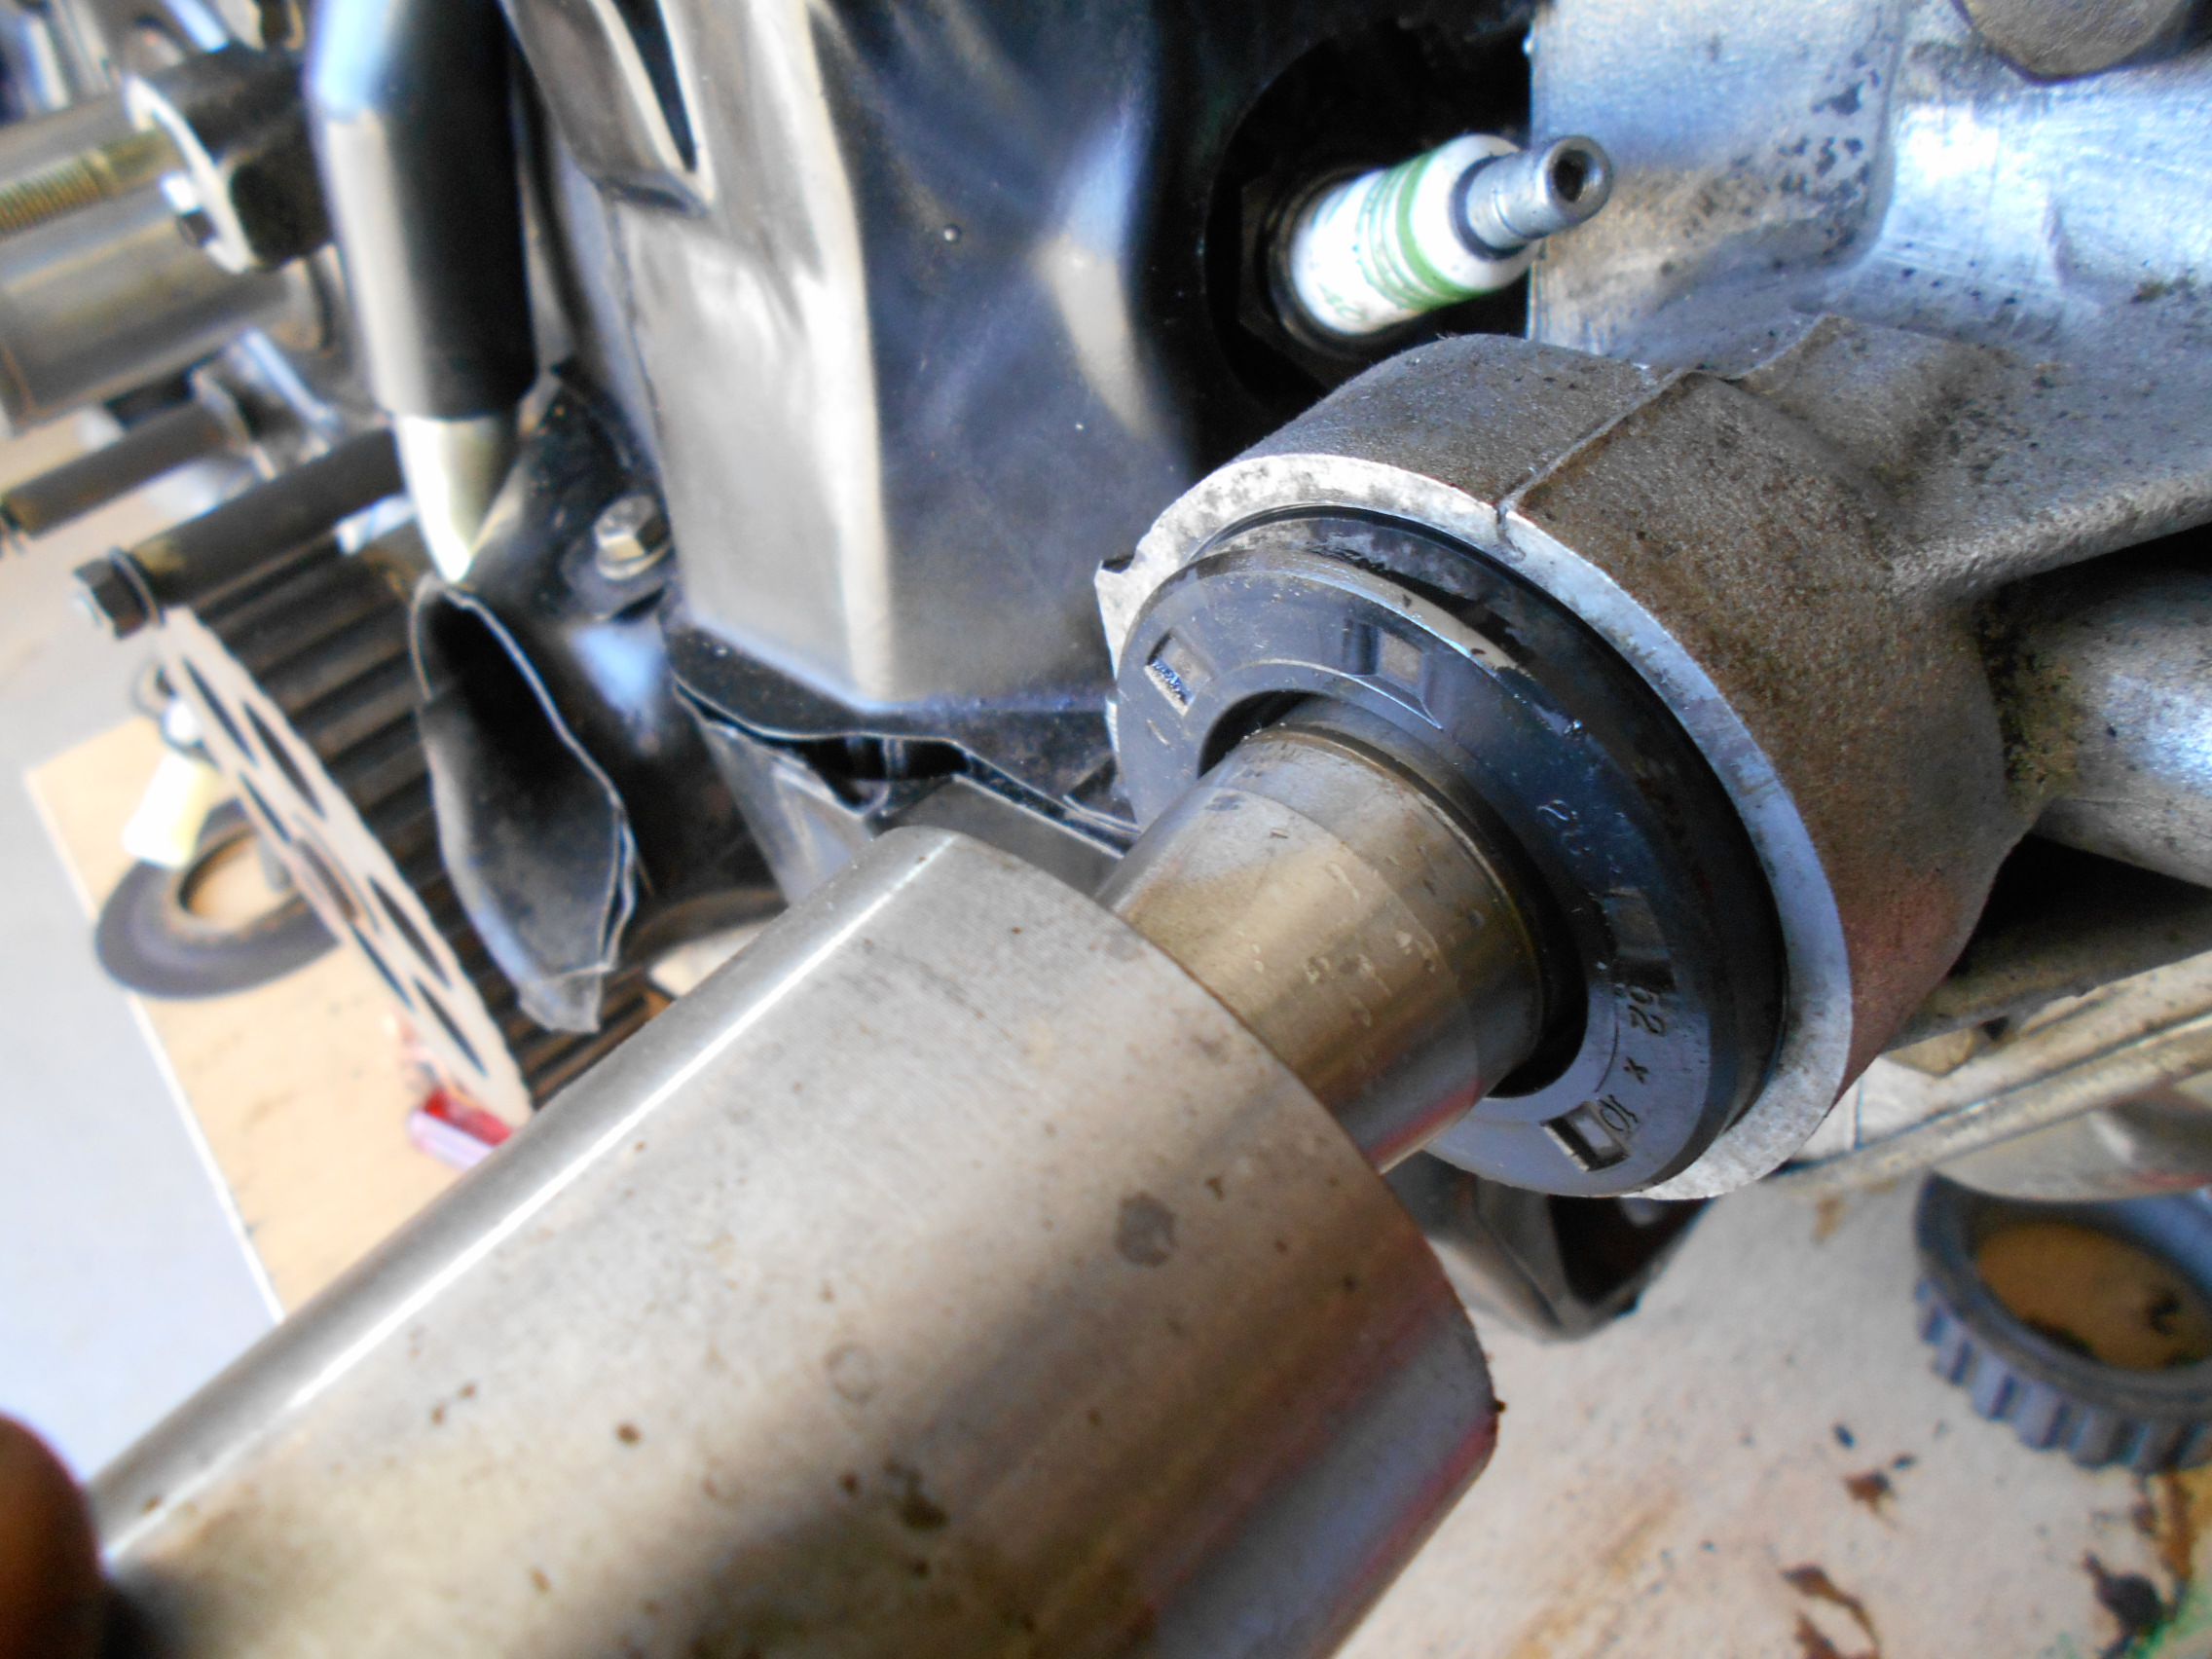
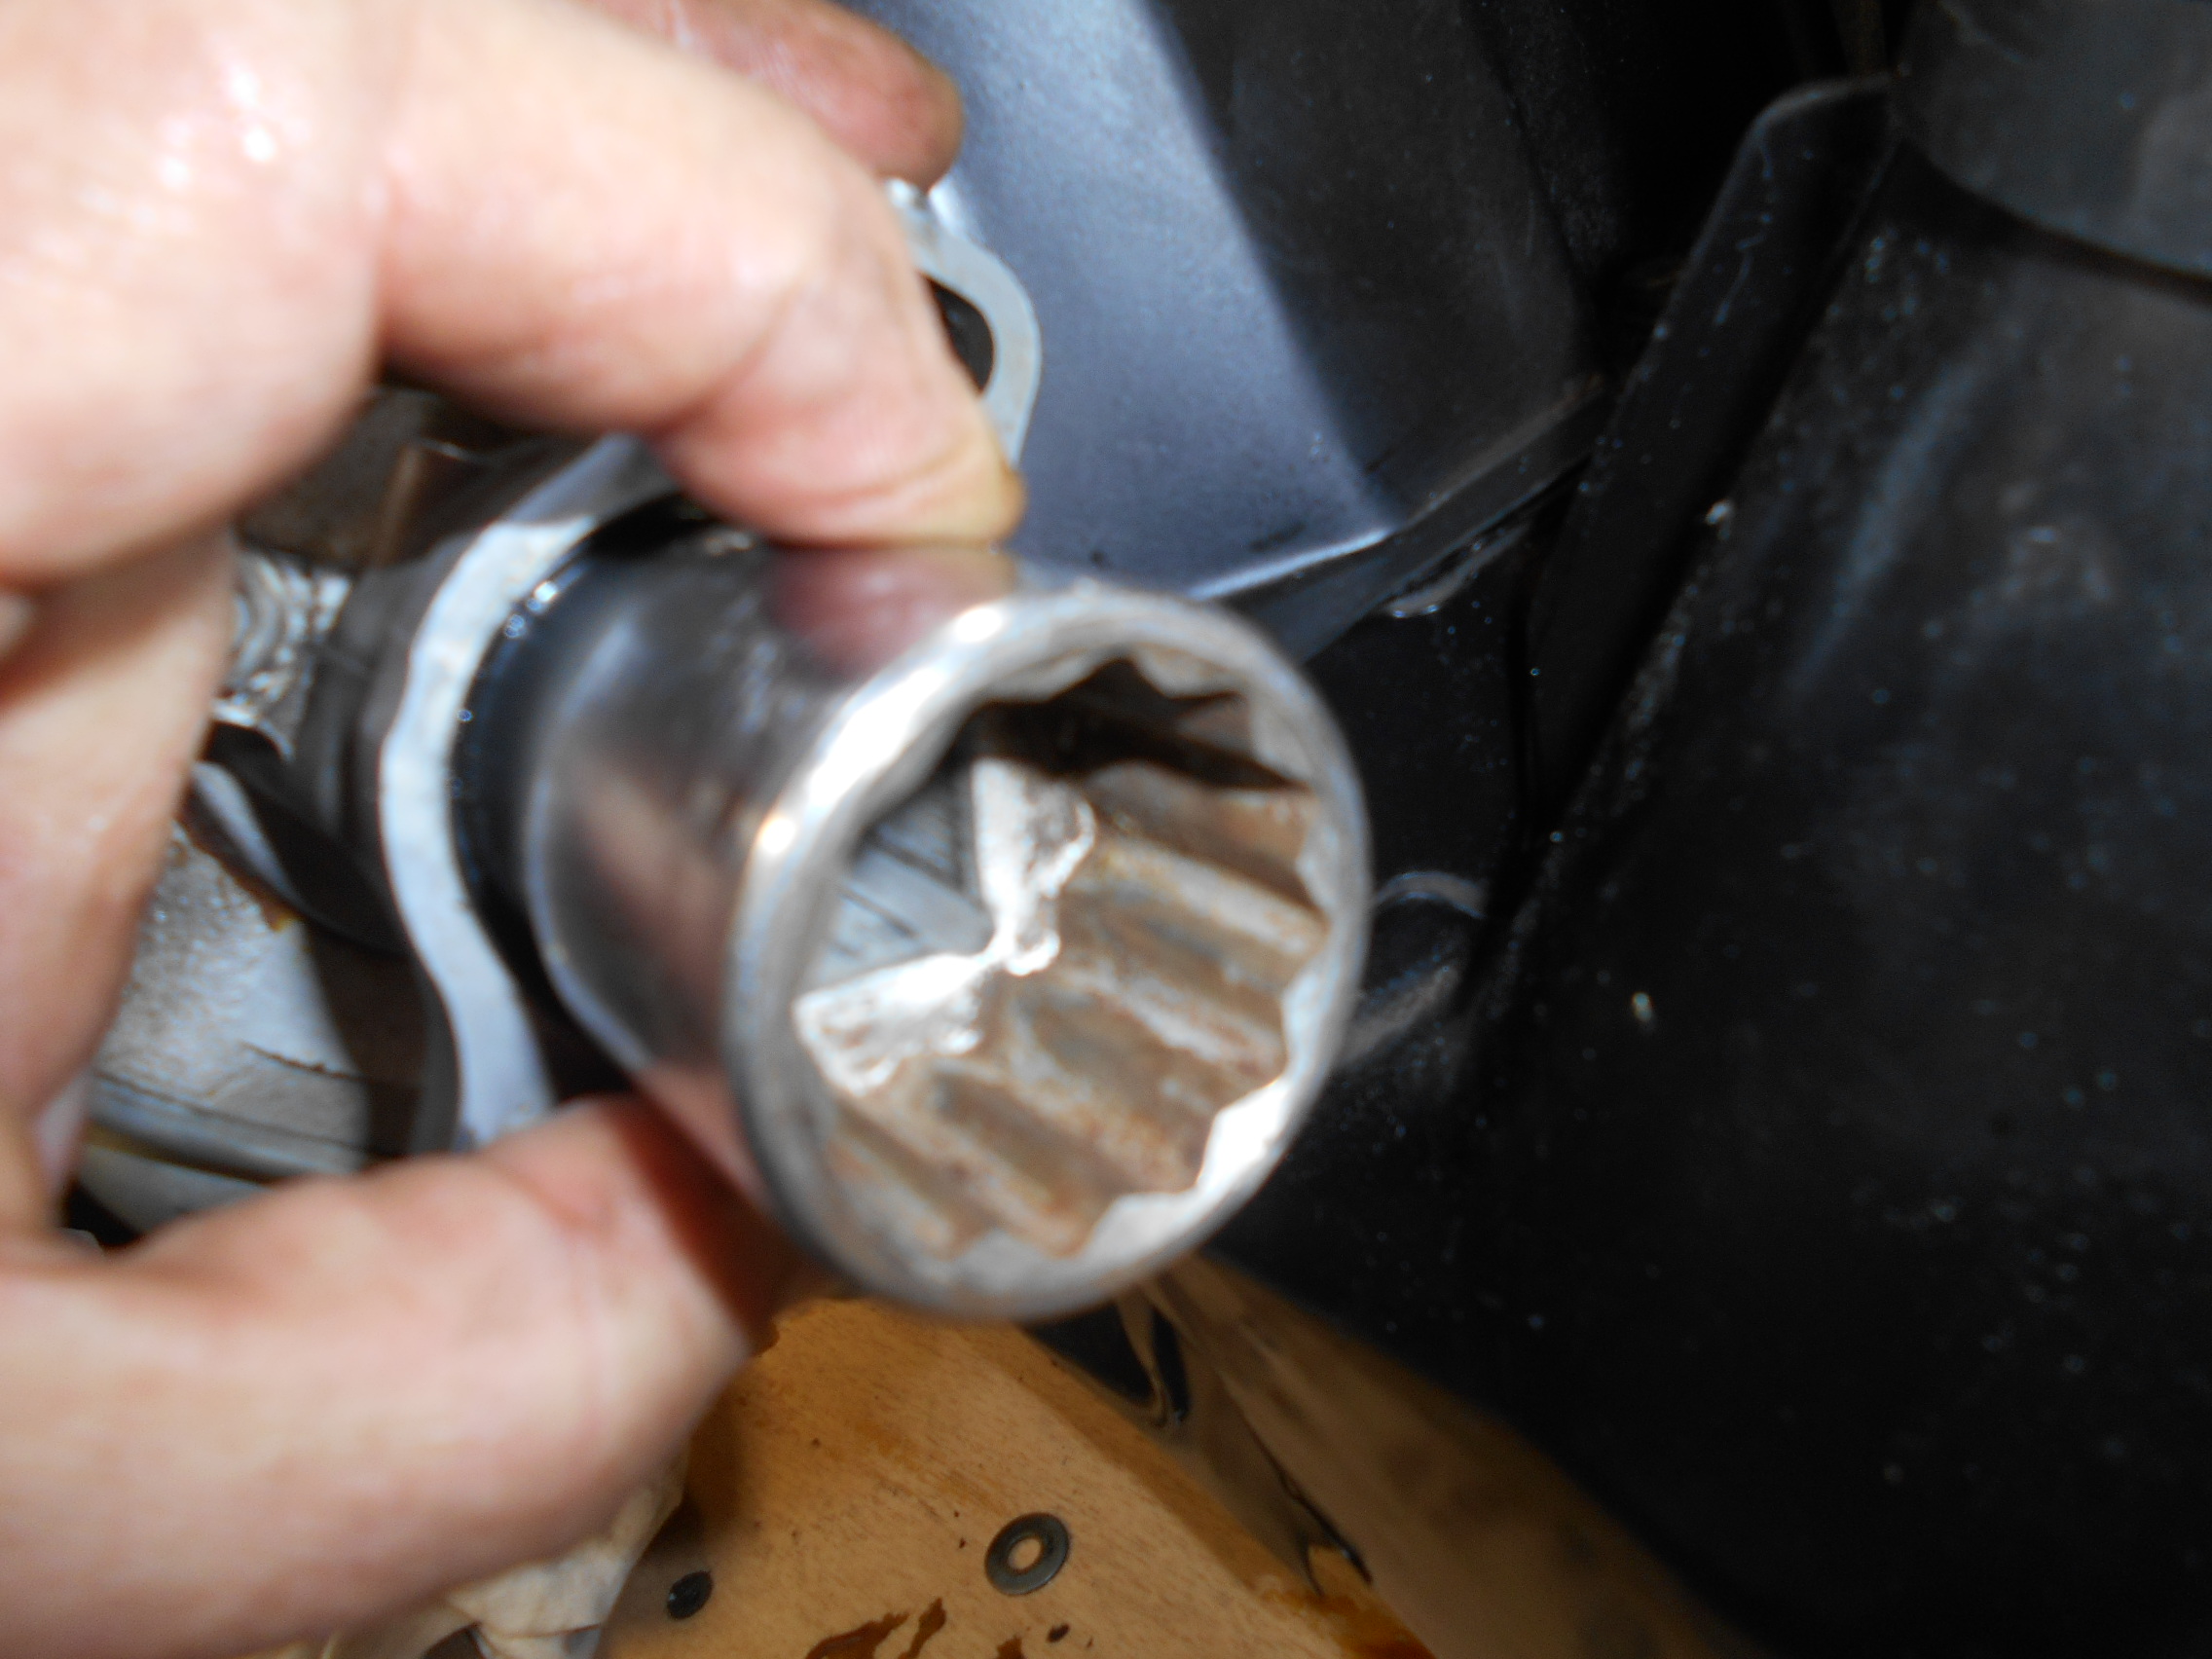
Replacement of the left-side rear camshaft seal (by the distributor) is straightforward. Use a socket of the appropriate size to seat the seal against the bearing (photos 16 and 17). Or use the Citroën tool for installing the grease caps of 2CV and GS rear hubs (photo 17bis): If you turn the tool around, it works perfectly for installing this seal (Citroën never noticed this!).
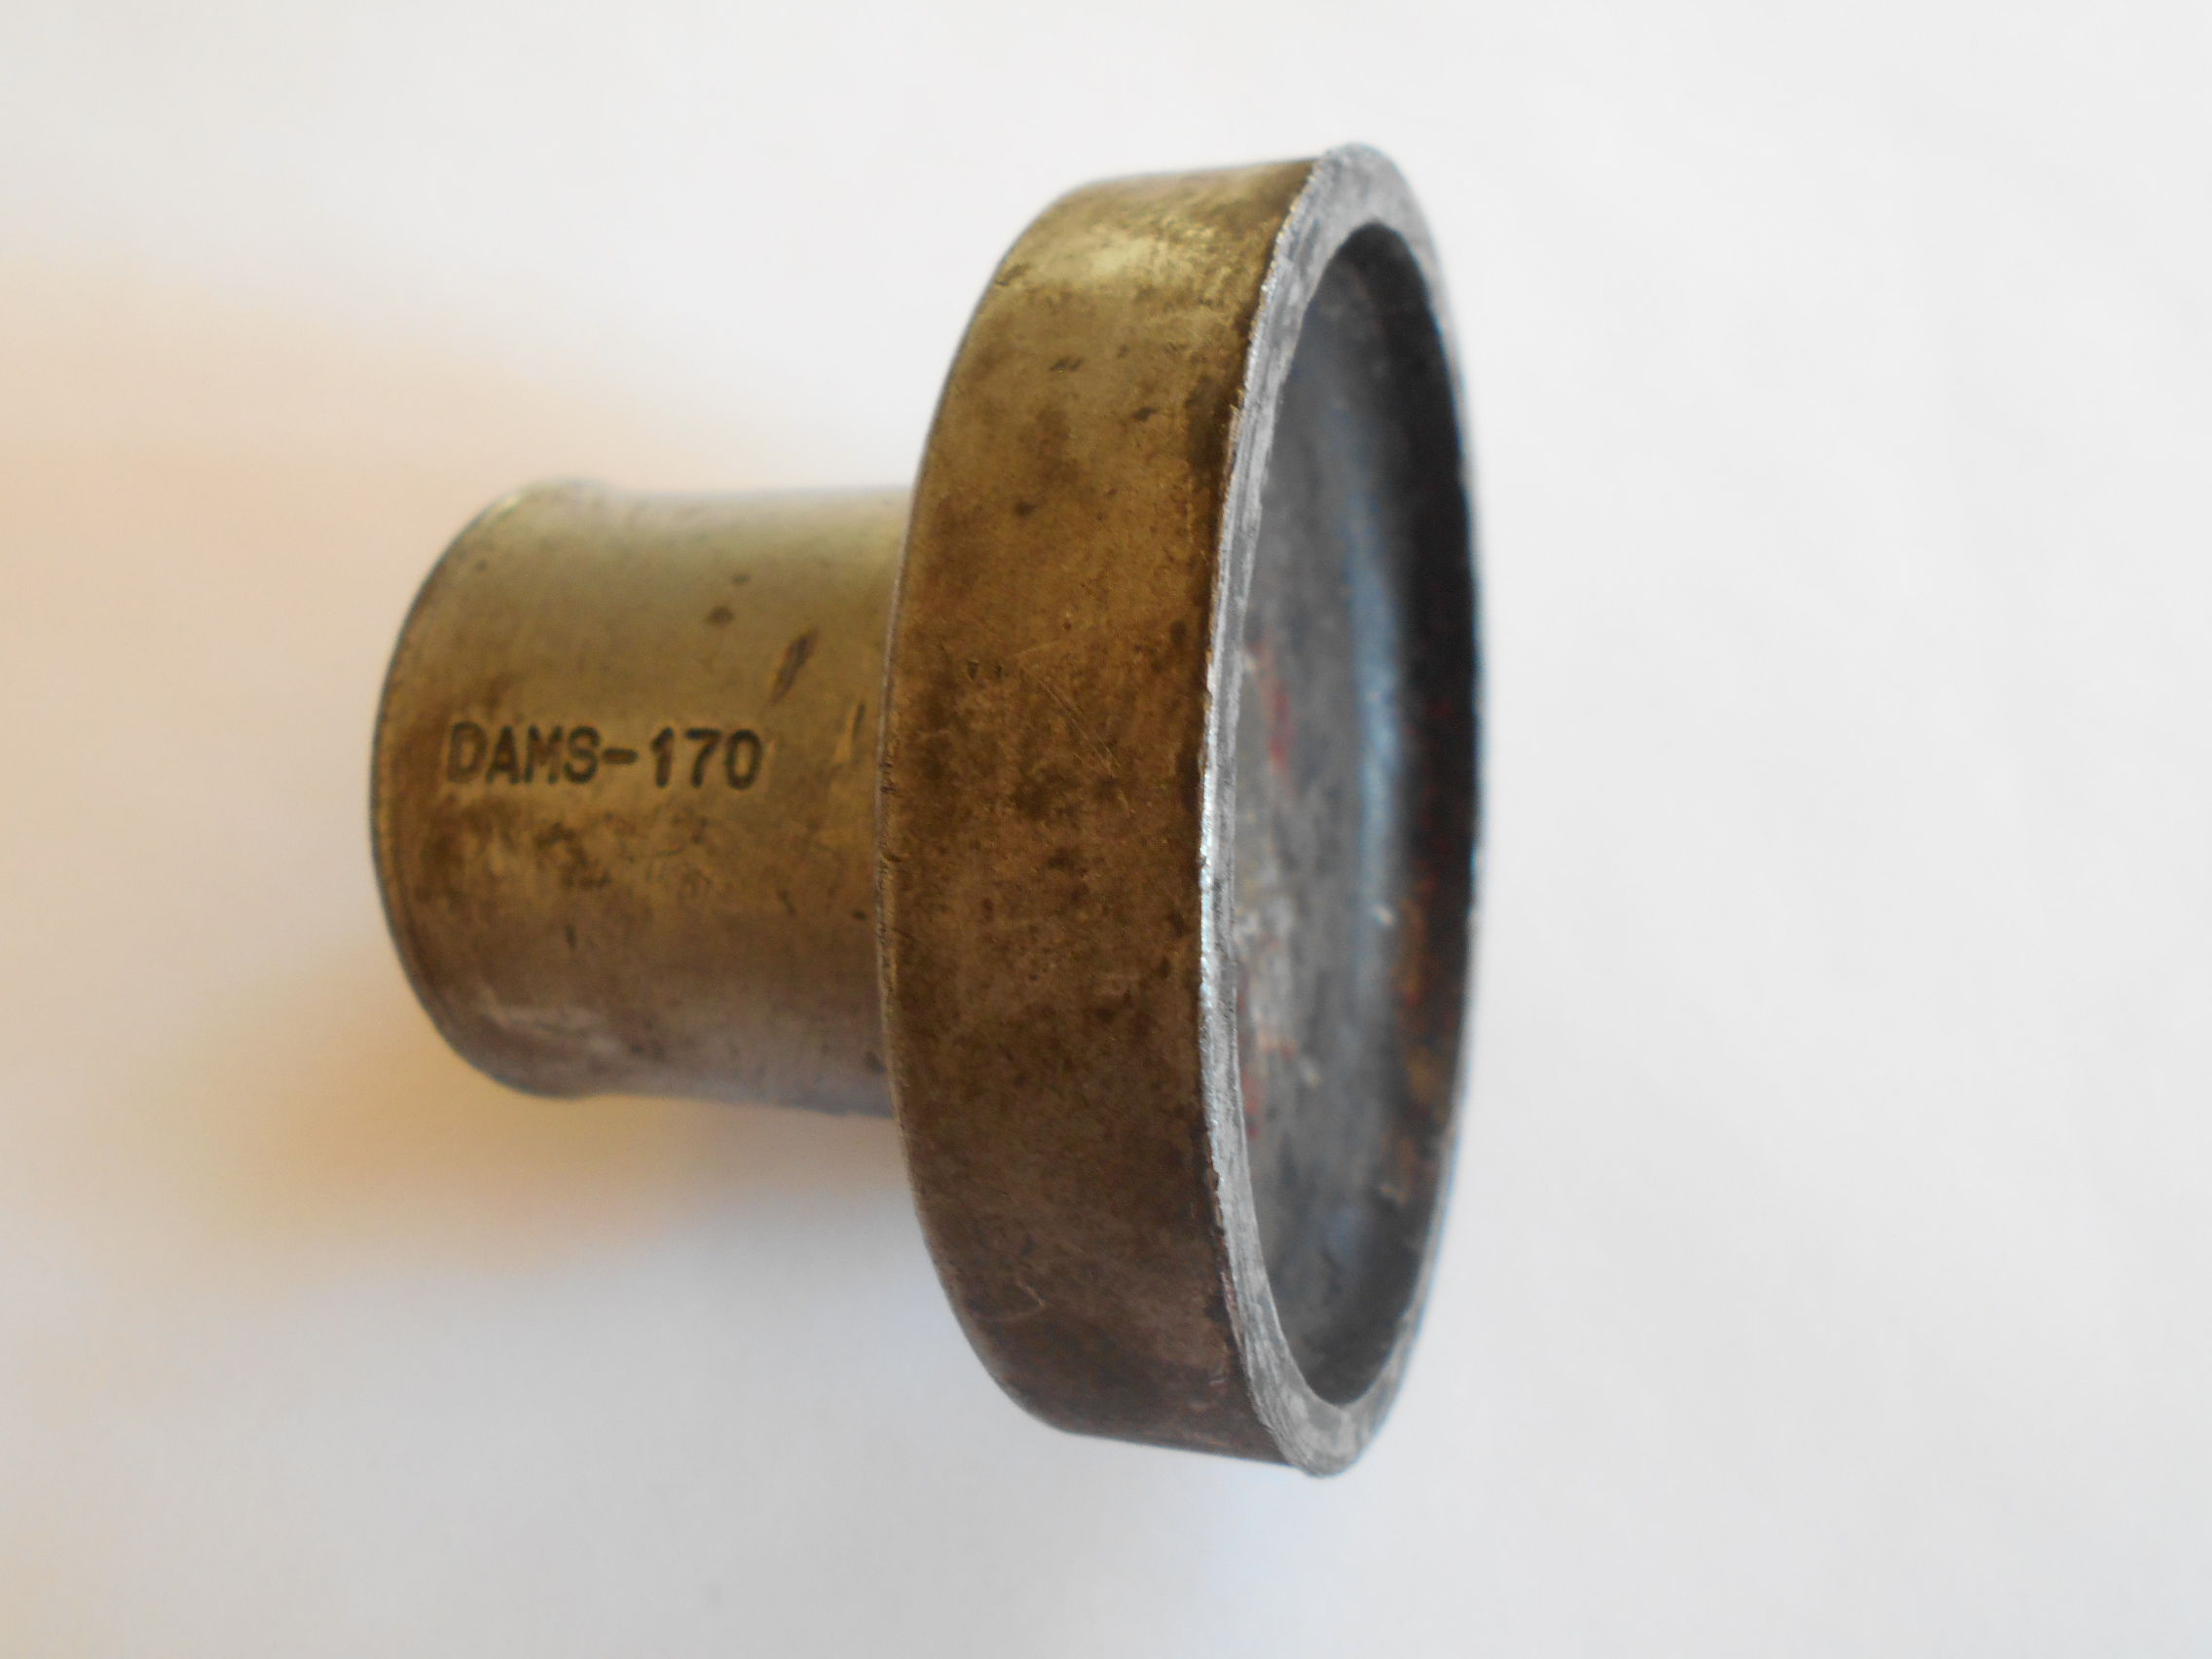
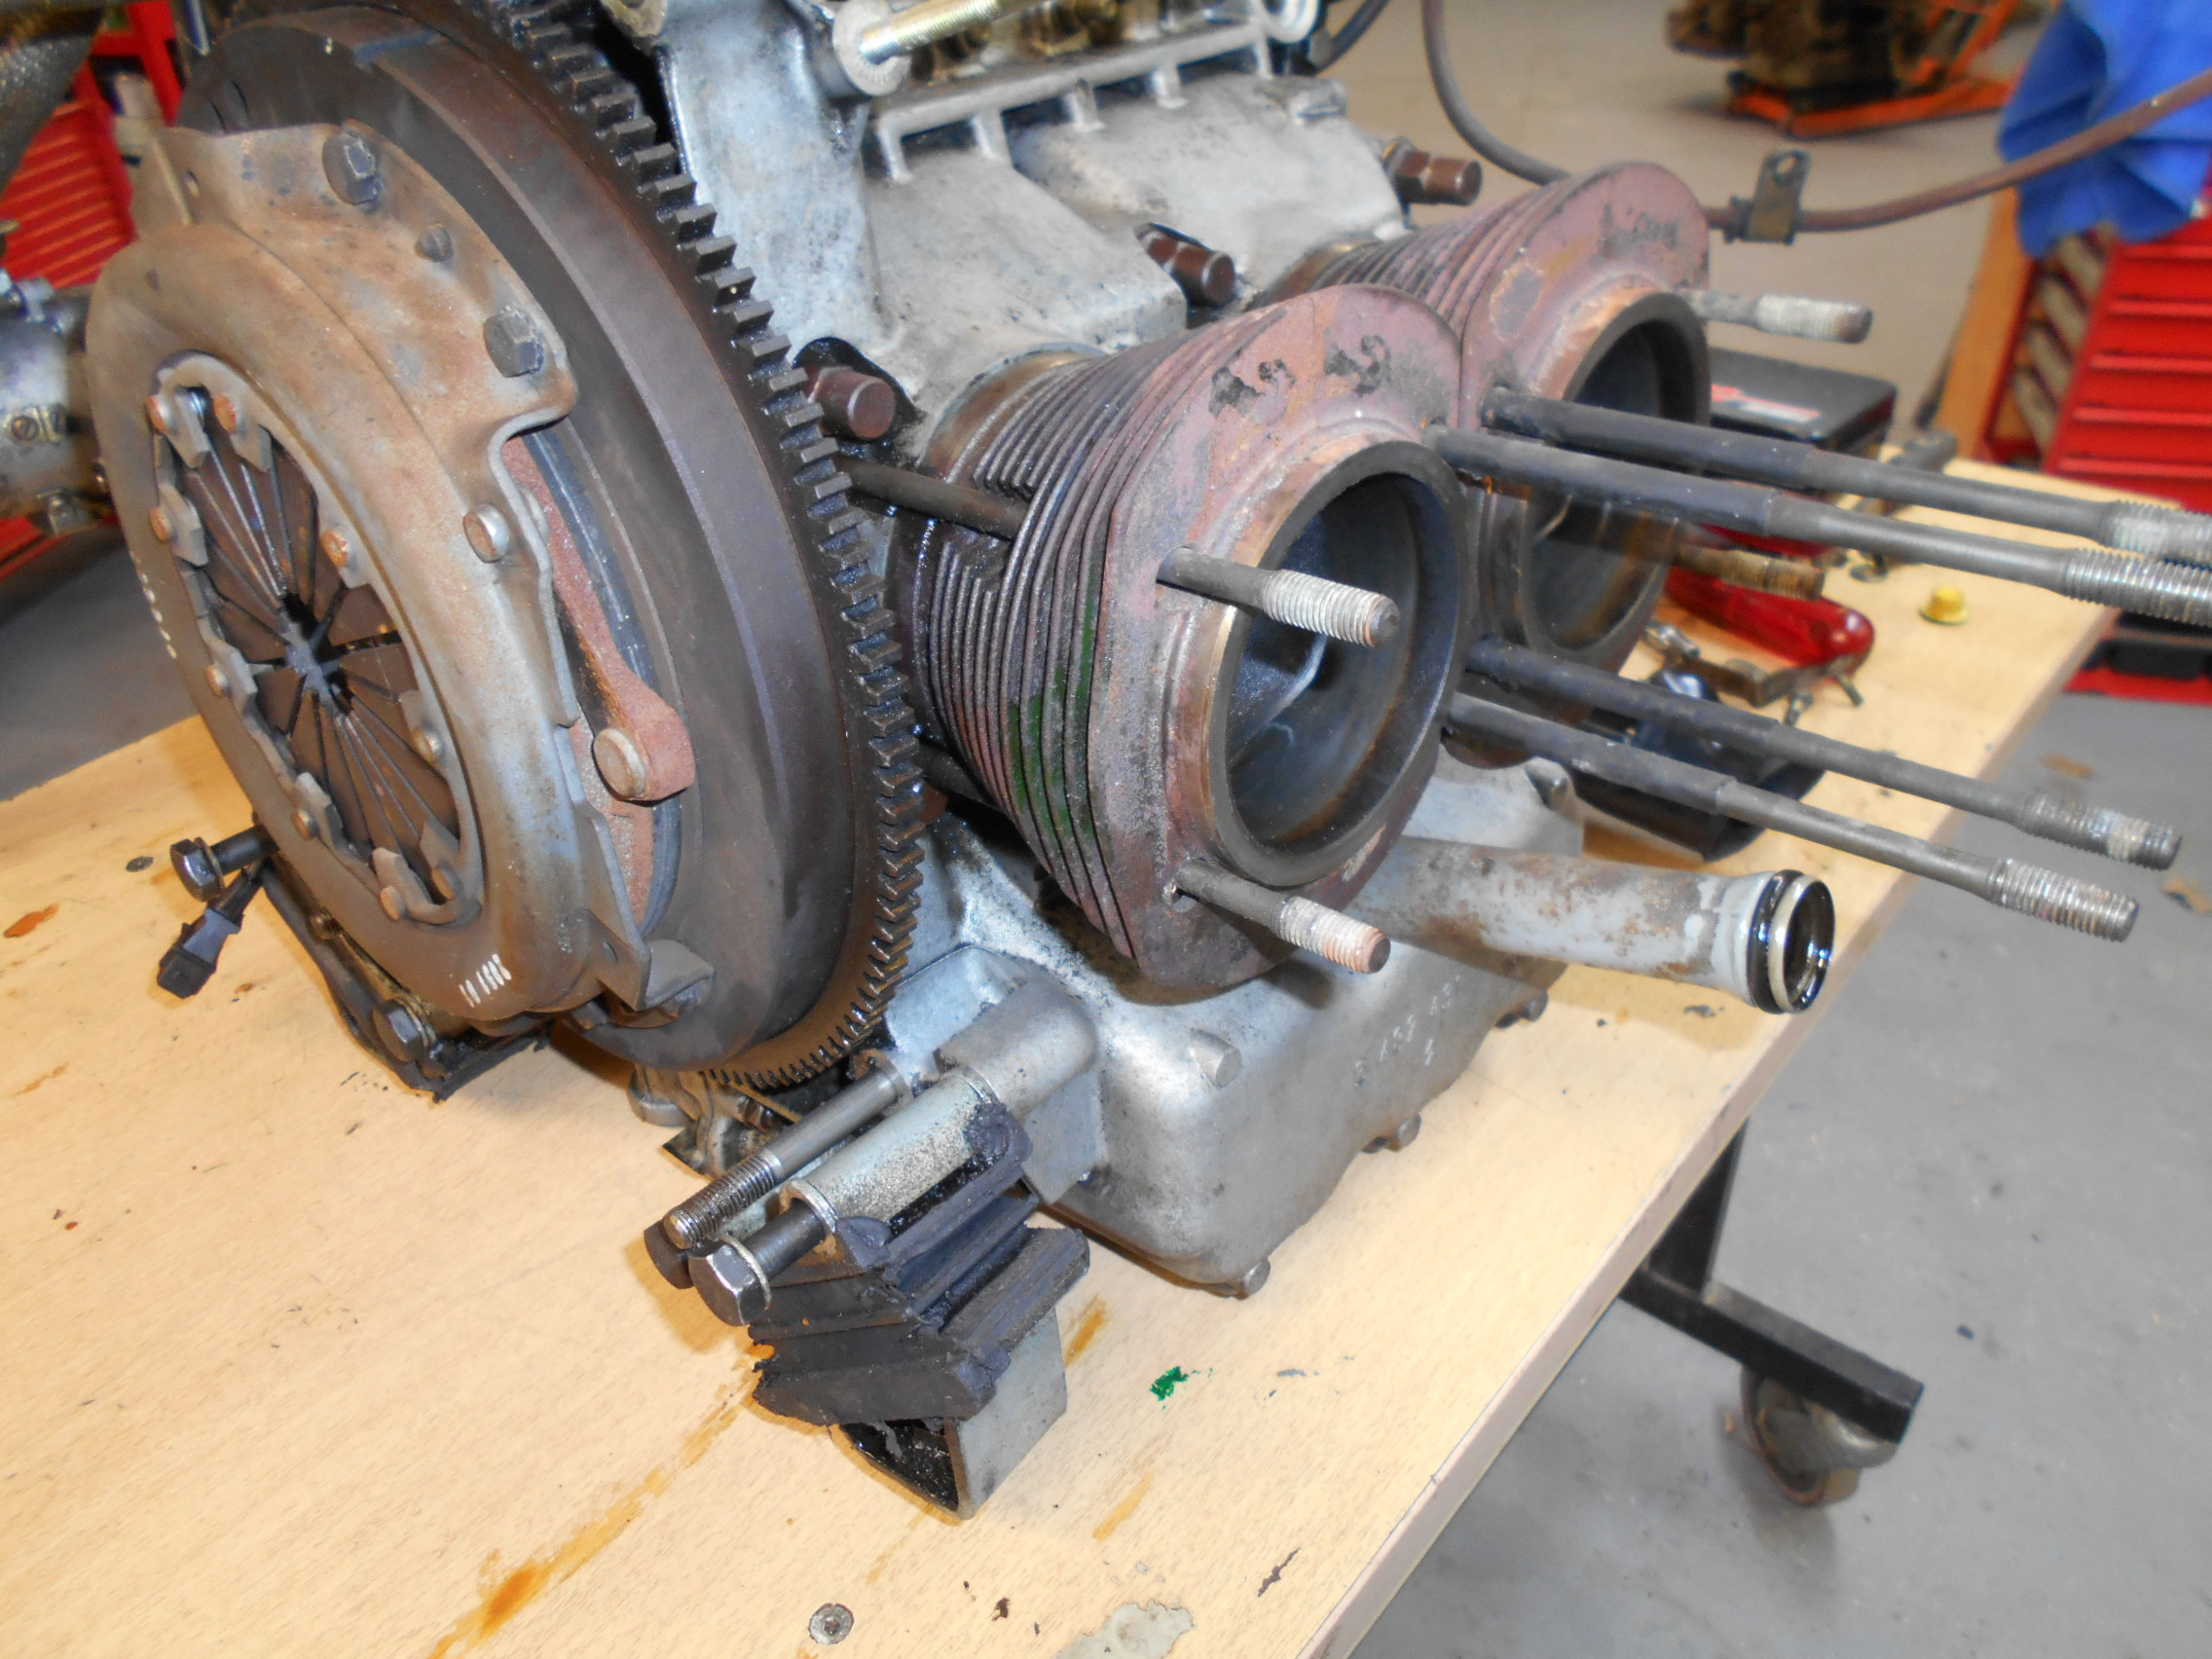
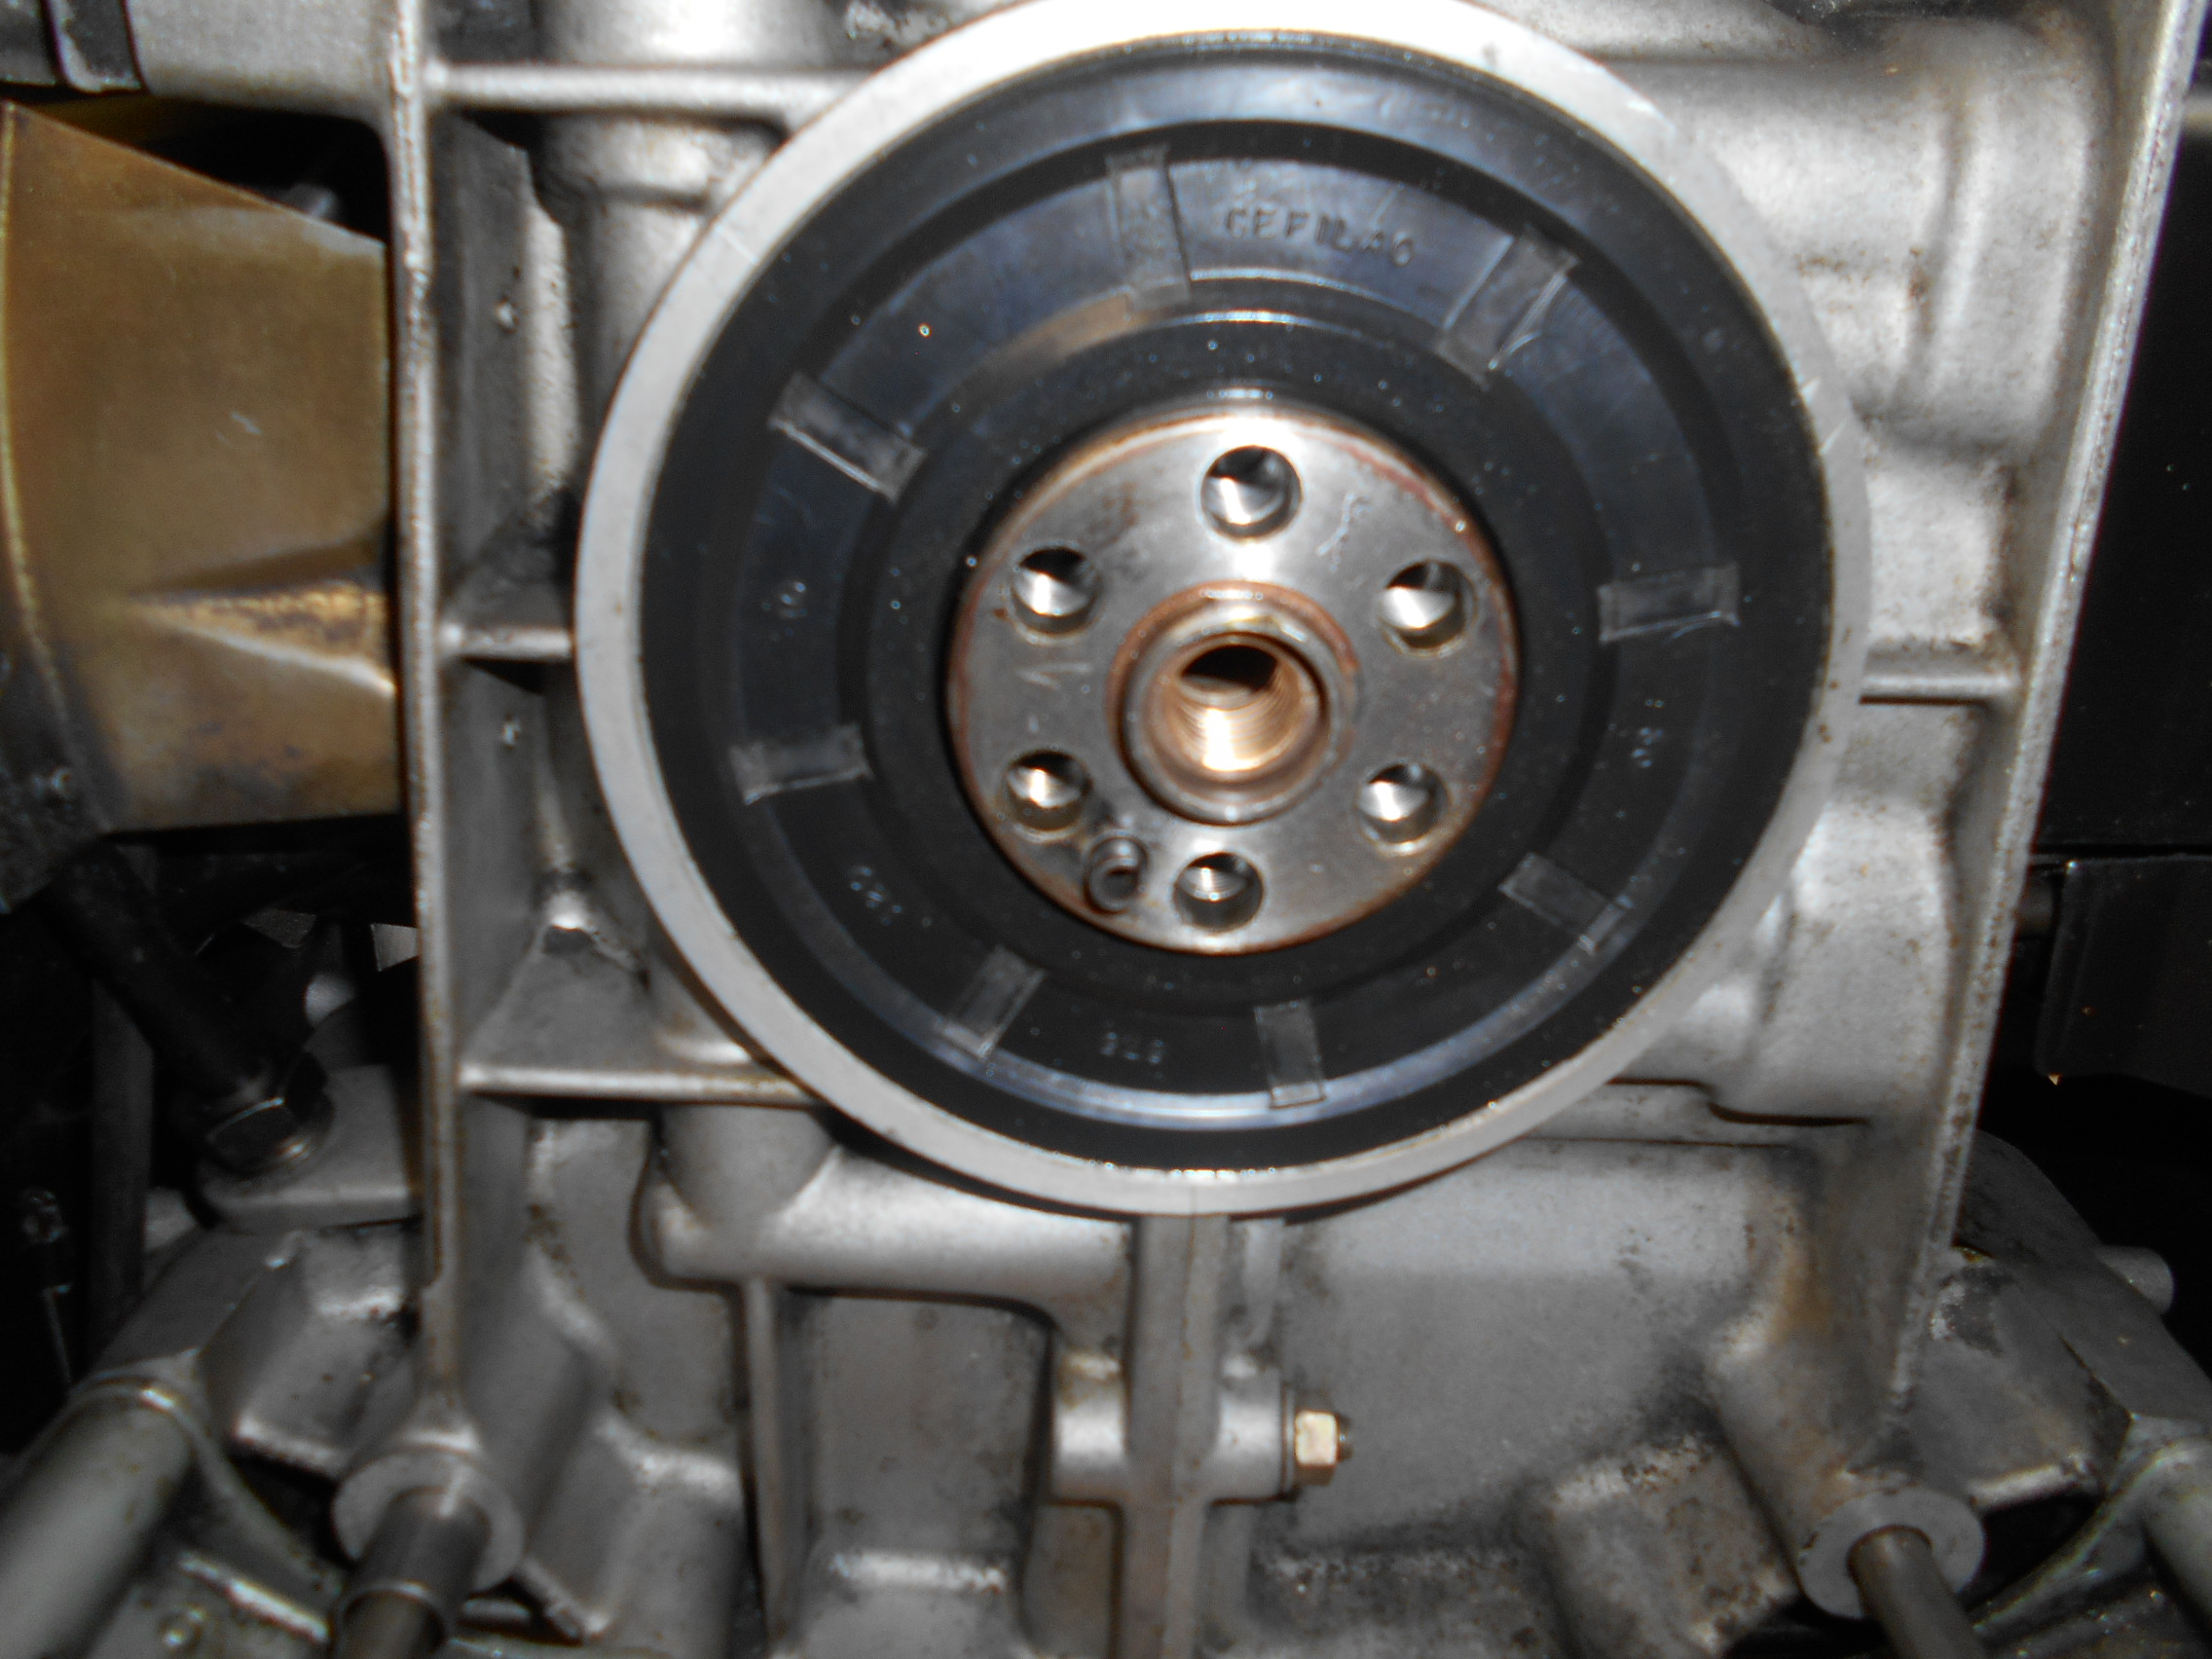
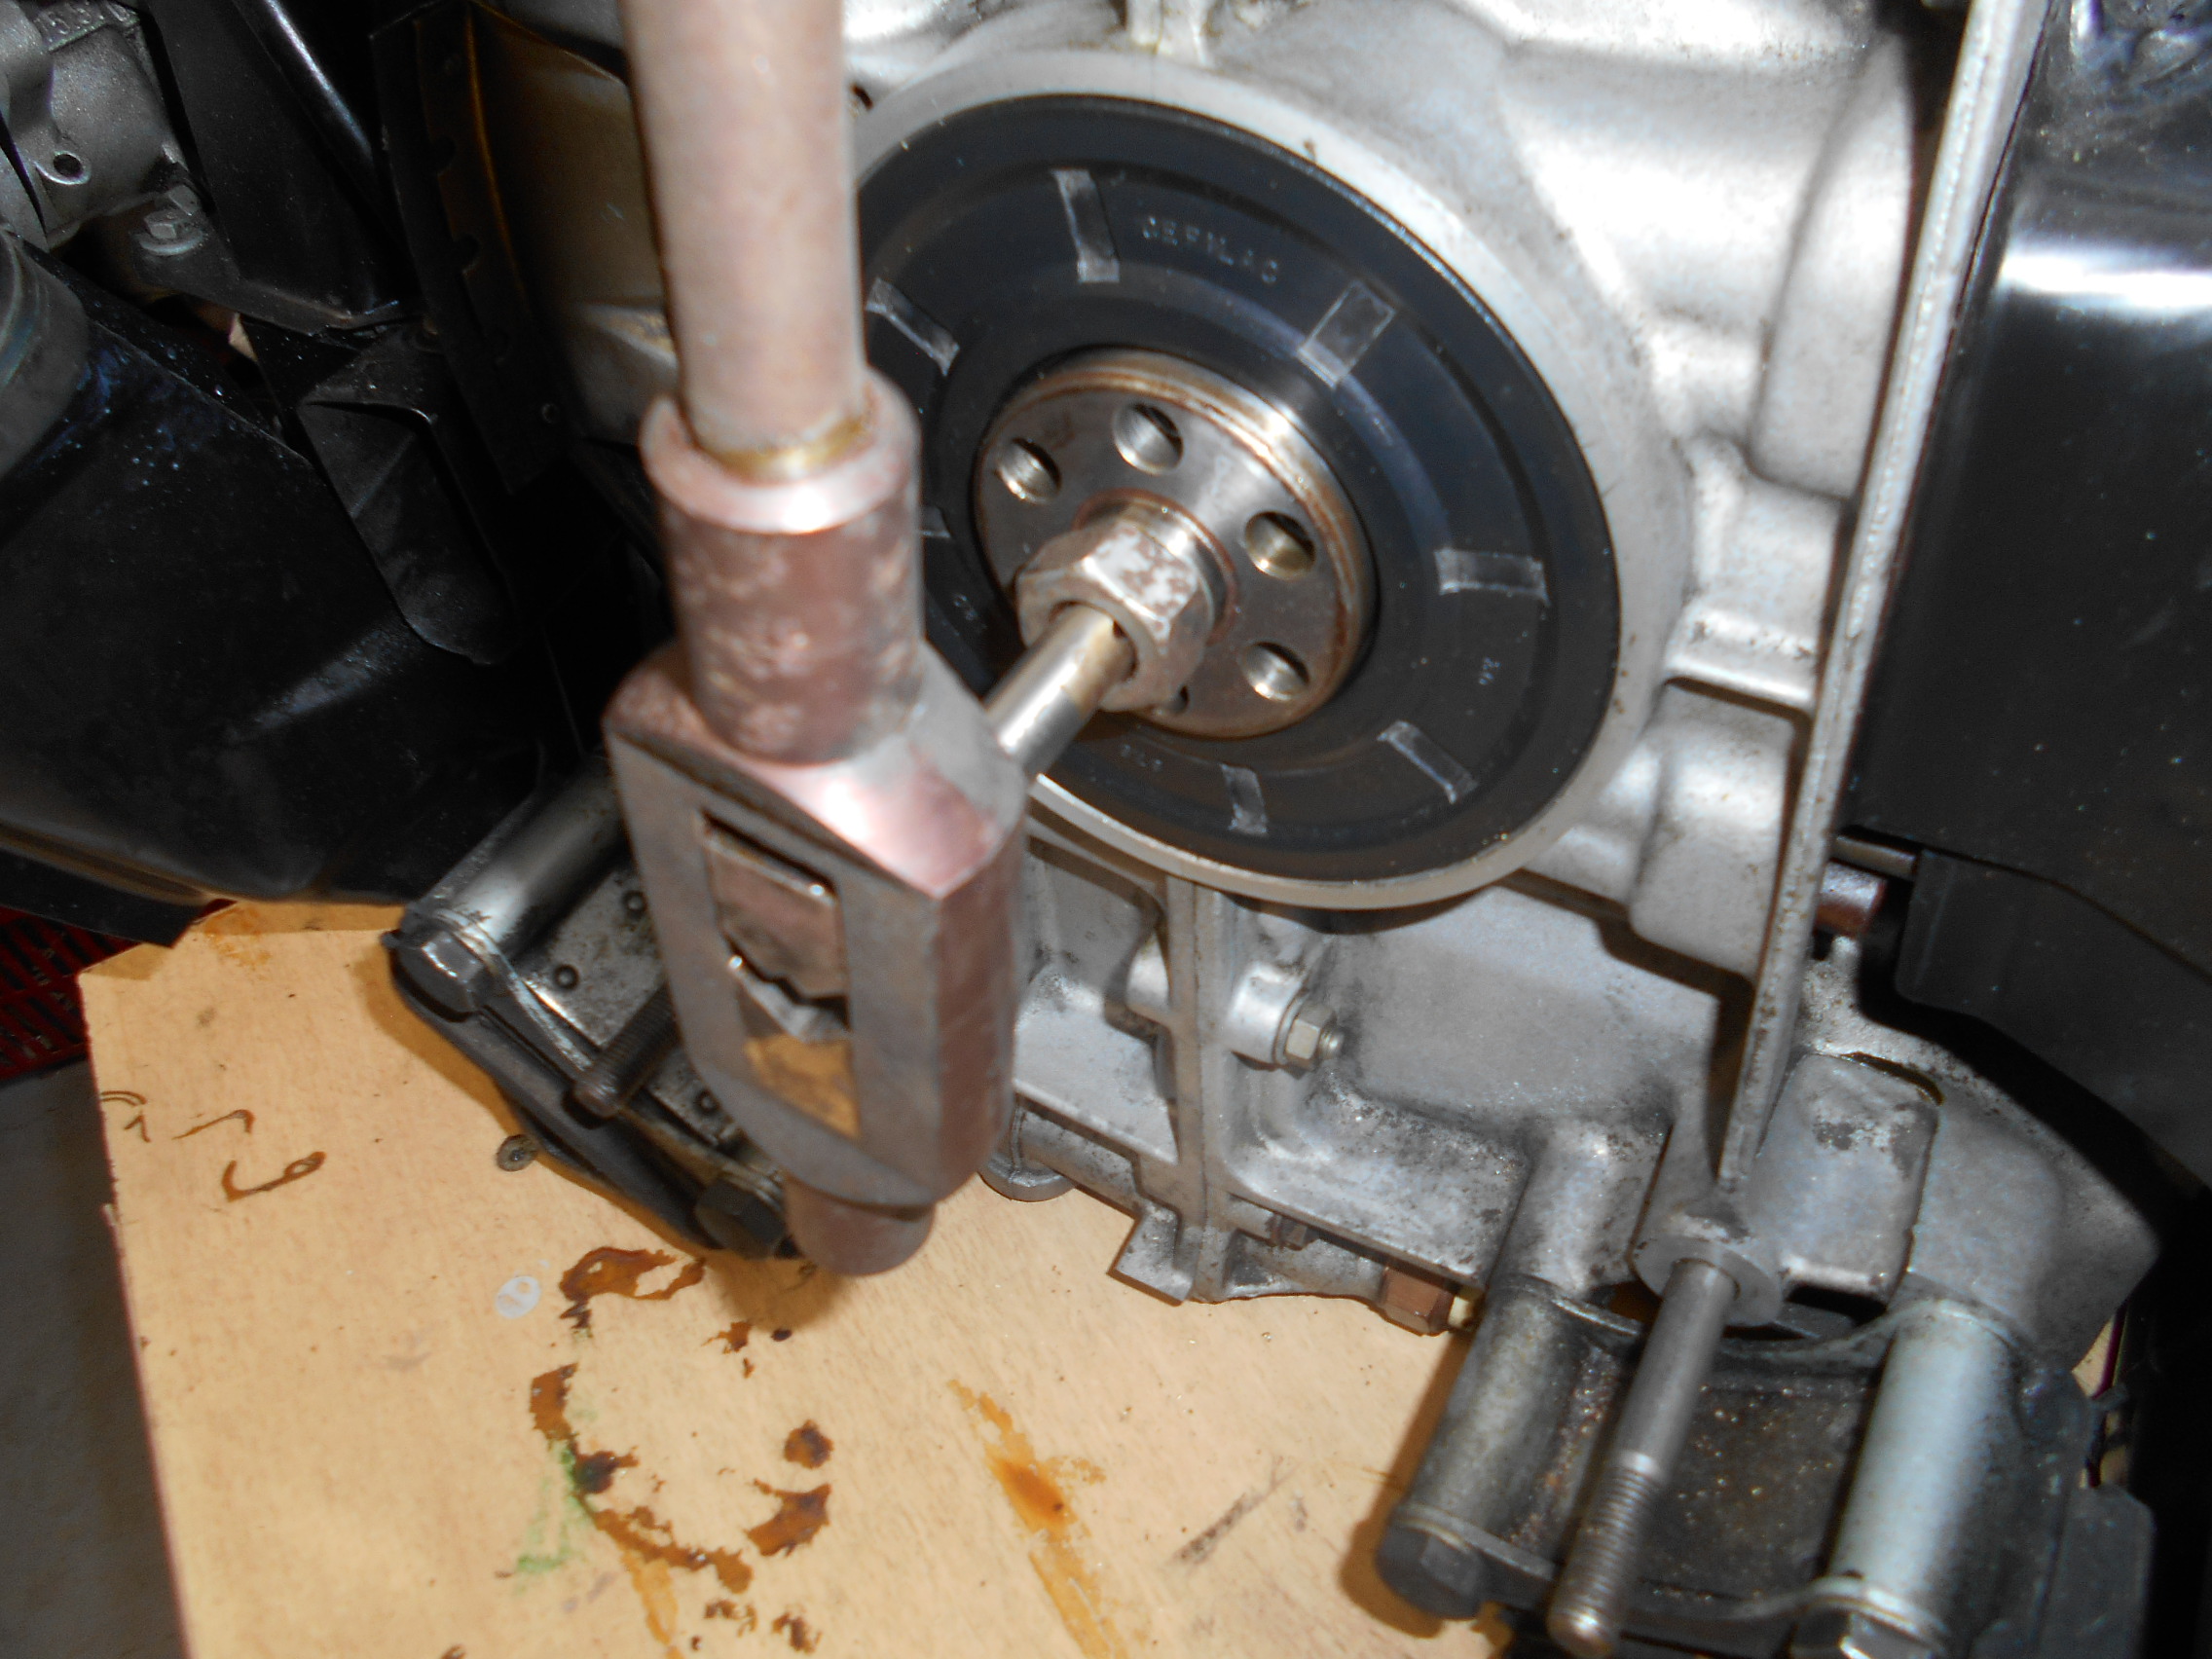
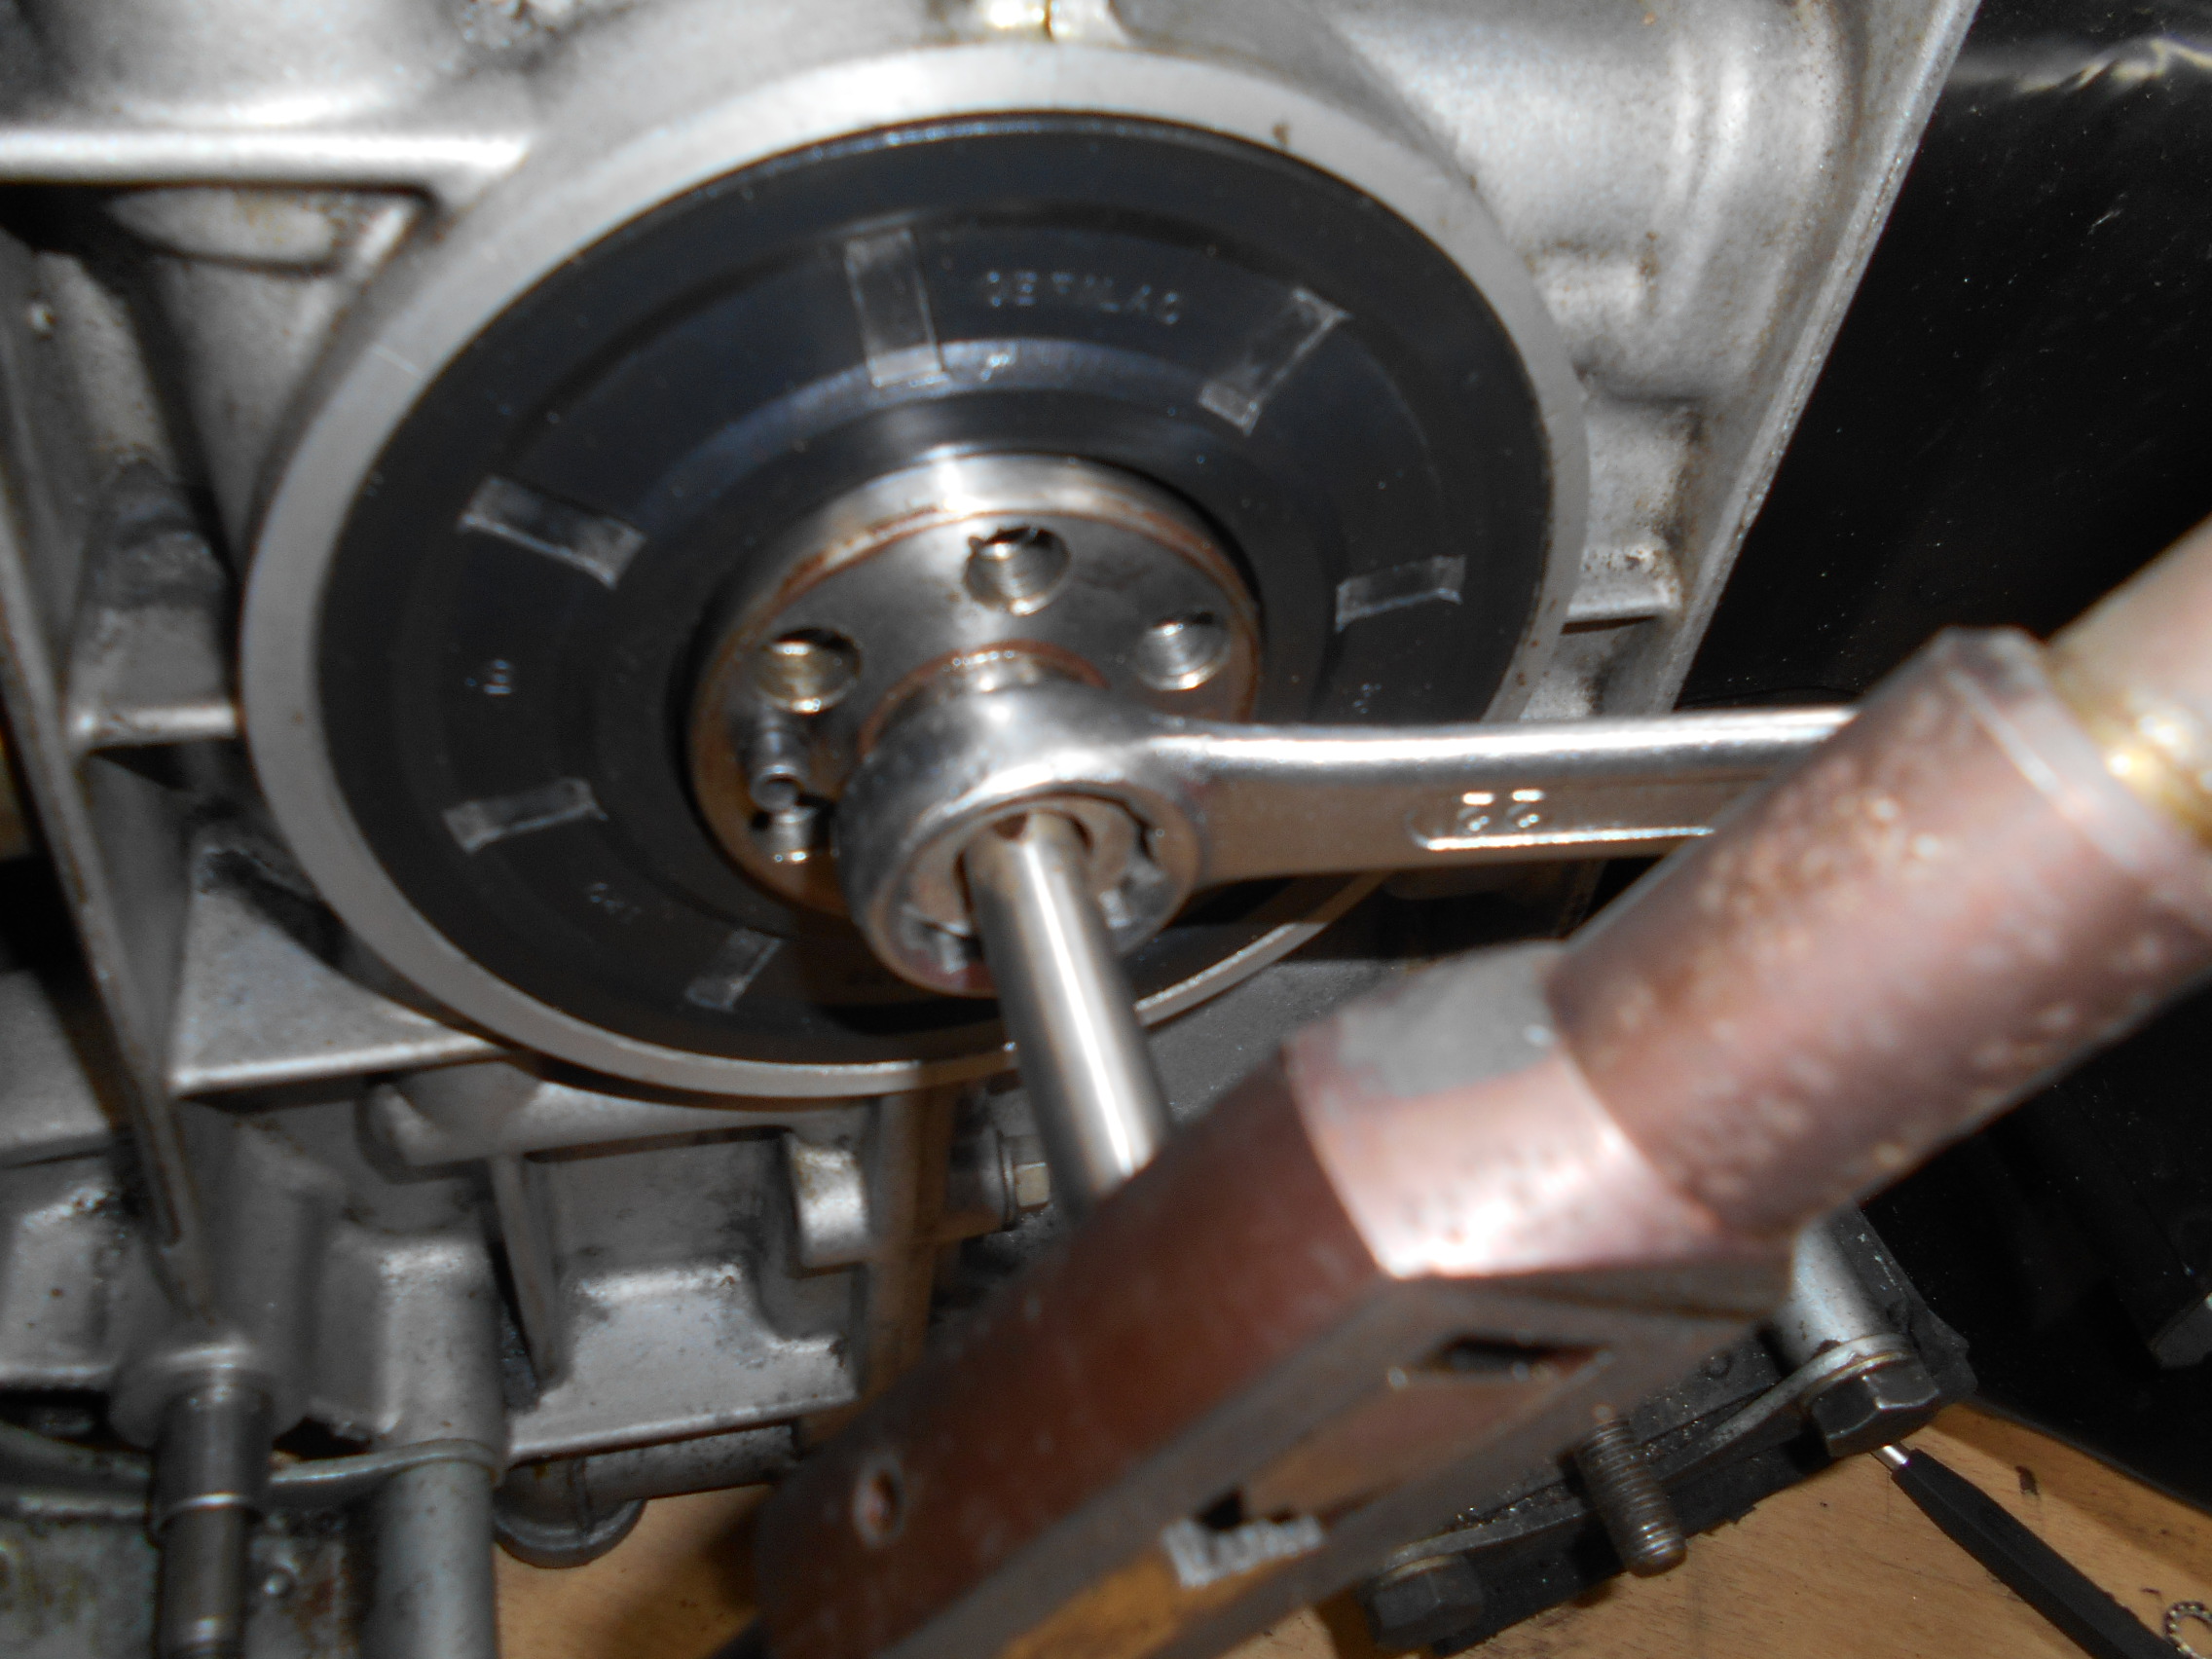
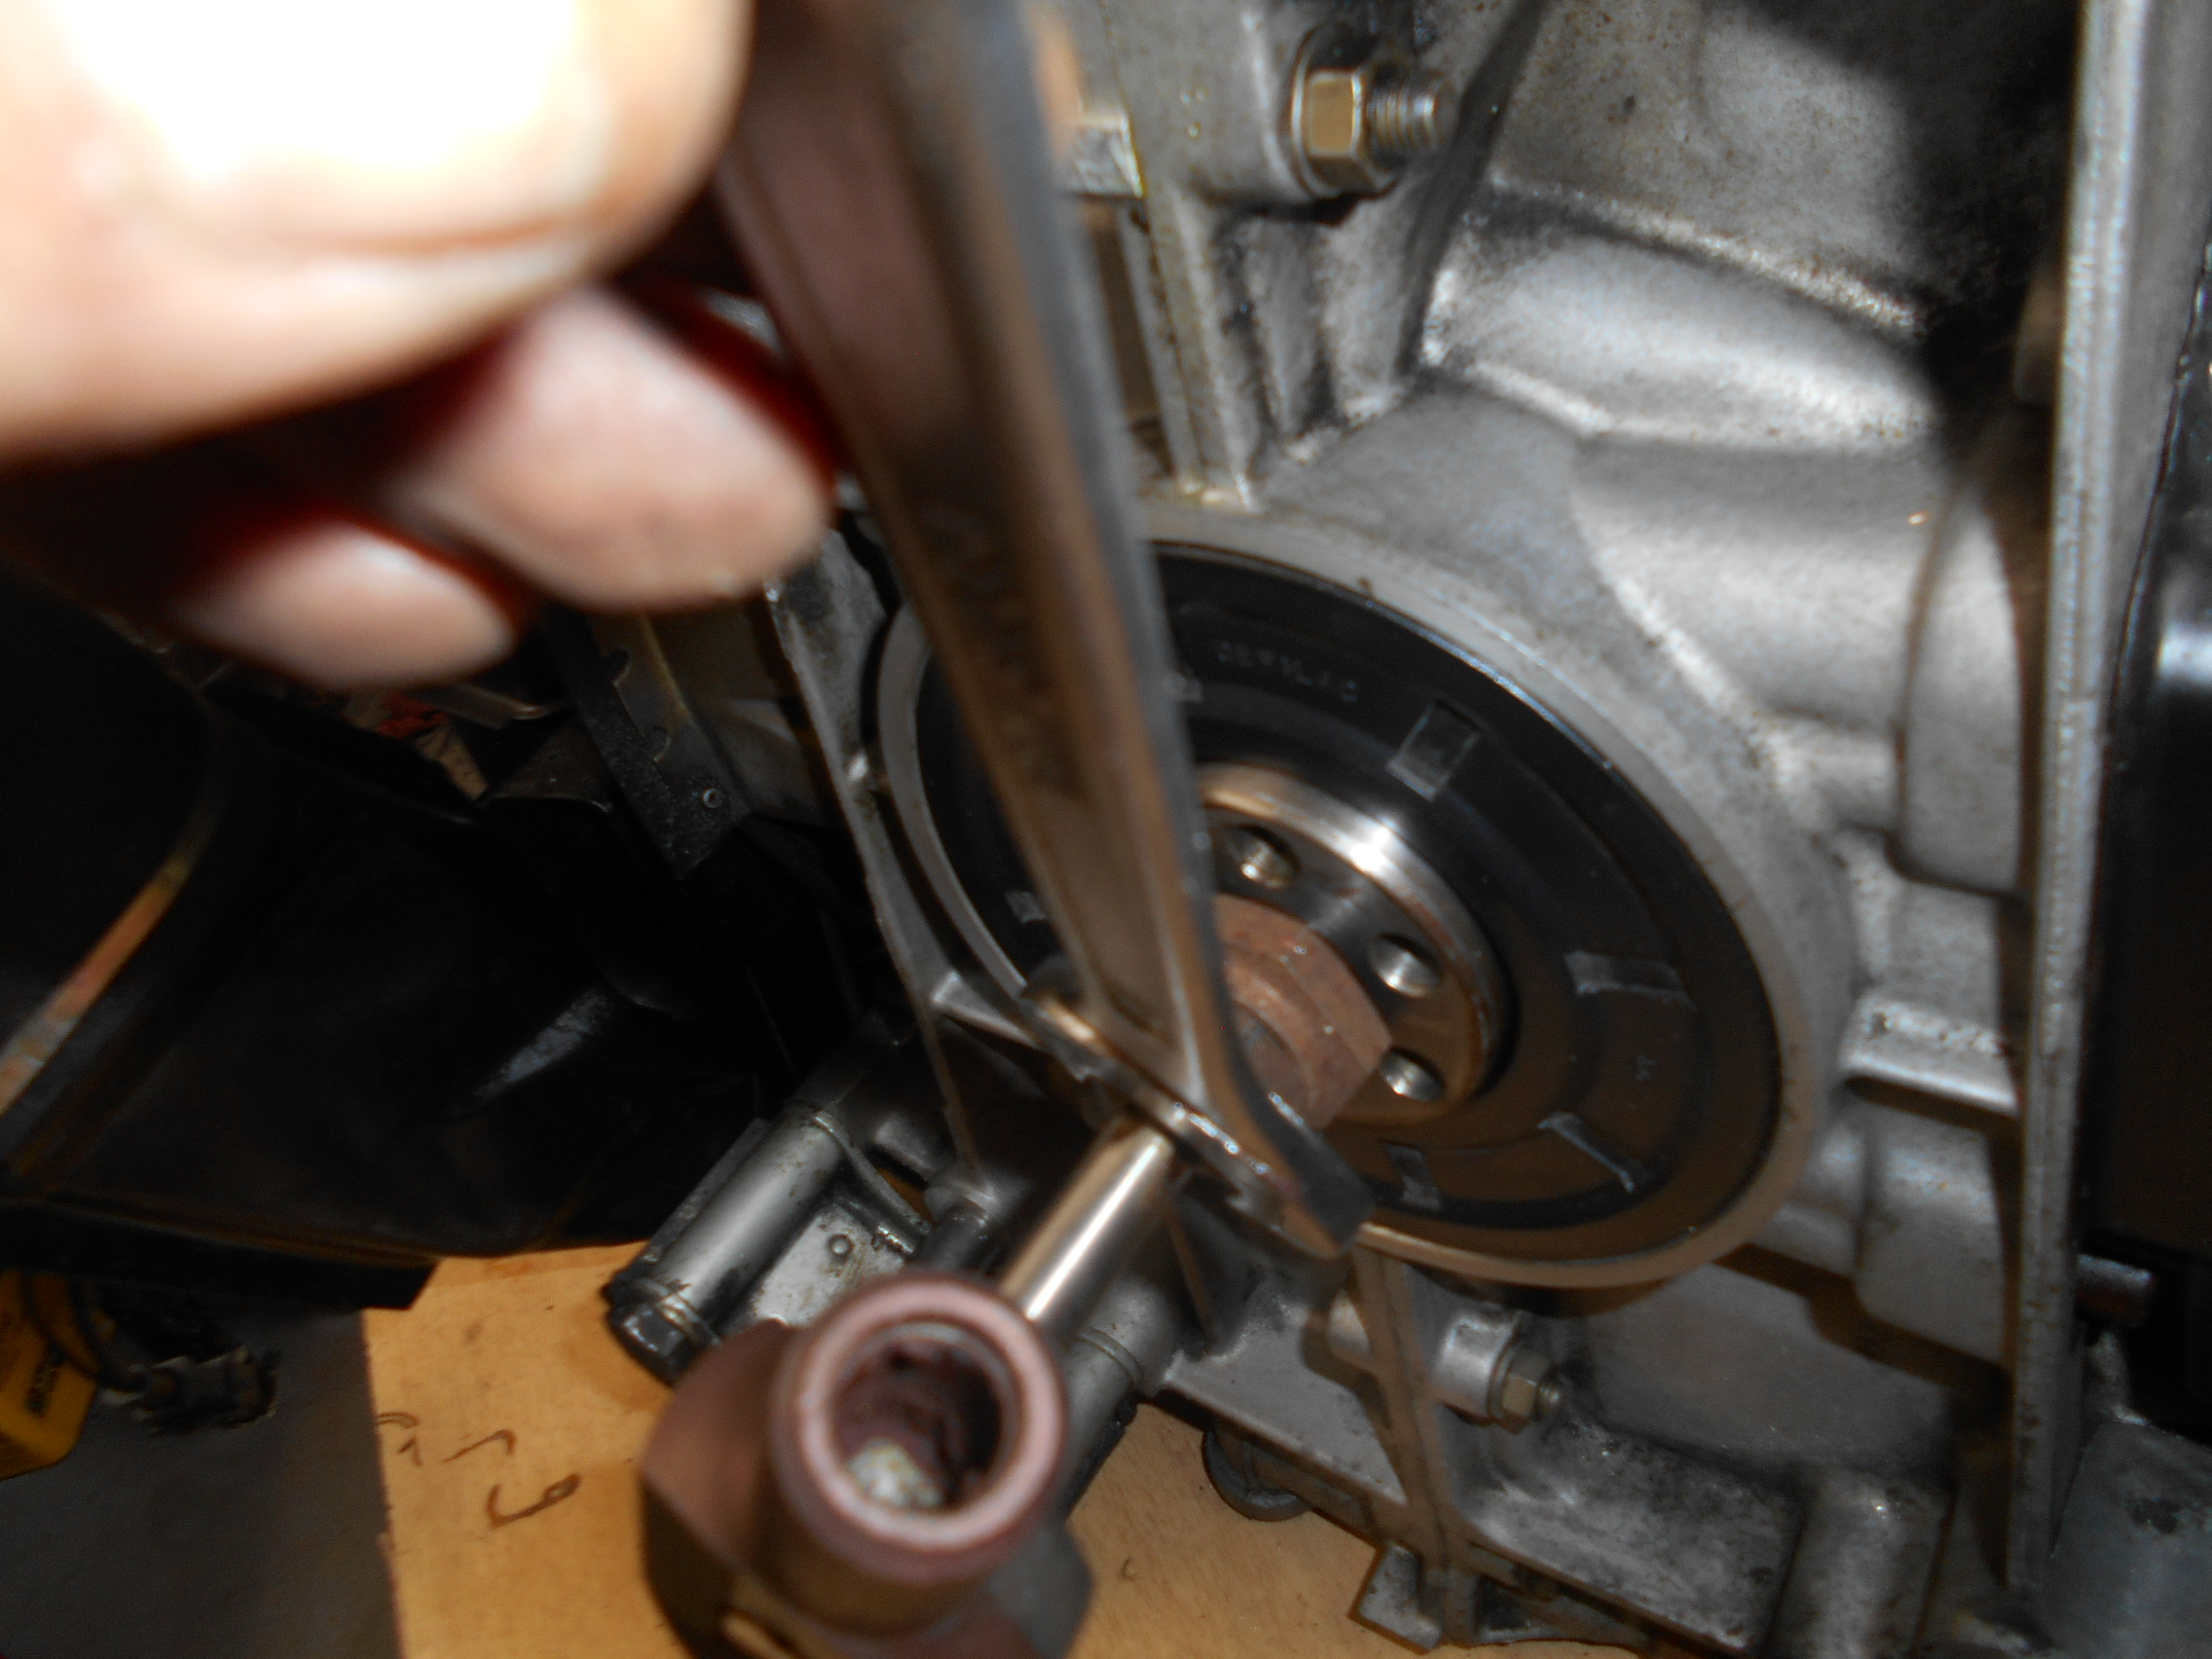
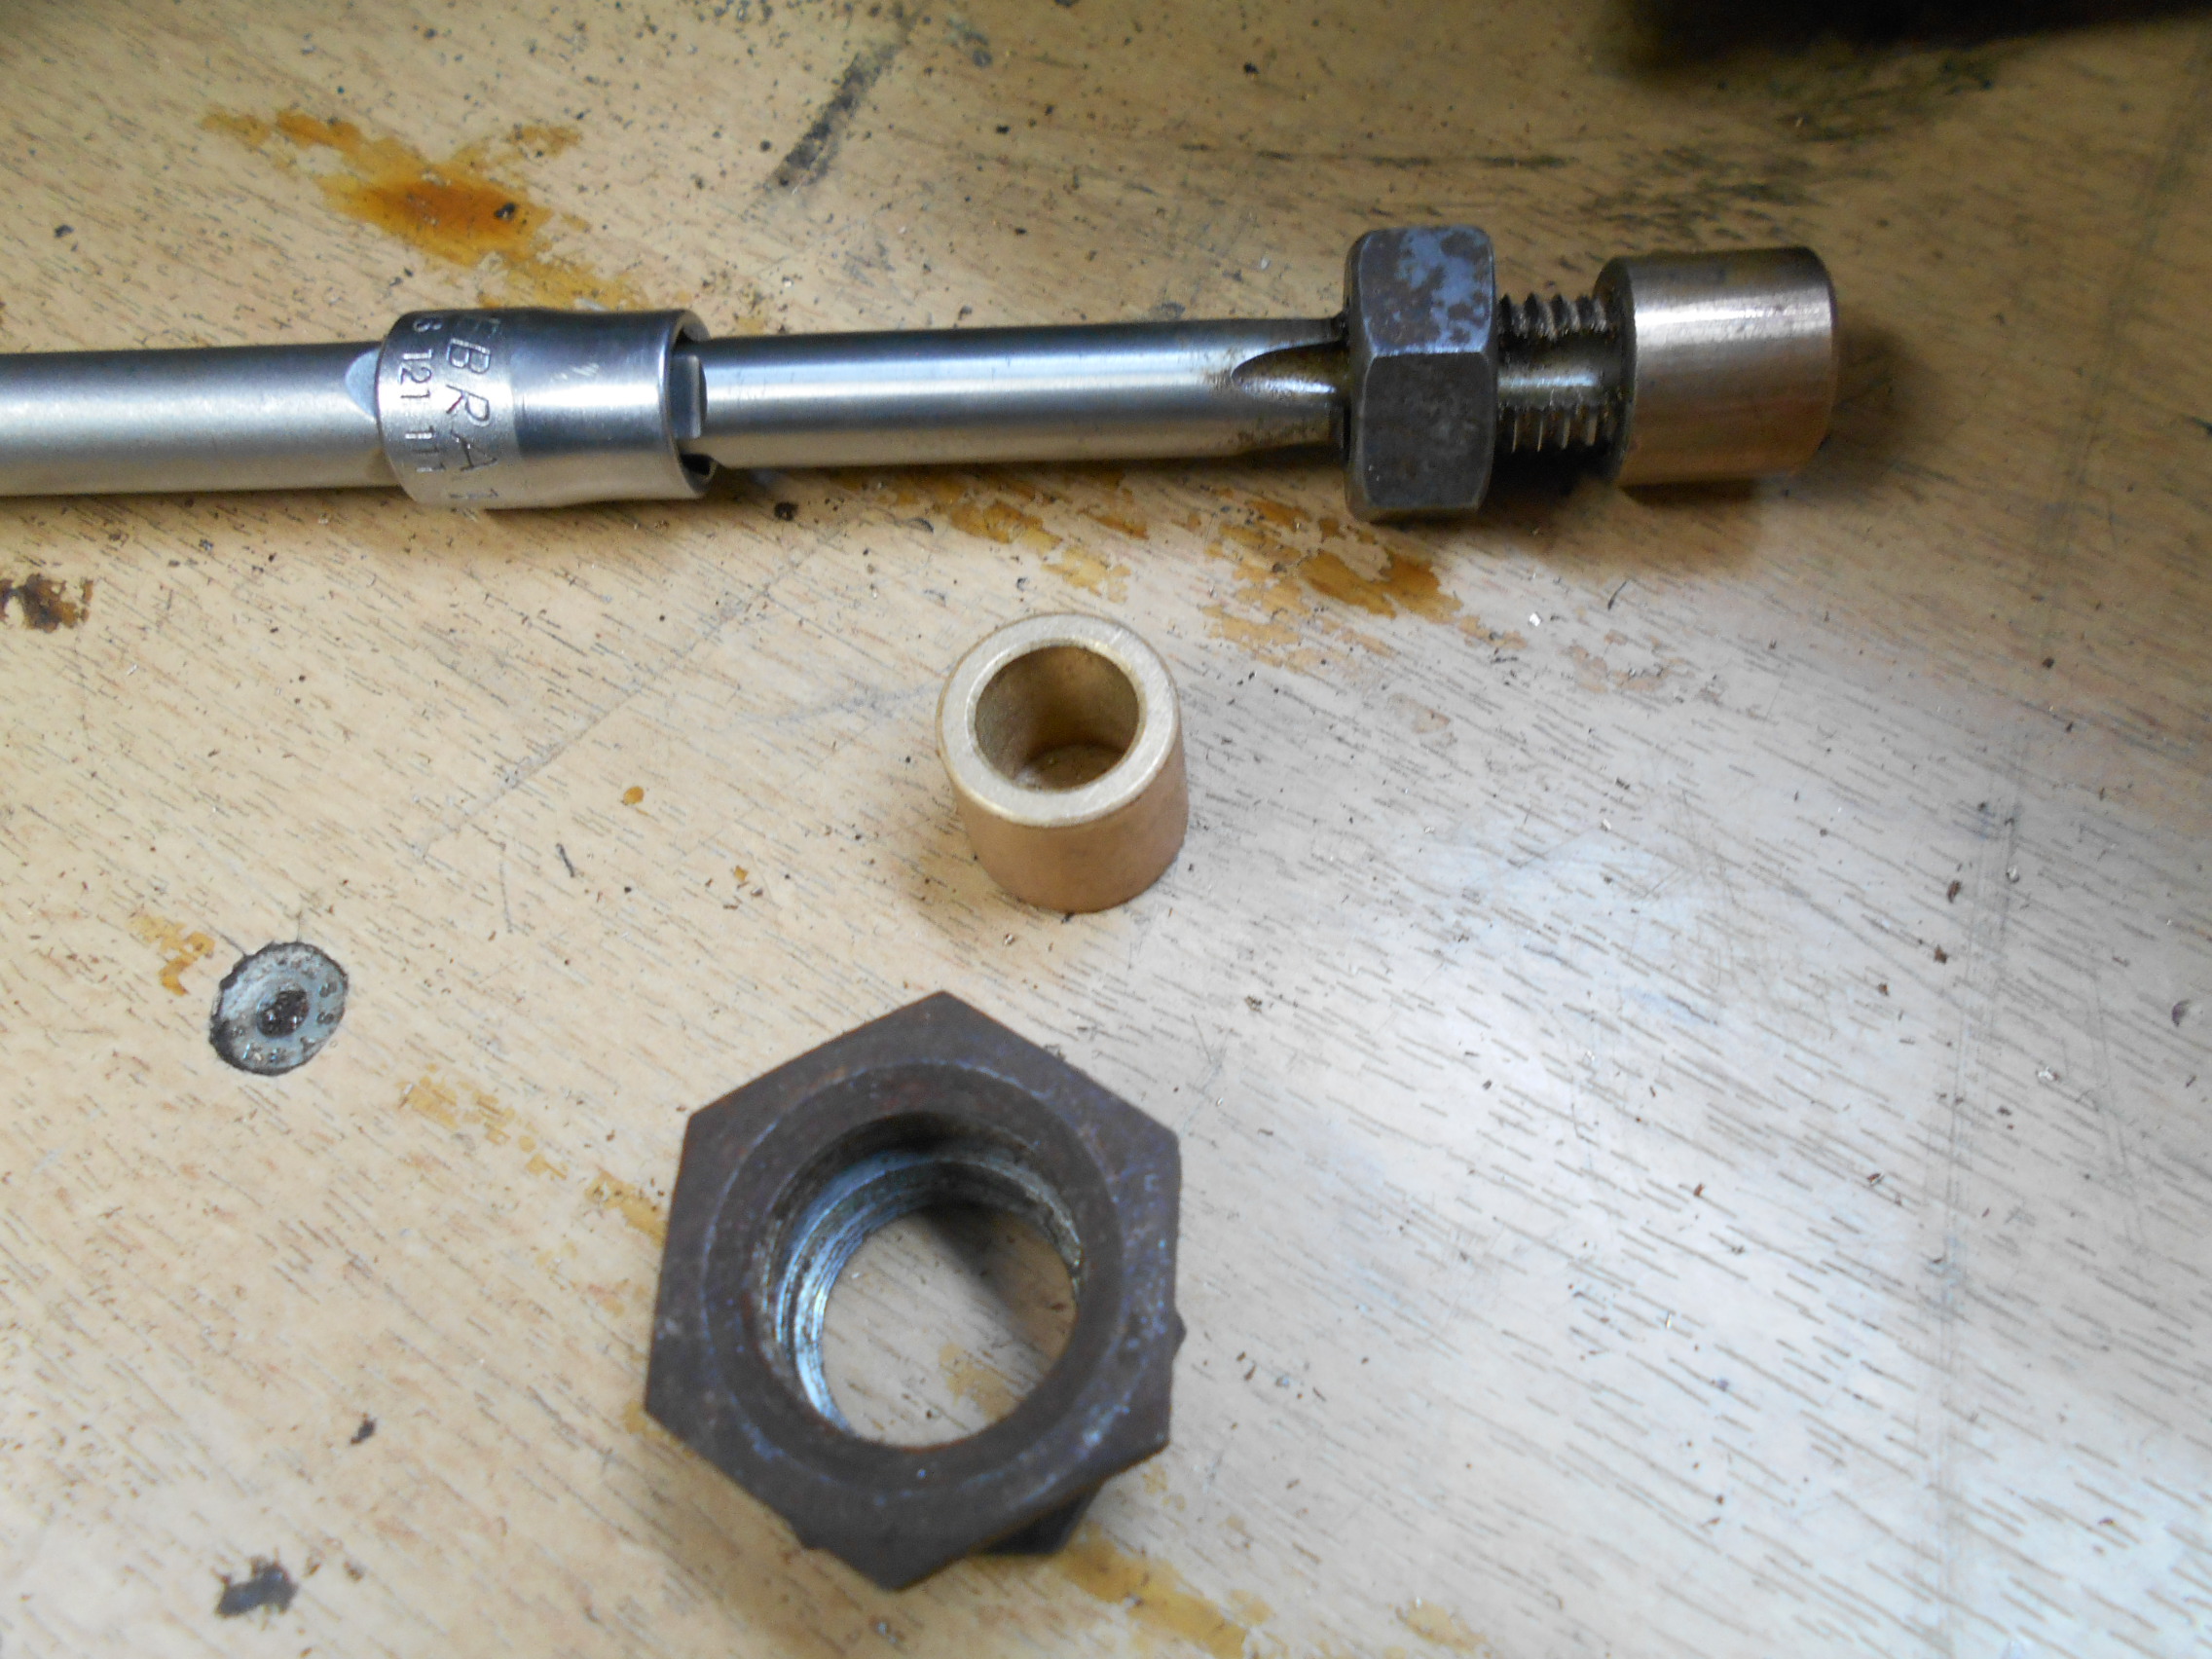
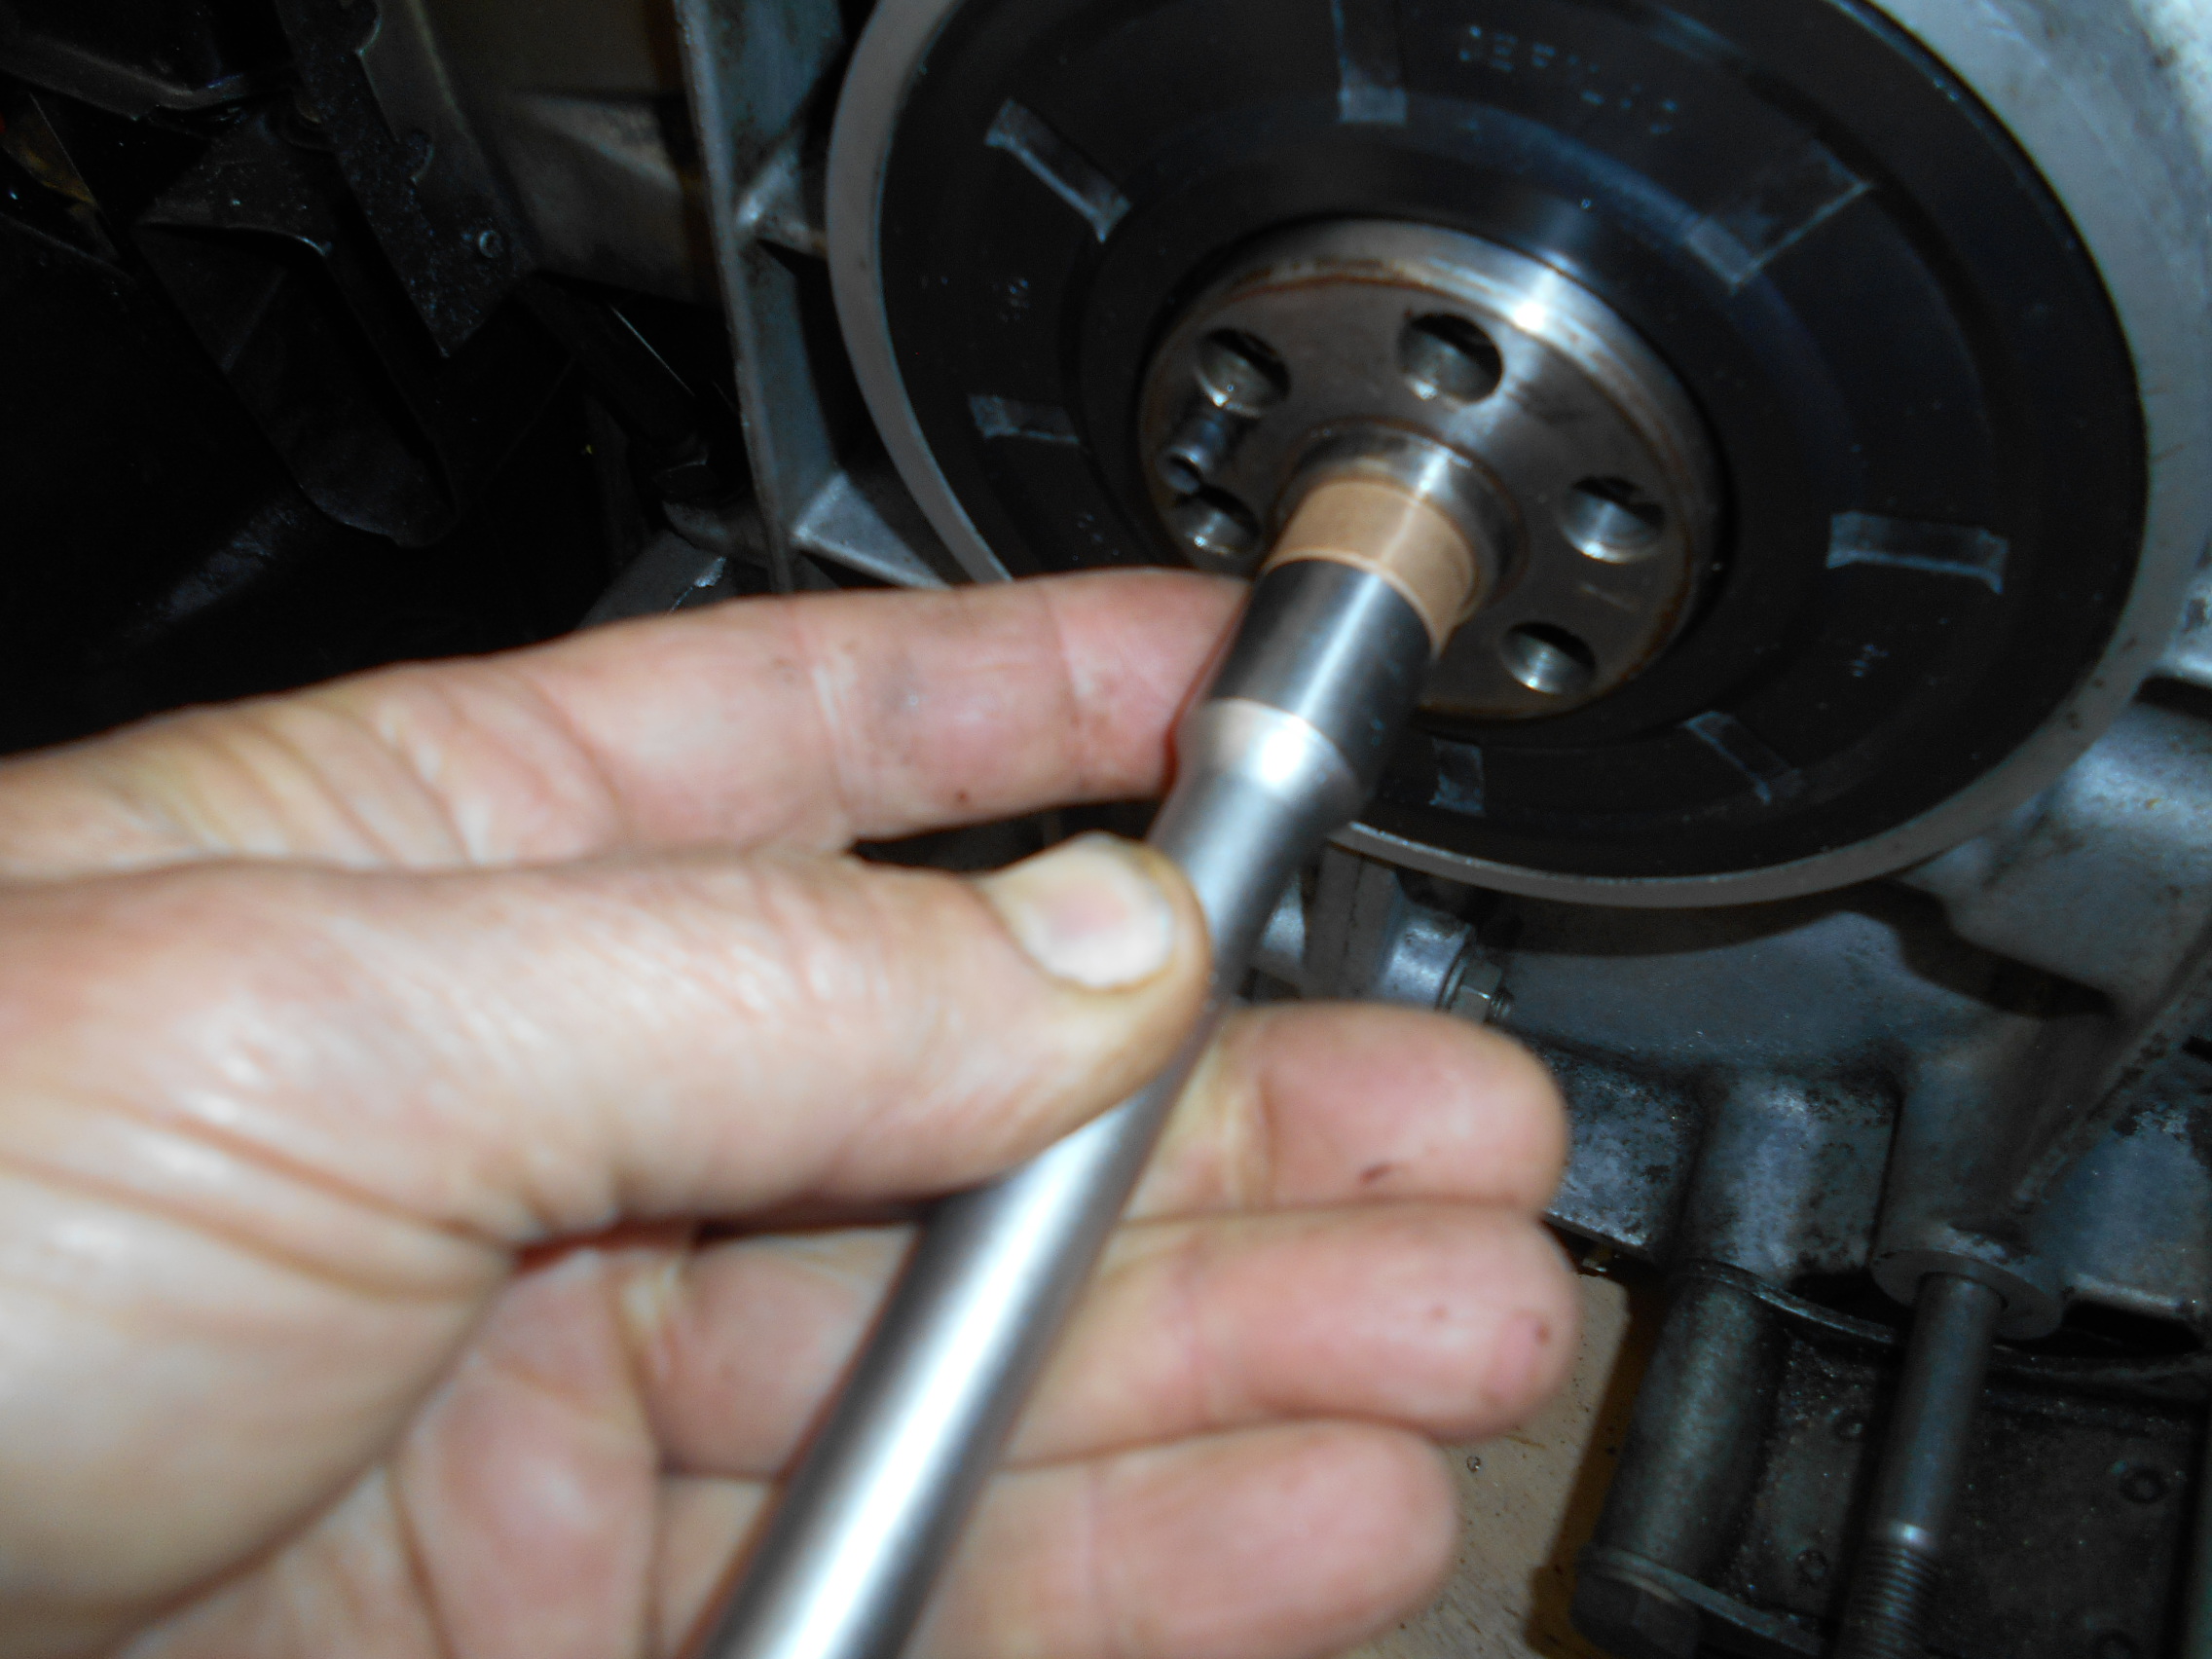
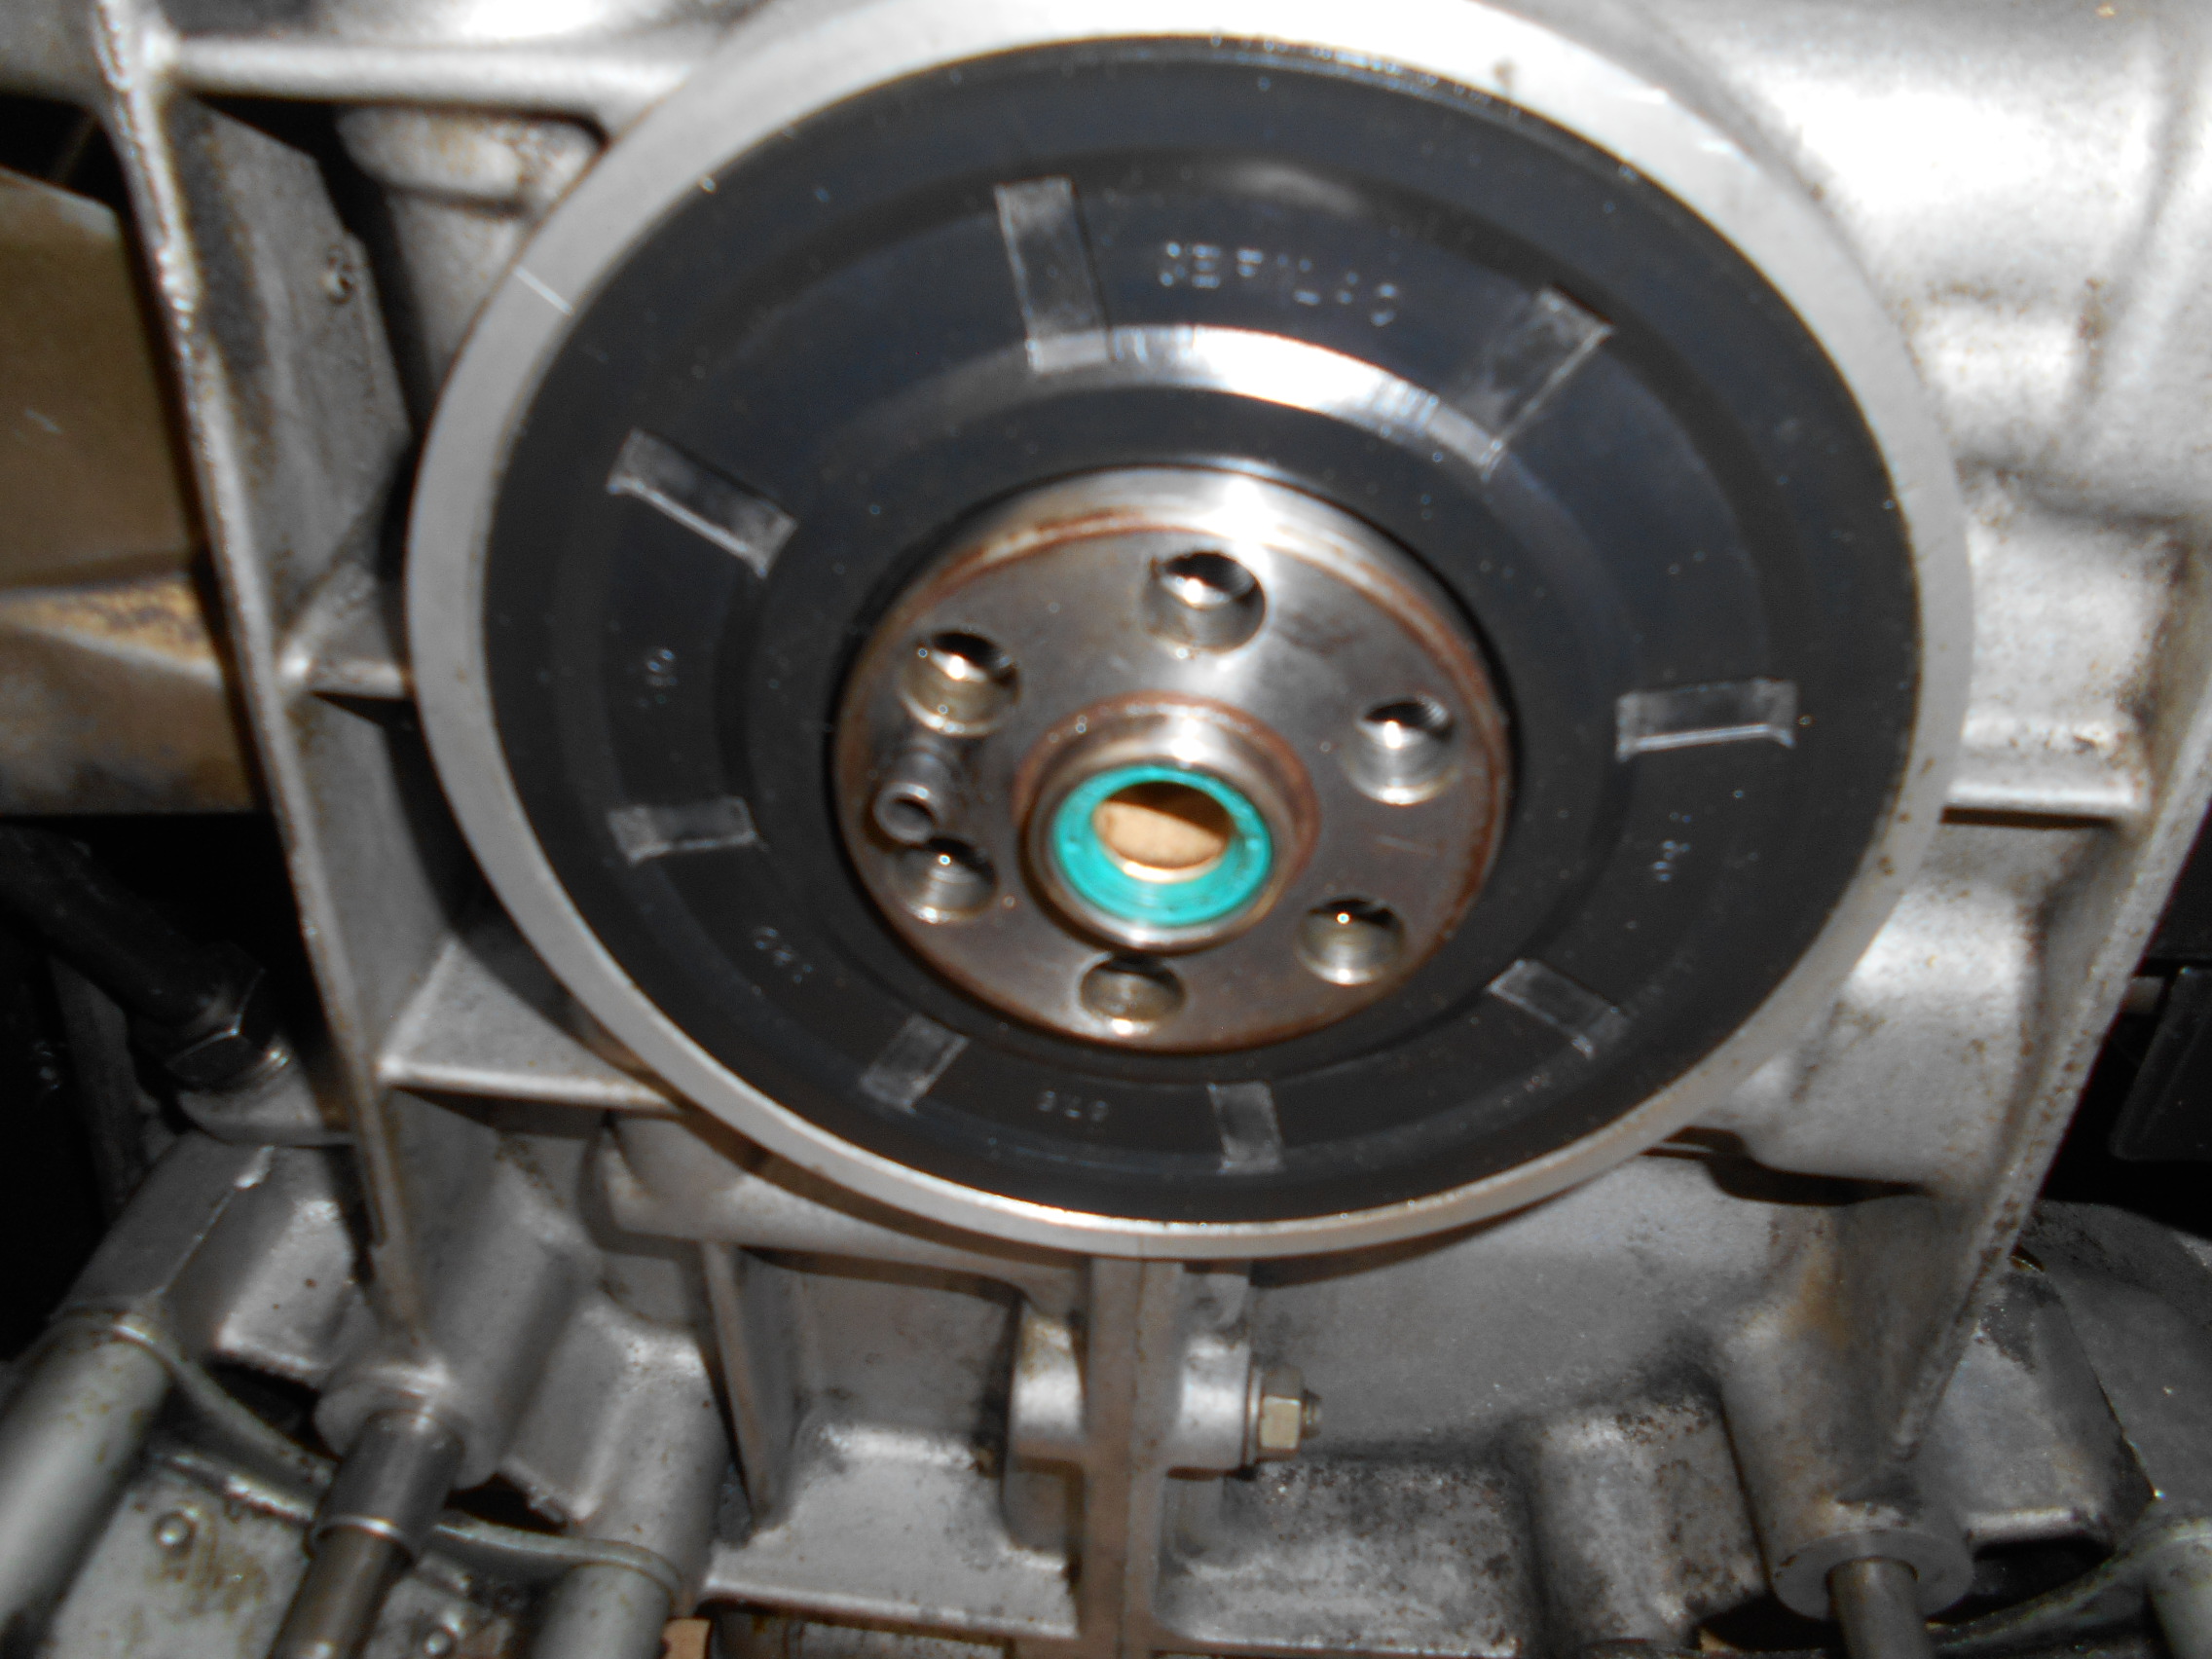
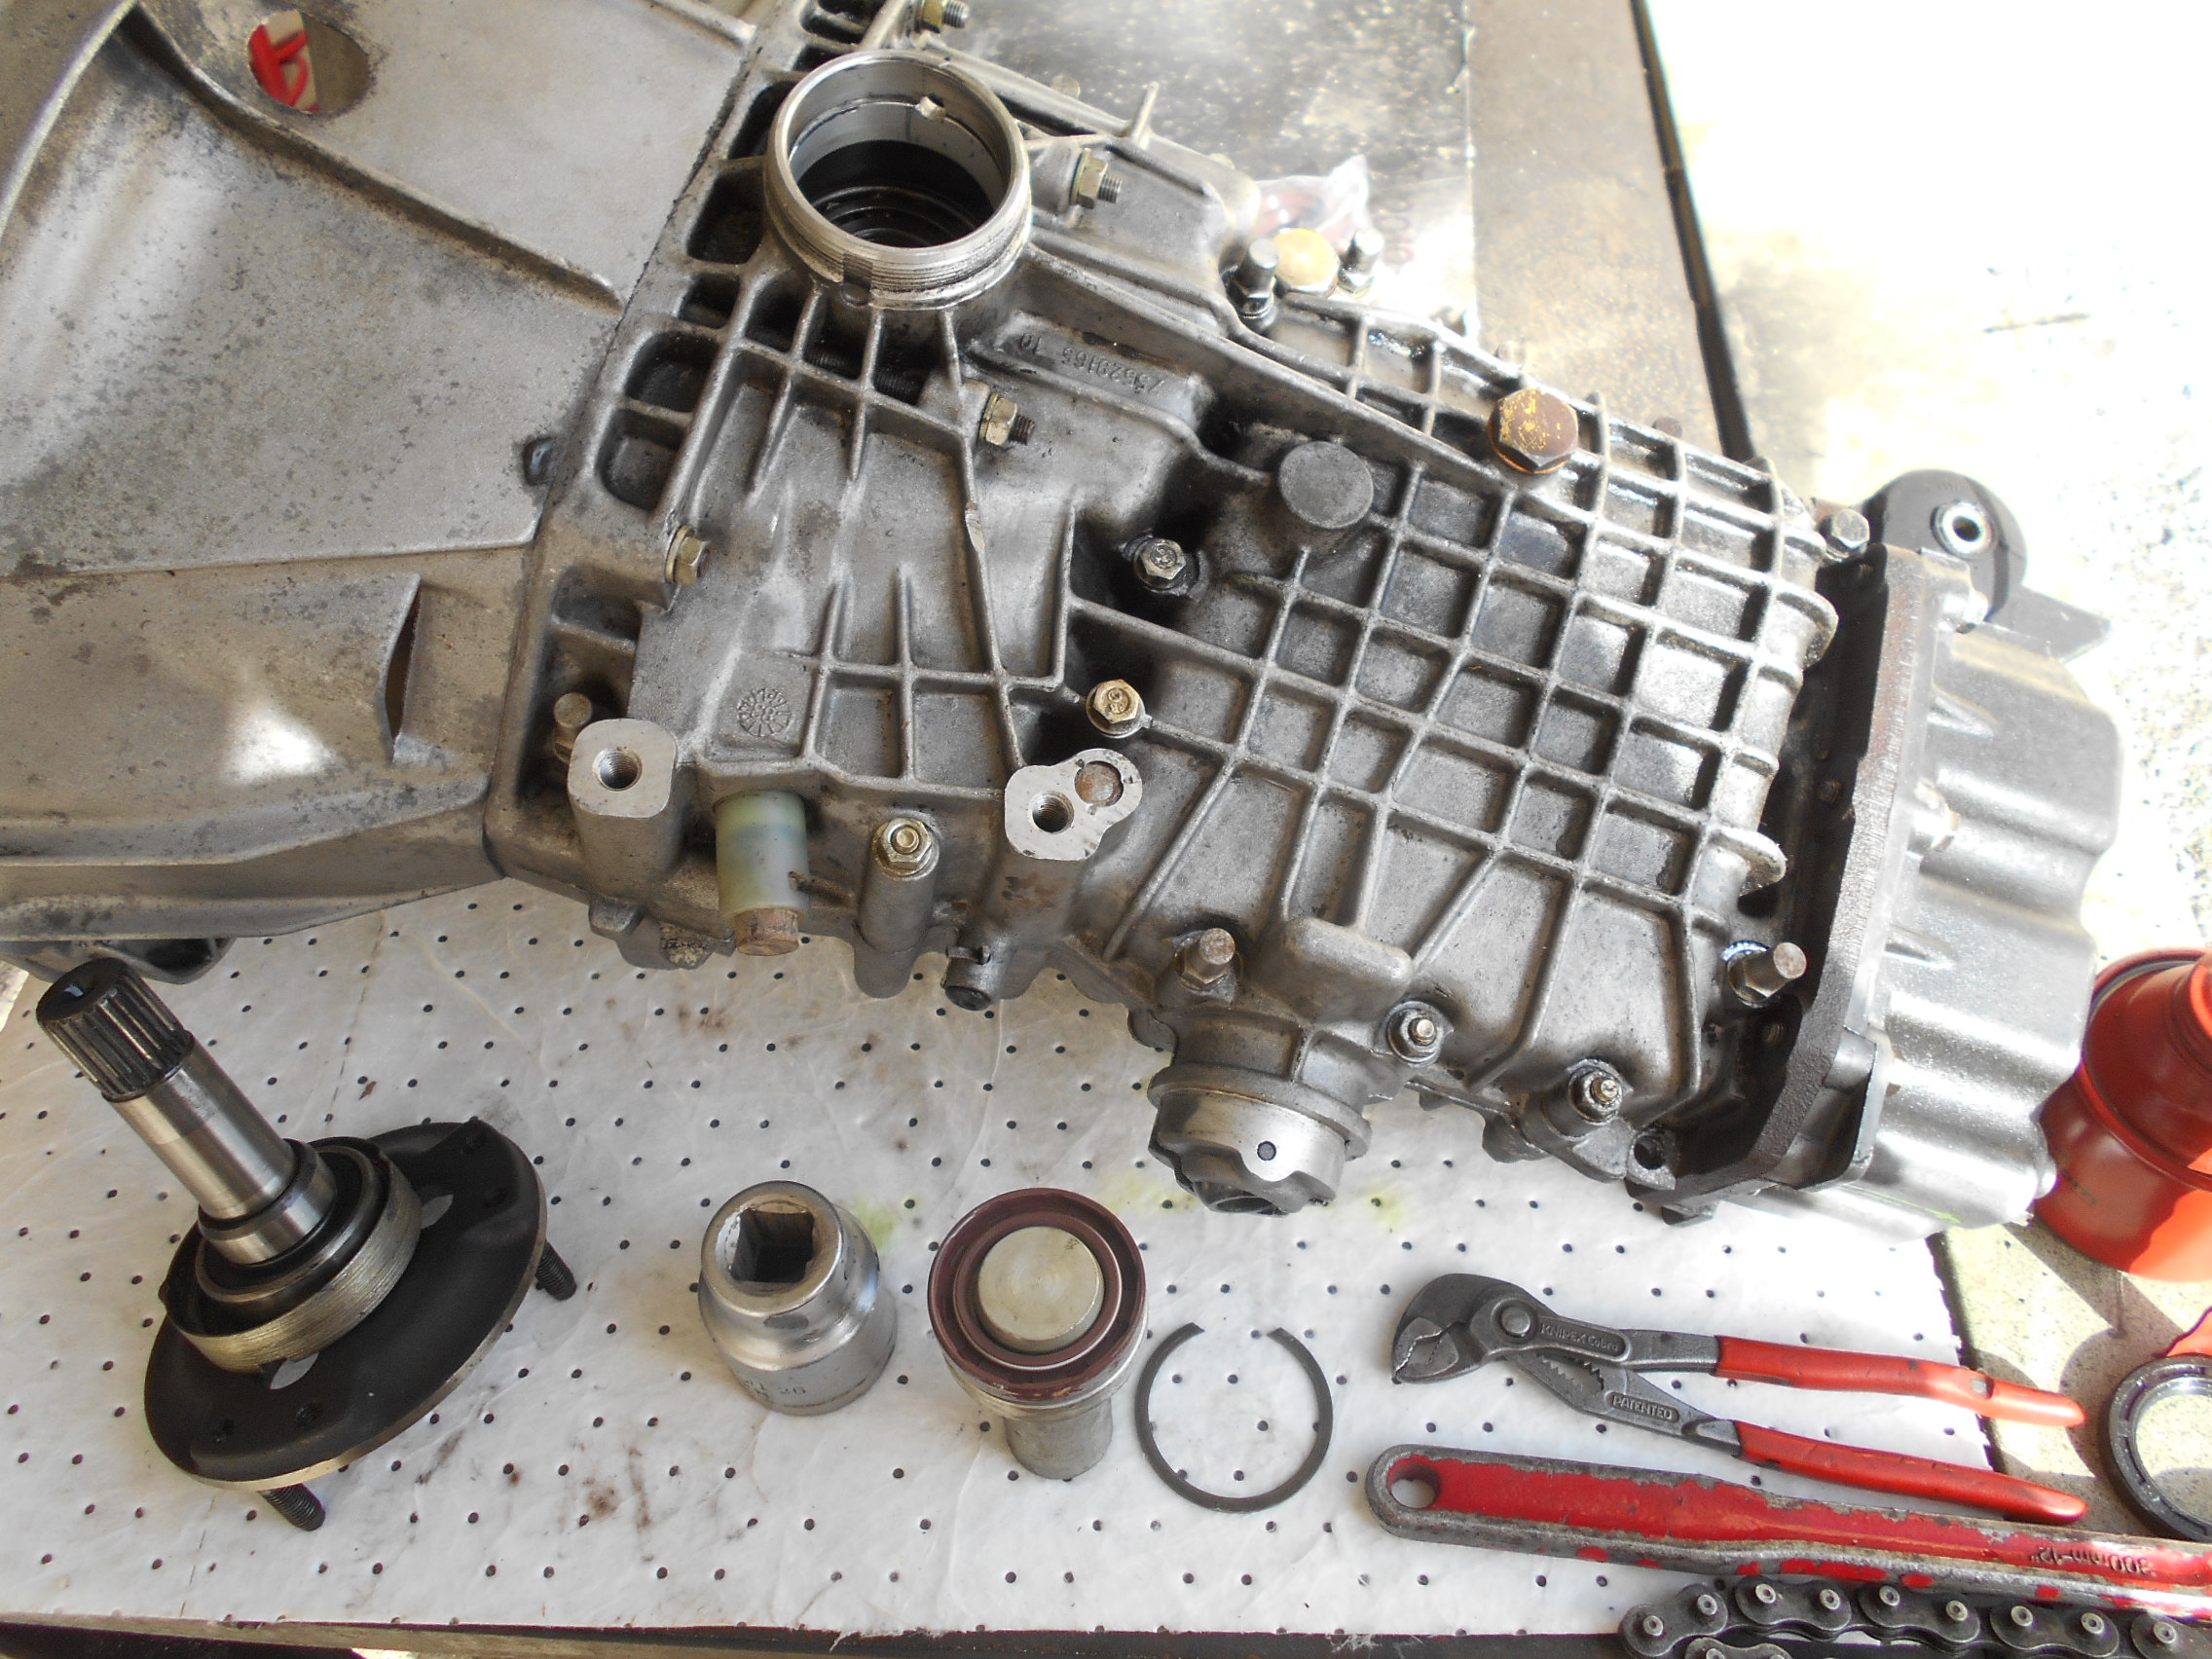
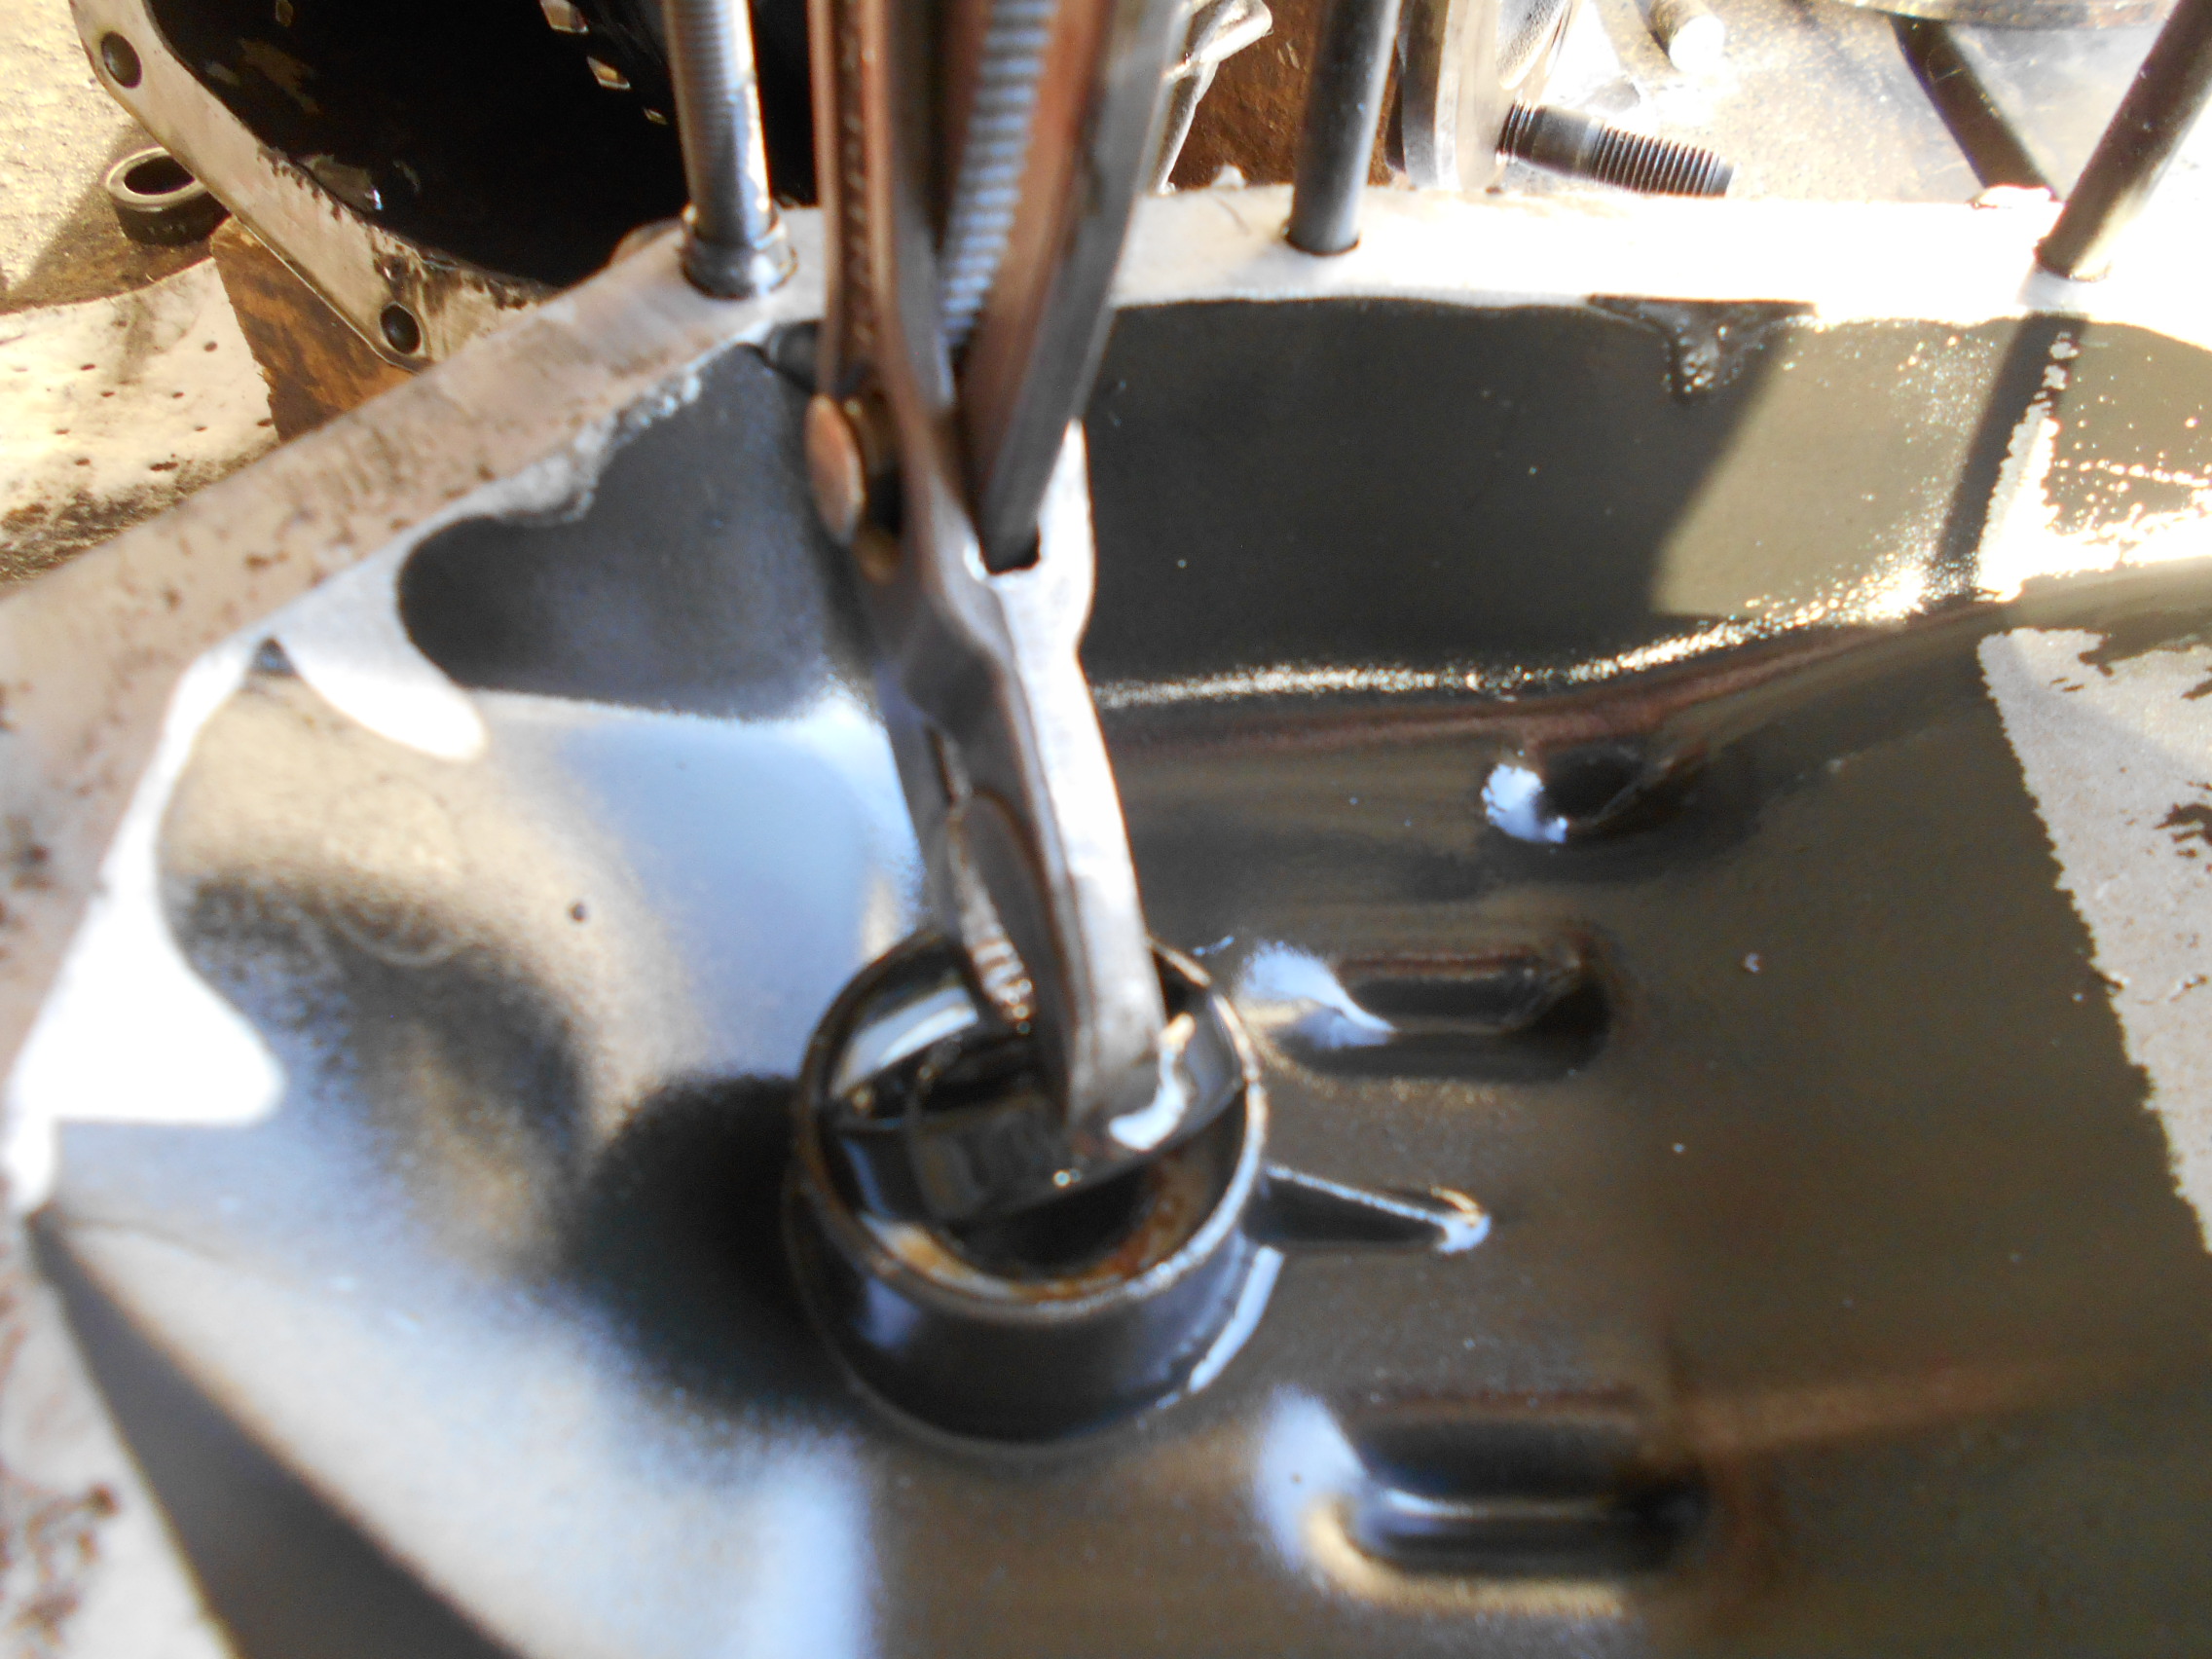
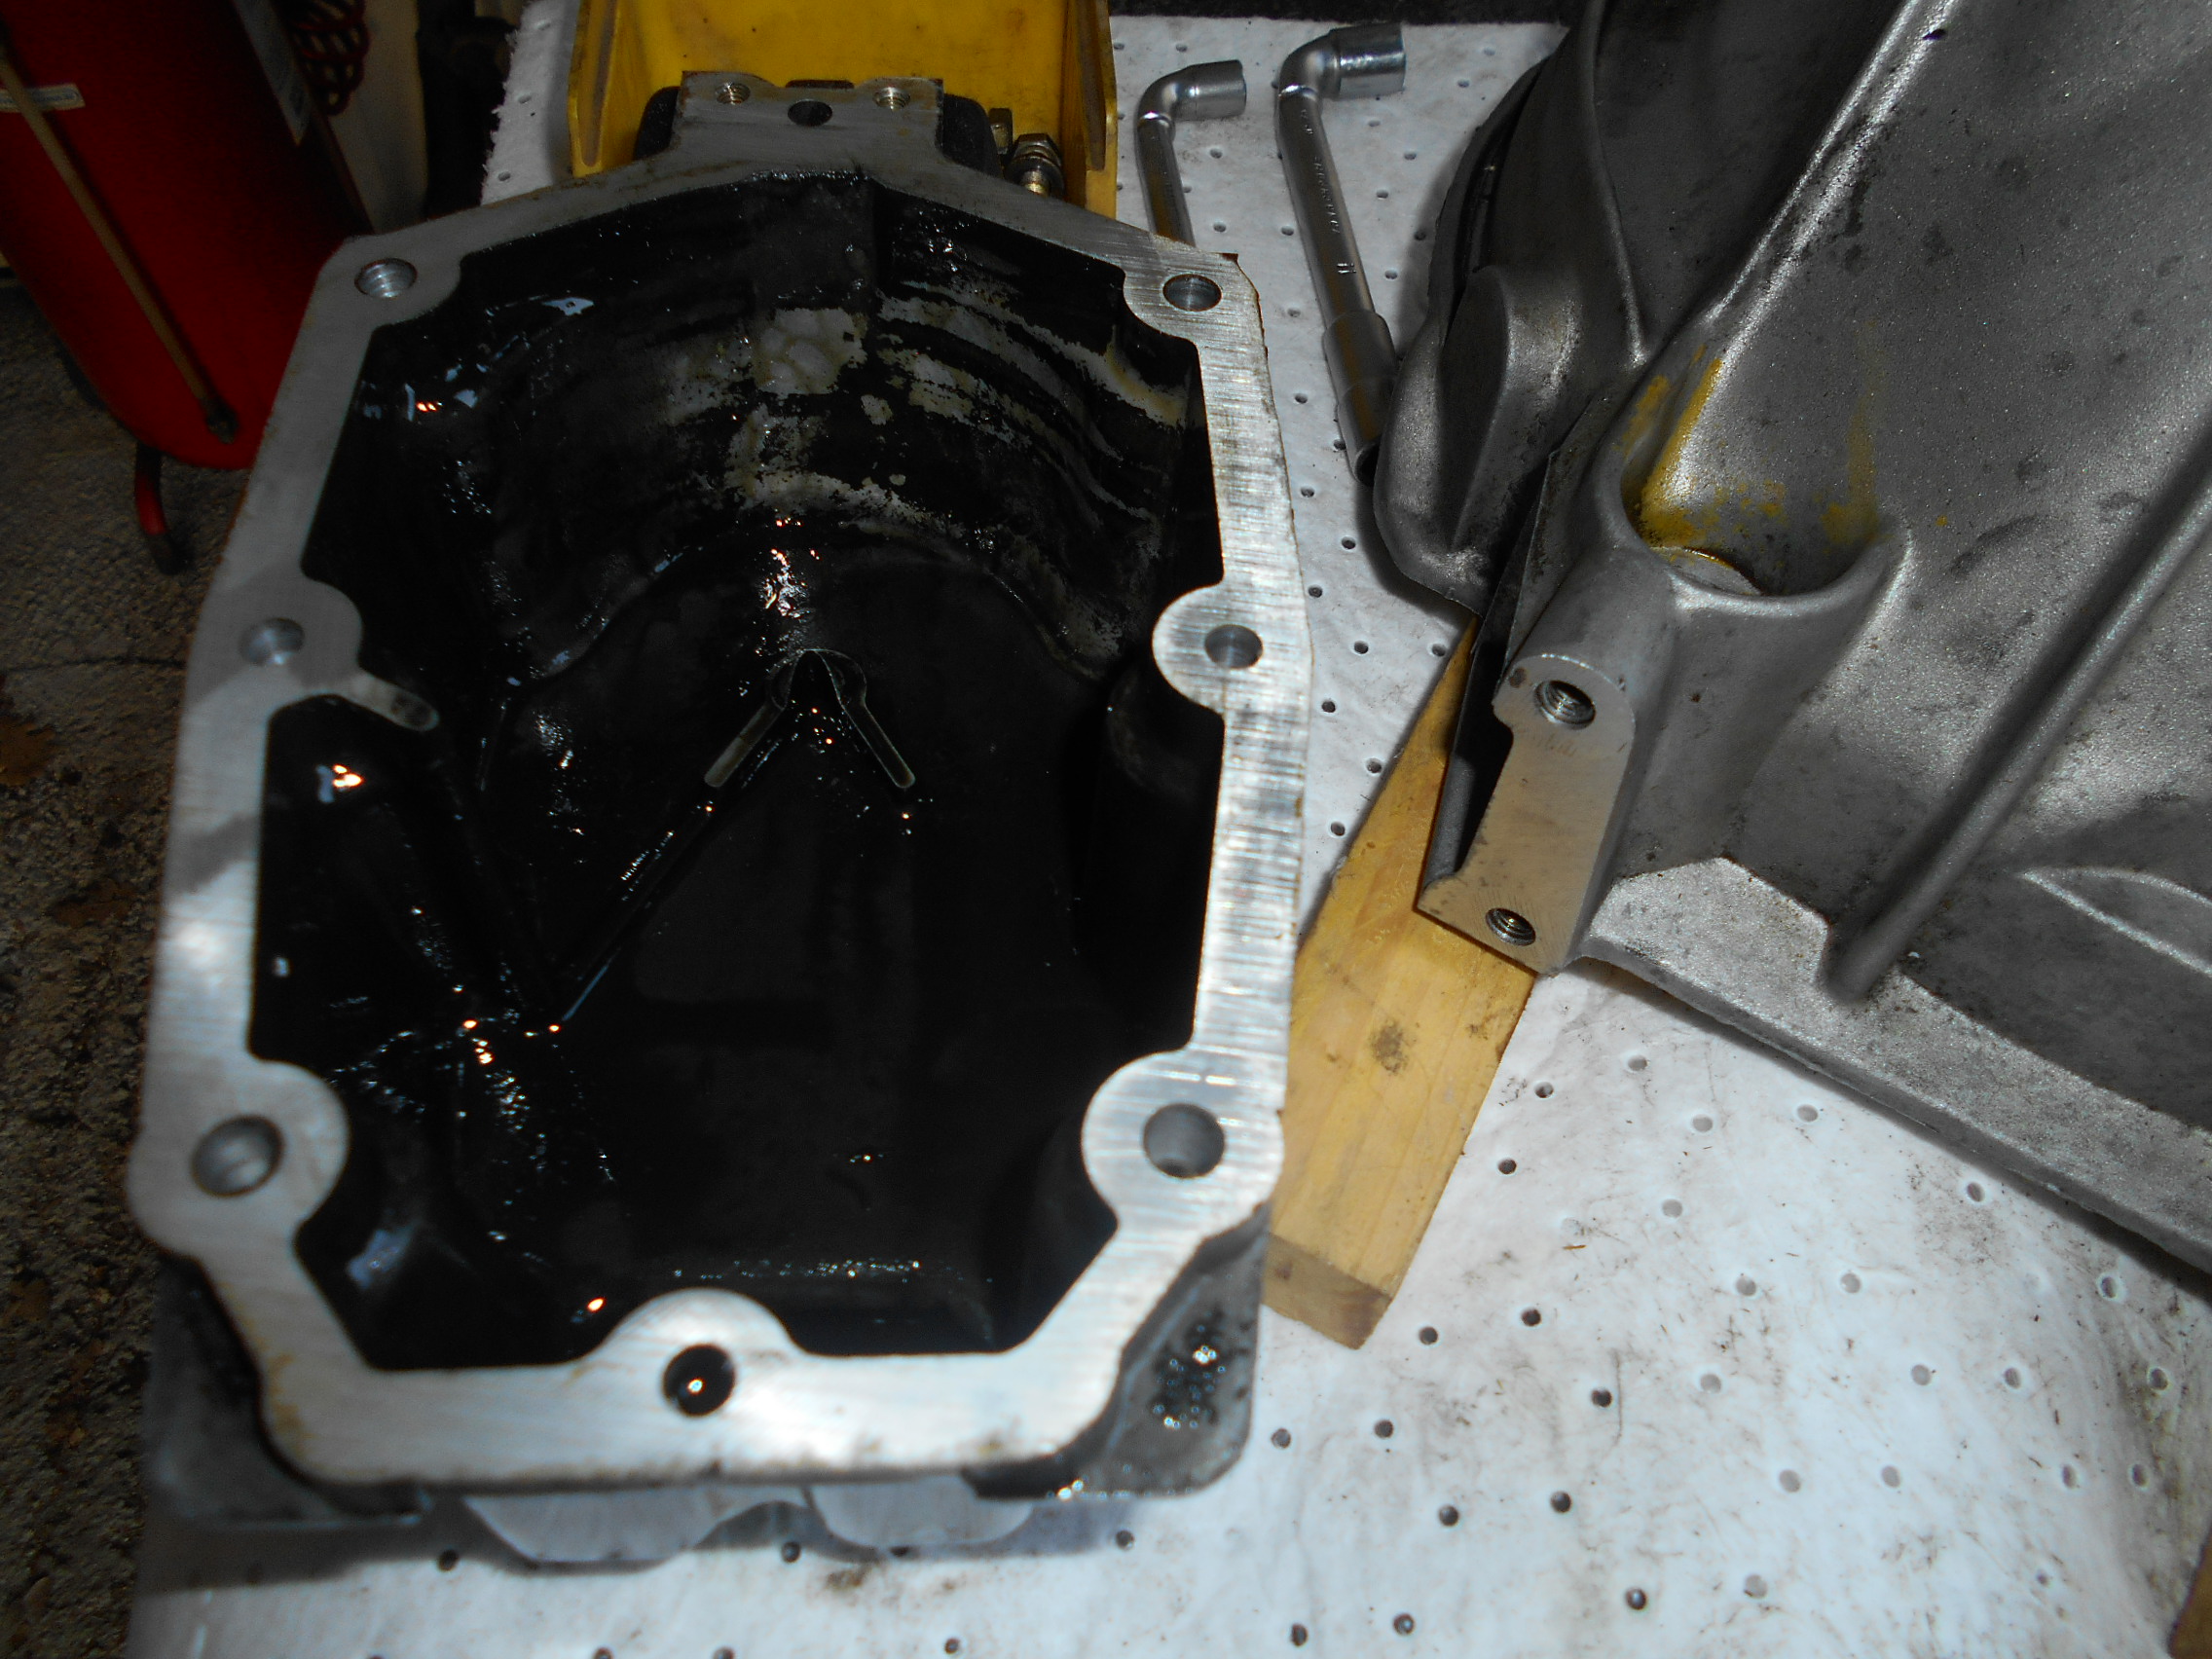
Engine resealing at the rear involved replacing the crankshaft rear seal (photos 9 and 10). Before installing the clutch, this is the perfect opportunity to also replace both the centering brass bushing (located at the end of the crankshaft) and its oil seal. This bushing is supporting the gearbox input shaft, and replacing the bushing will deliver a silent clutch operation (photos 18 to 25).

Finalize the engine resealing by replacing the two square section O-rings for the oil cooler, as well as the square section O-ring on the dipstick tube.
Gearbox:
The two differential output shaft seals are frequent sources of gearbox oil leaks, and the replacement of these seals can be done in two different ways:
- From inside the gearbox, which requires complete disassembly of the gearbox: This is a tedious job. However, once all the gearbox disassembly is done, replacing each shaft seal is easy and there’s no need to remove the retaining ring which the shaft seal is pushed up against.
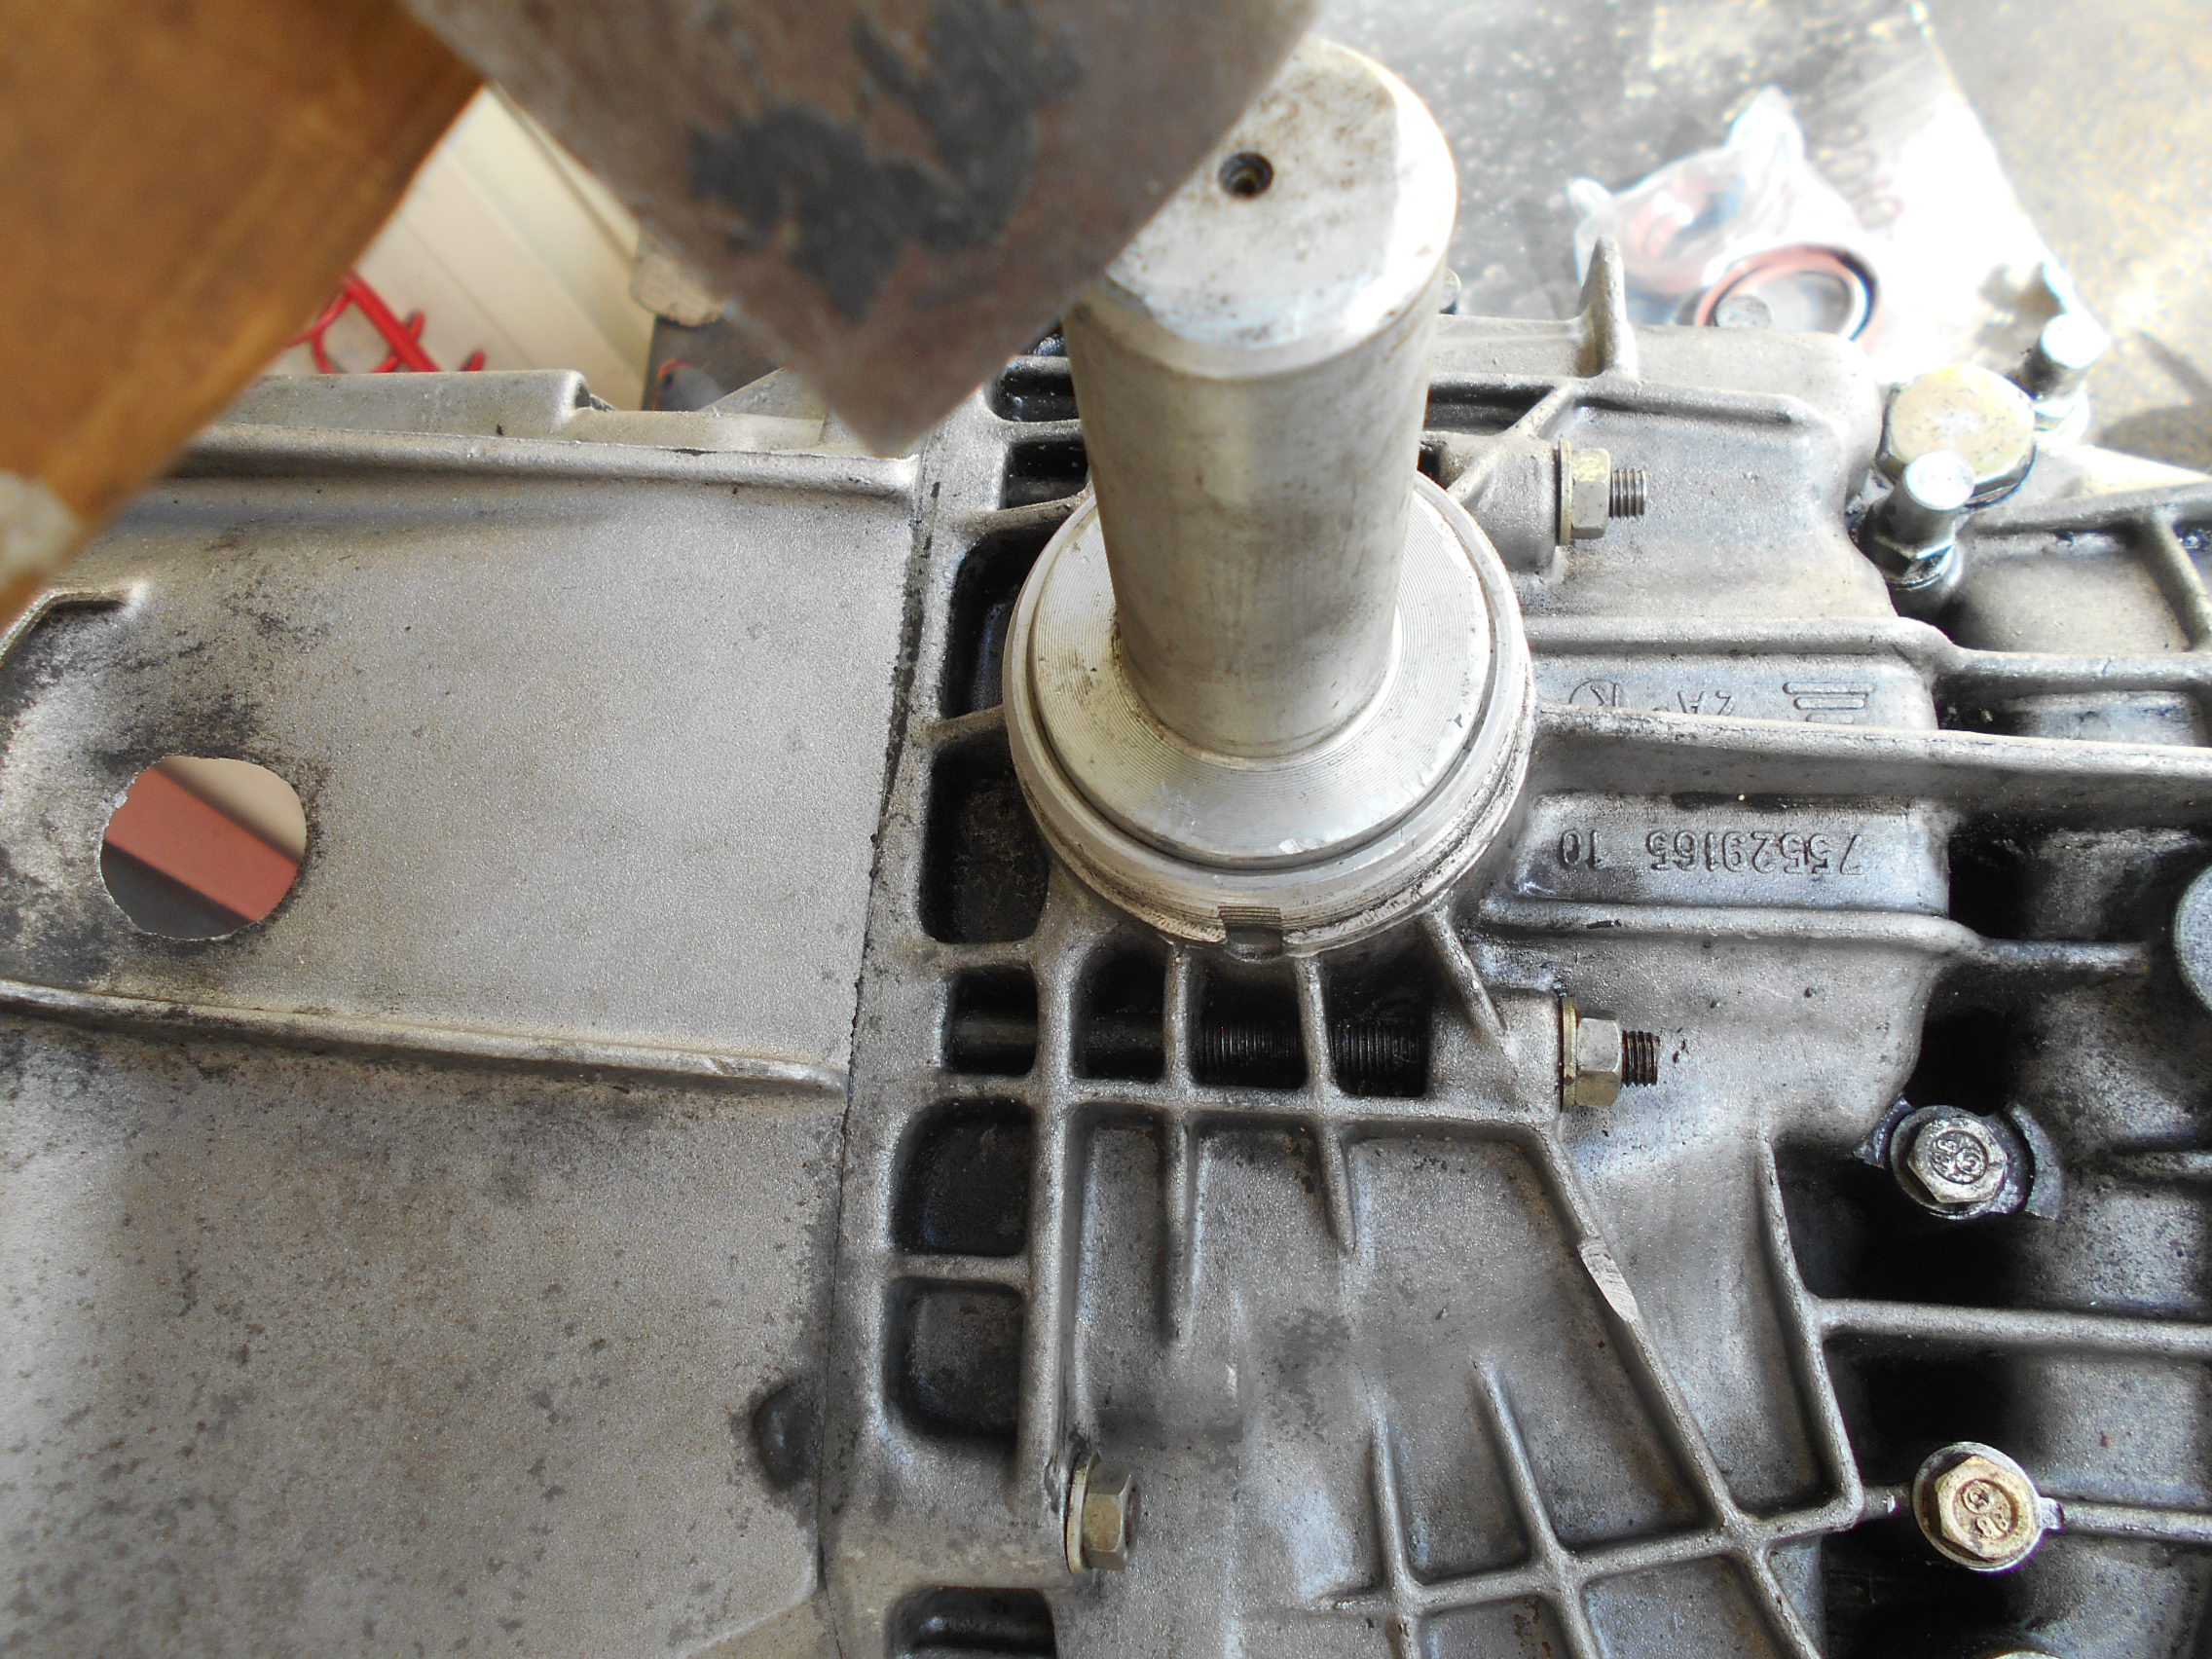
- From outside the gearbox: remove the retaining ring and the old shaft seal, then install the new shaft seal with the appropriate tool. Great care must be taken to position the new shaft seal correctly in line with the bore, tapping it in place very gently until it’s flush with the groove of the retaining ring (photos 26 to 30).
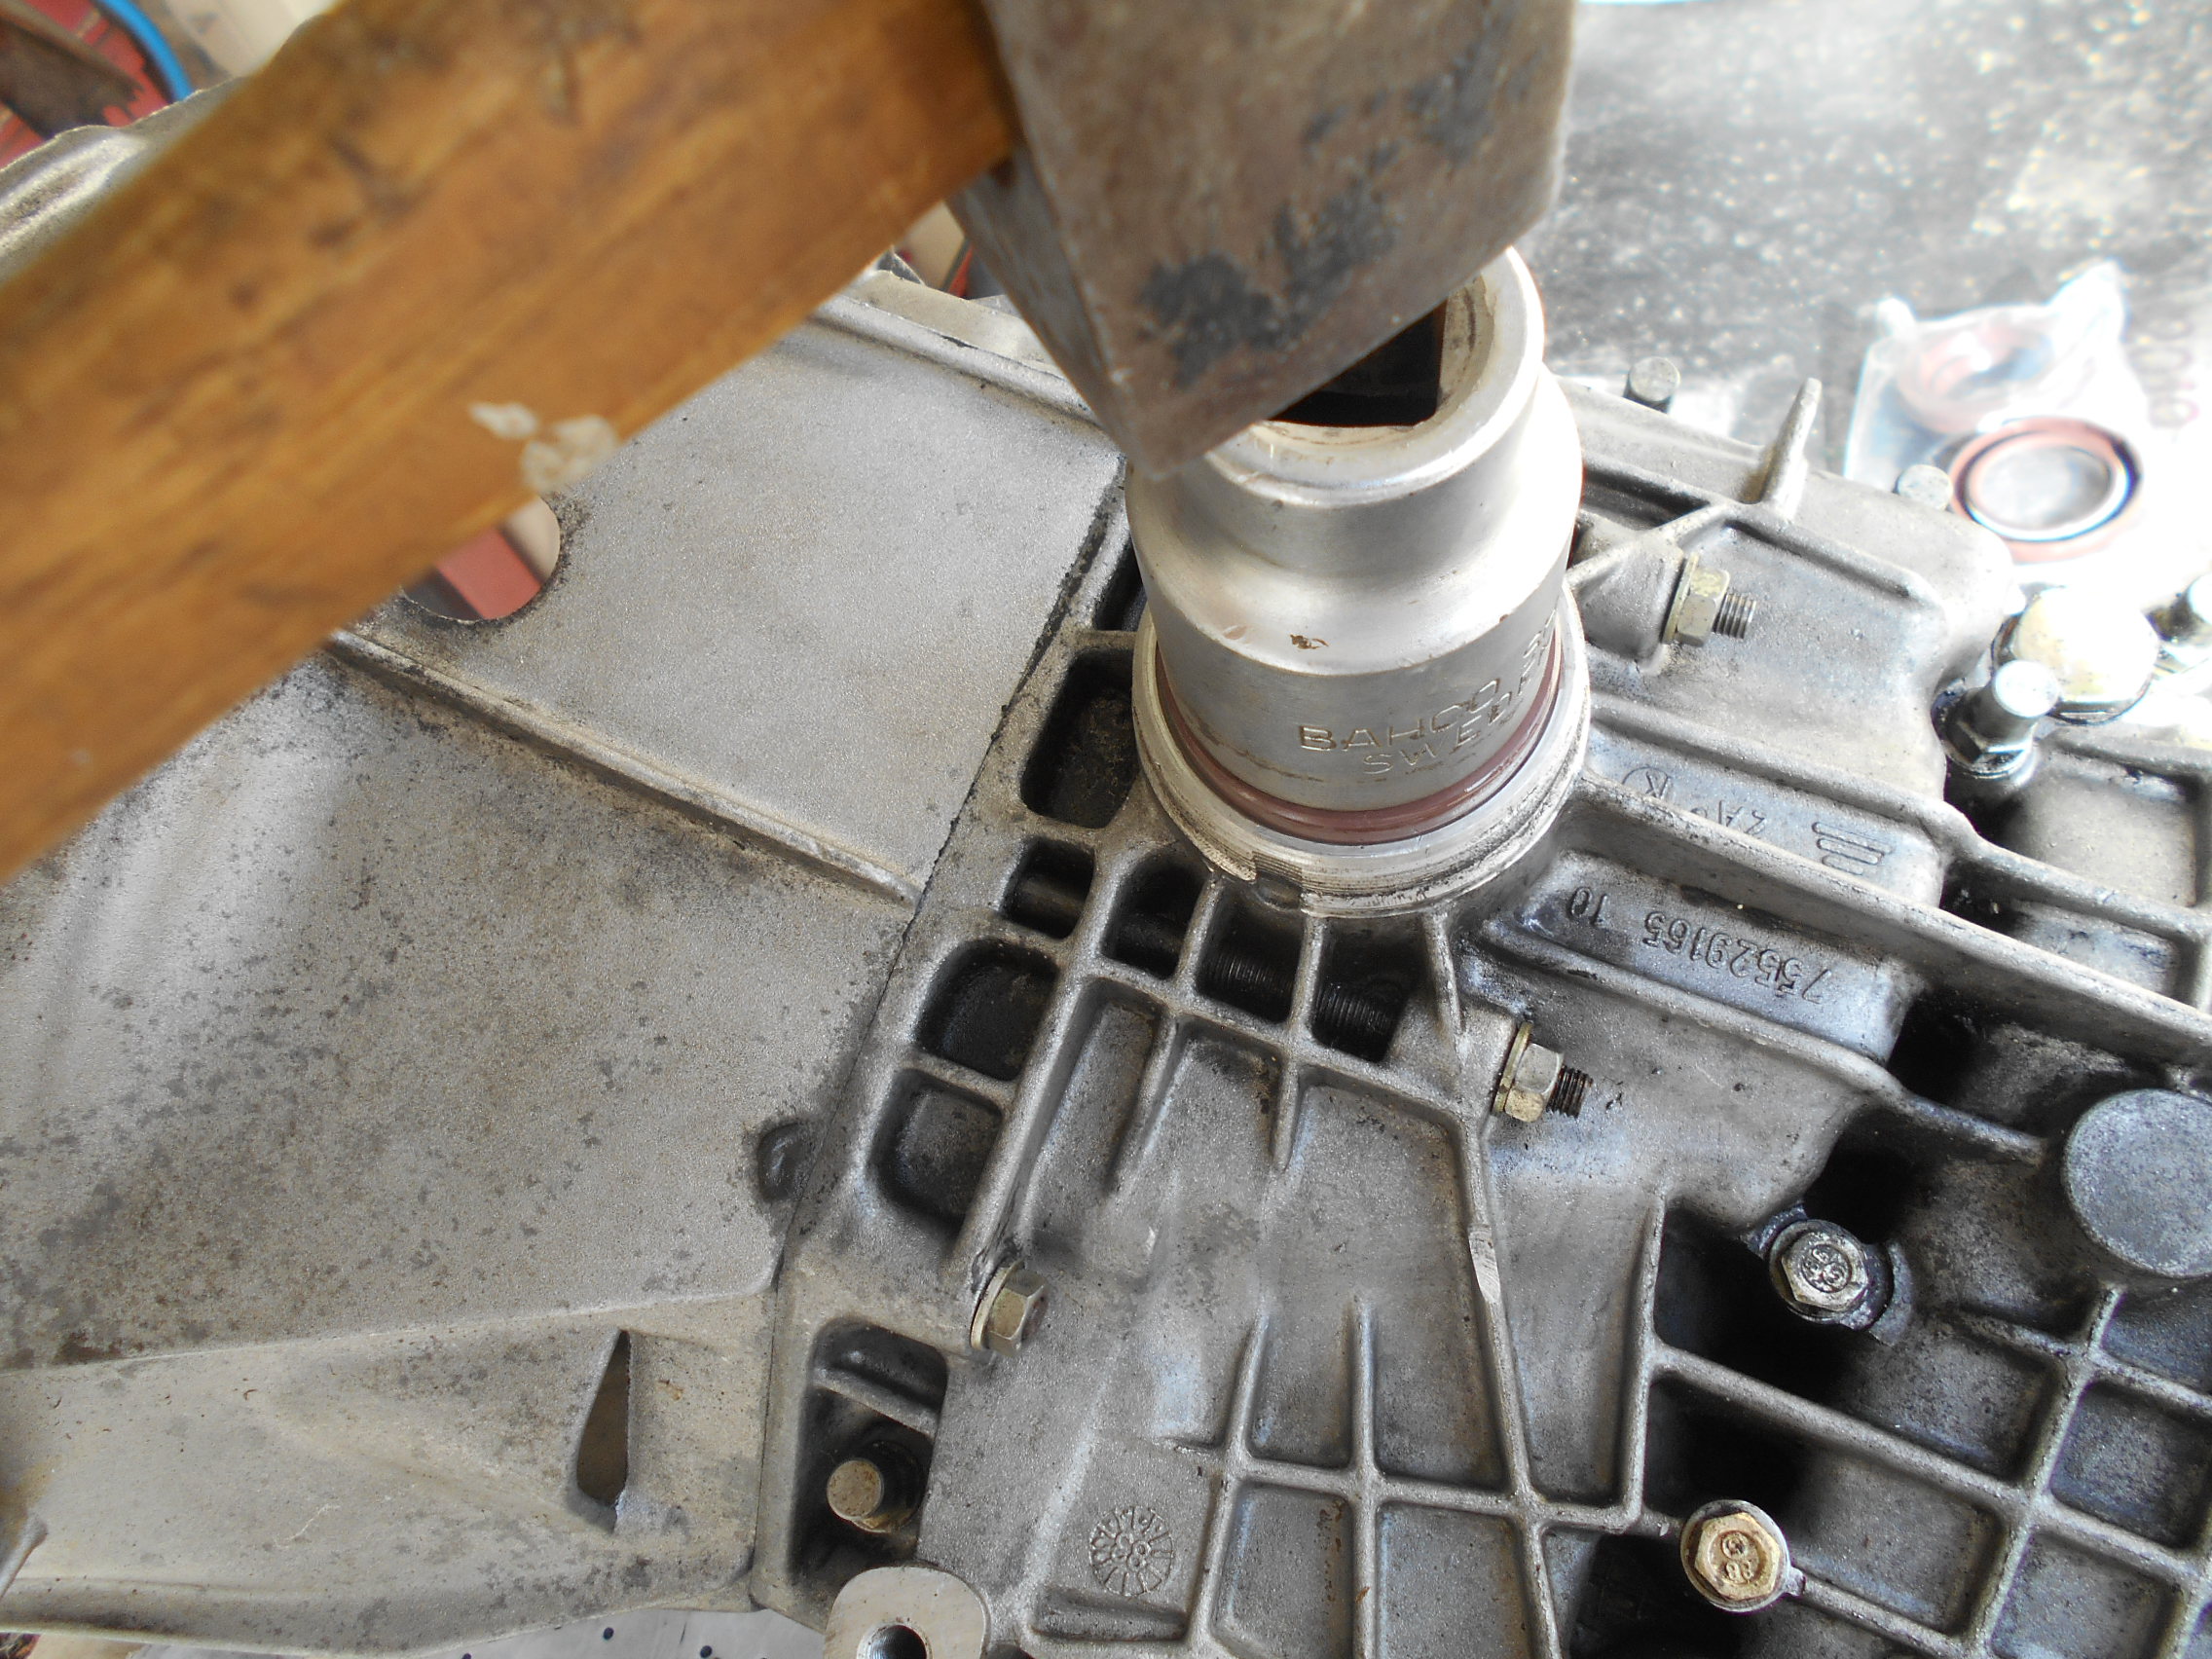
A socket of suitable diameter can also do the job (photo 31).


Refit the retaining rings. Check (and perhaps replace) the ball bearings on the output shafts. Refit the output shafts and tighten the large ring nuts (photos 32 and 33).
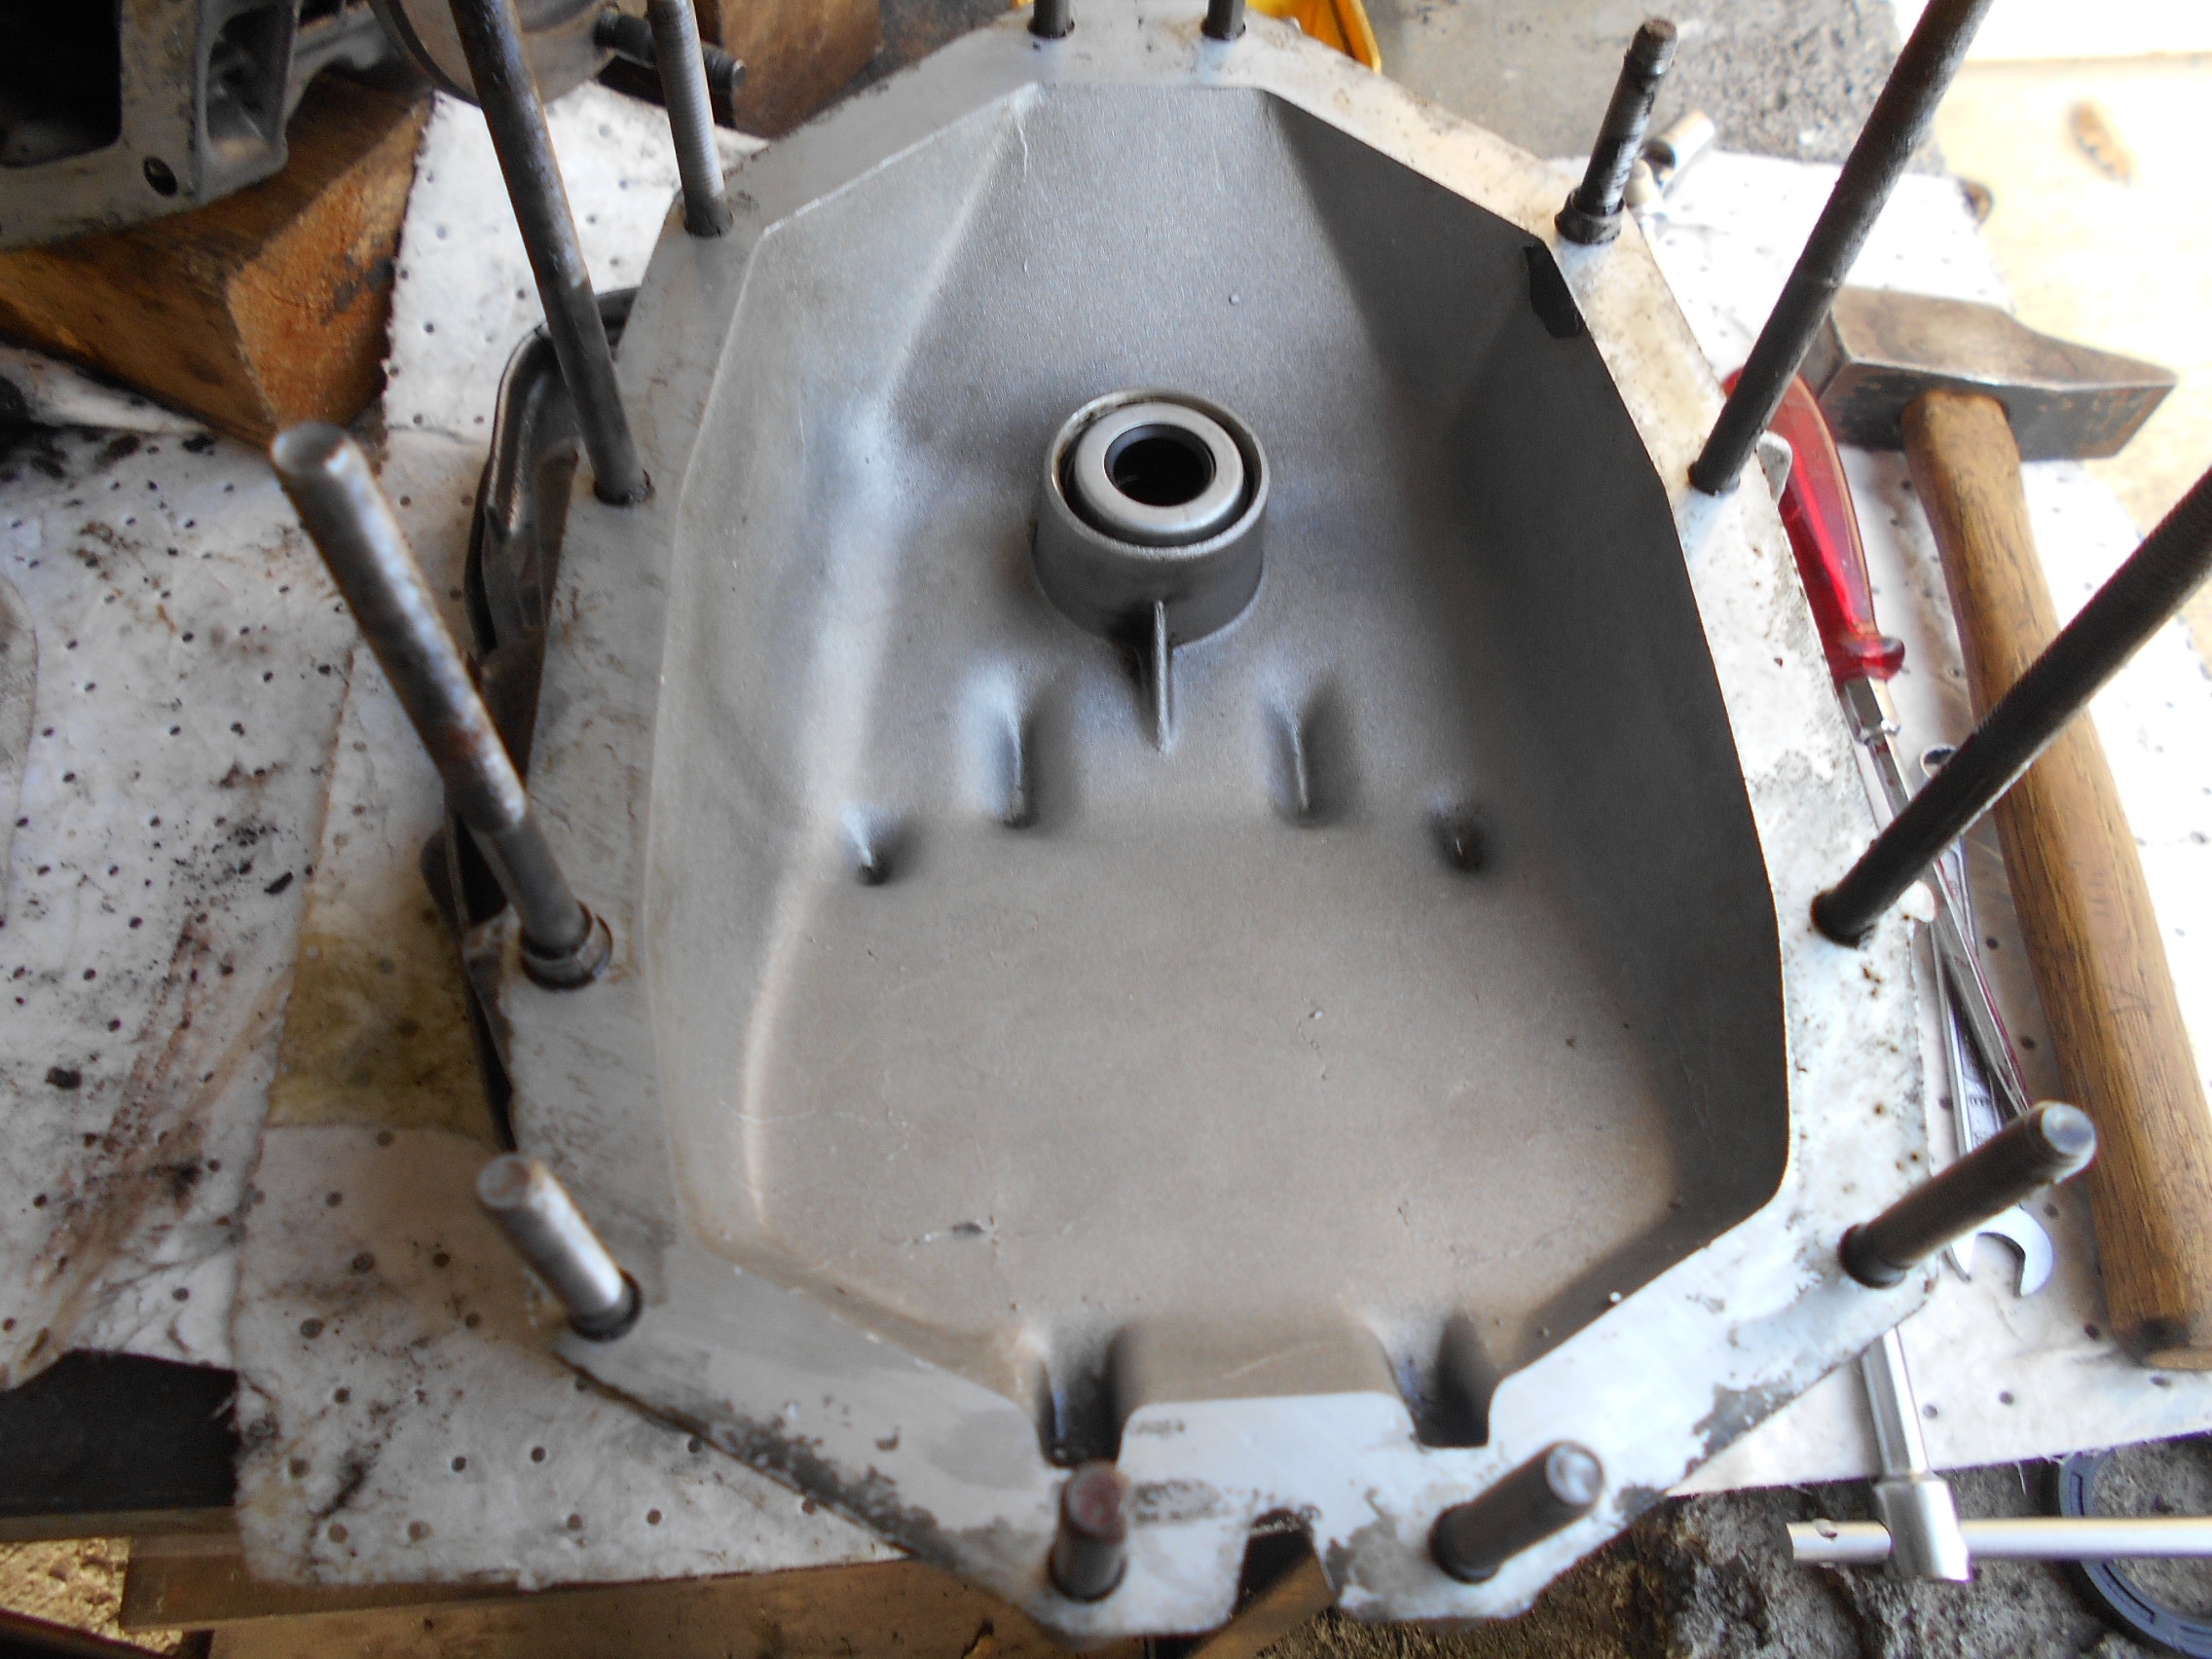
Removal of the clutch bellhousing makes it possible to replace the gearbox input shaft seal which is located inside the bellhousing (photos 34 and 35). The bellhousing is refitted using a liquid gasket, such as Loctite 518 or L’Hermetique, or similar.
Resealing of the rear gearbox cover is done in the same way, with a liquid sealant (photos 36 and 37).

This completes most of the gearbox resealing. Optionally, the entire gearbox should be disassembled by separating the two half-casings and reassembling them with liquid sealant. This would also create an opportunity to replace the input shaft needle bearing.
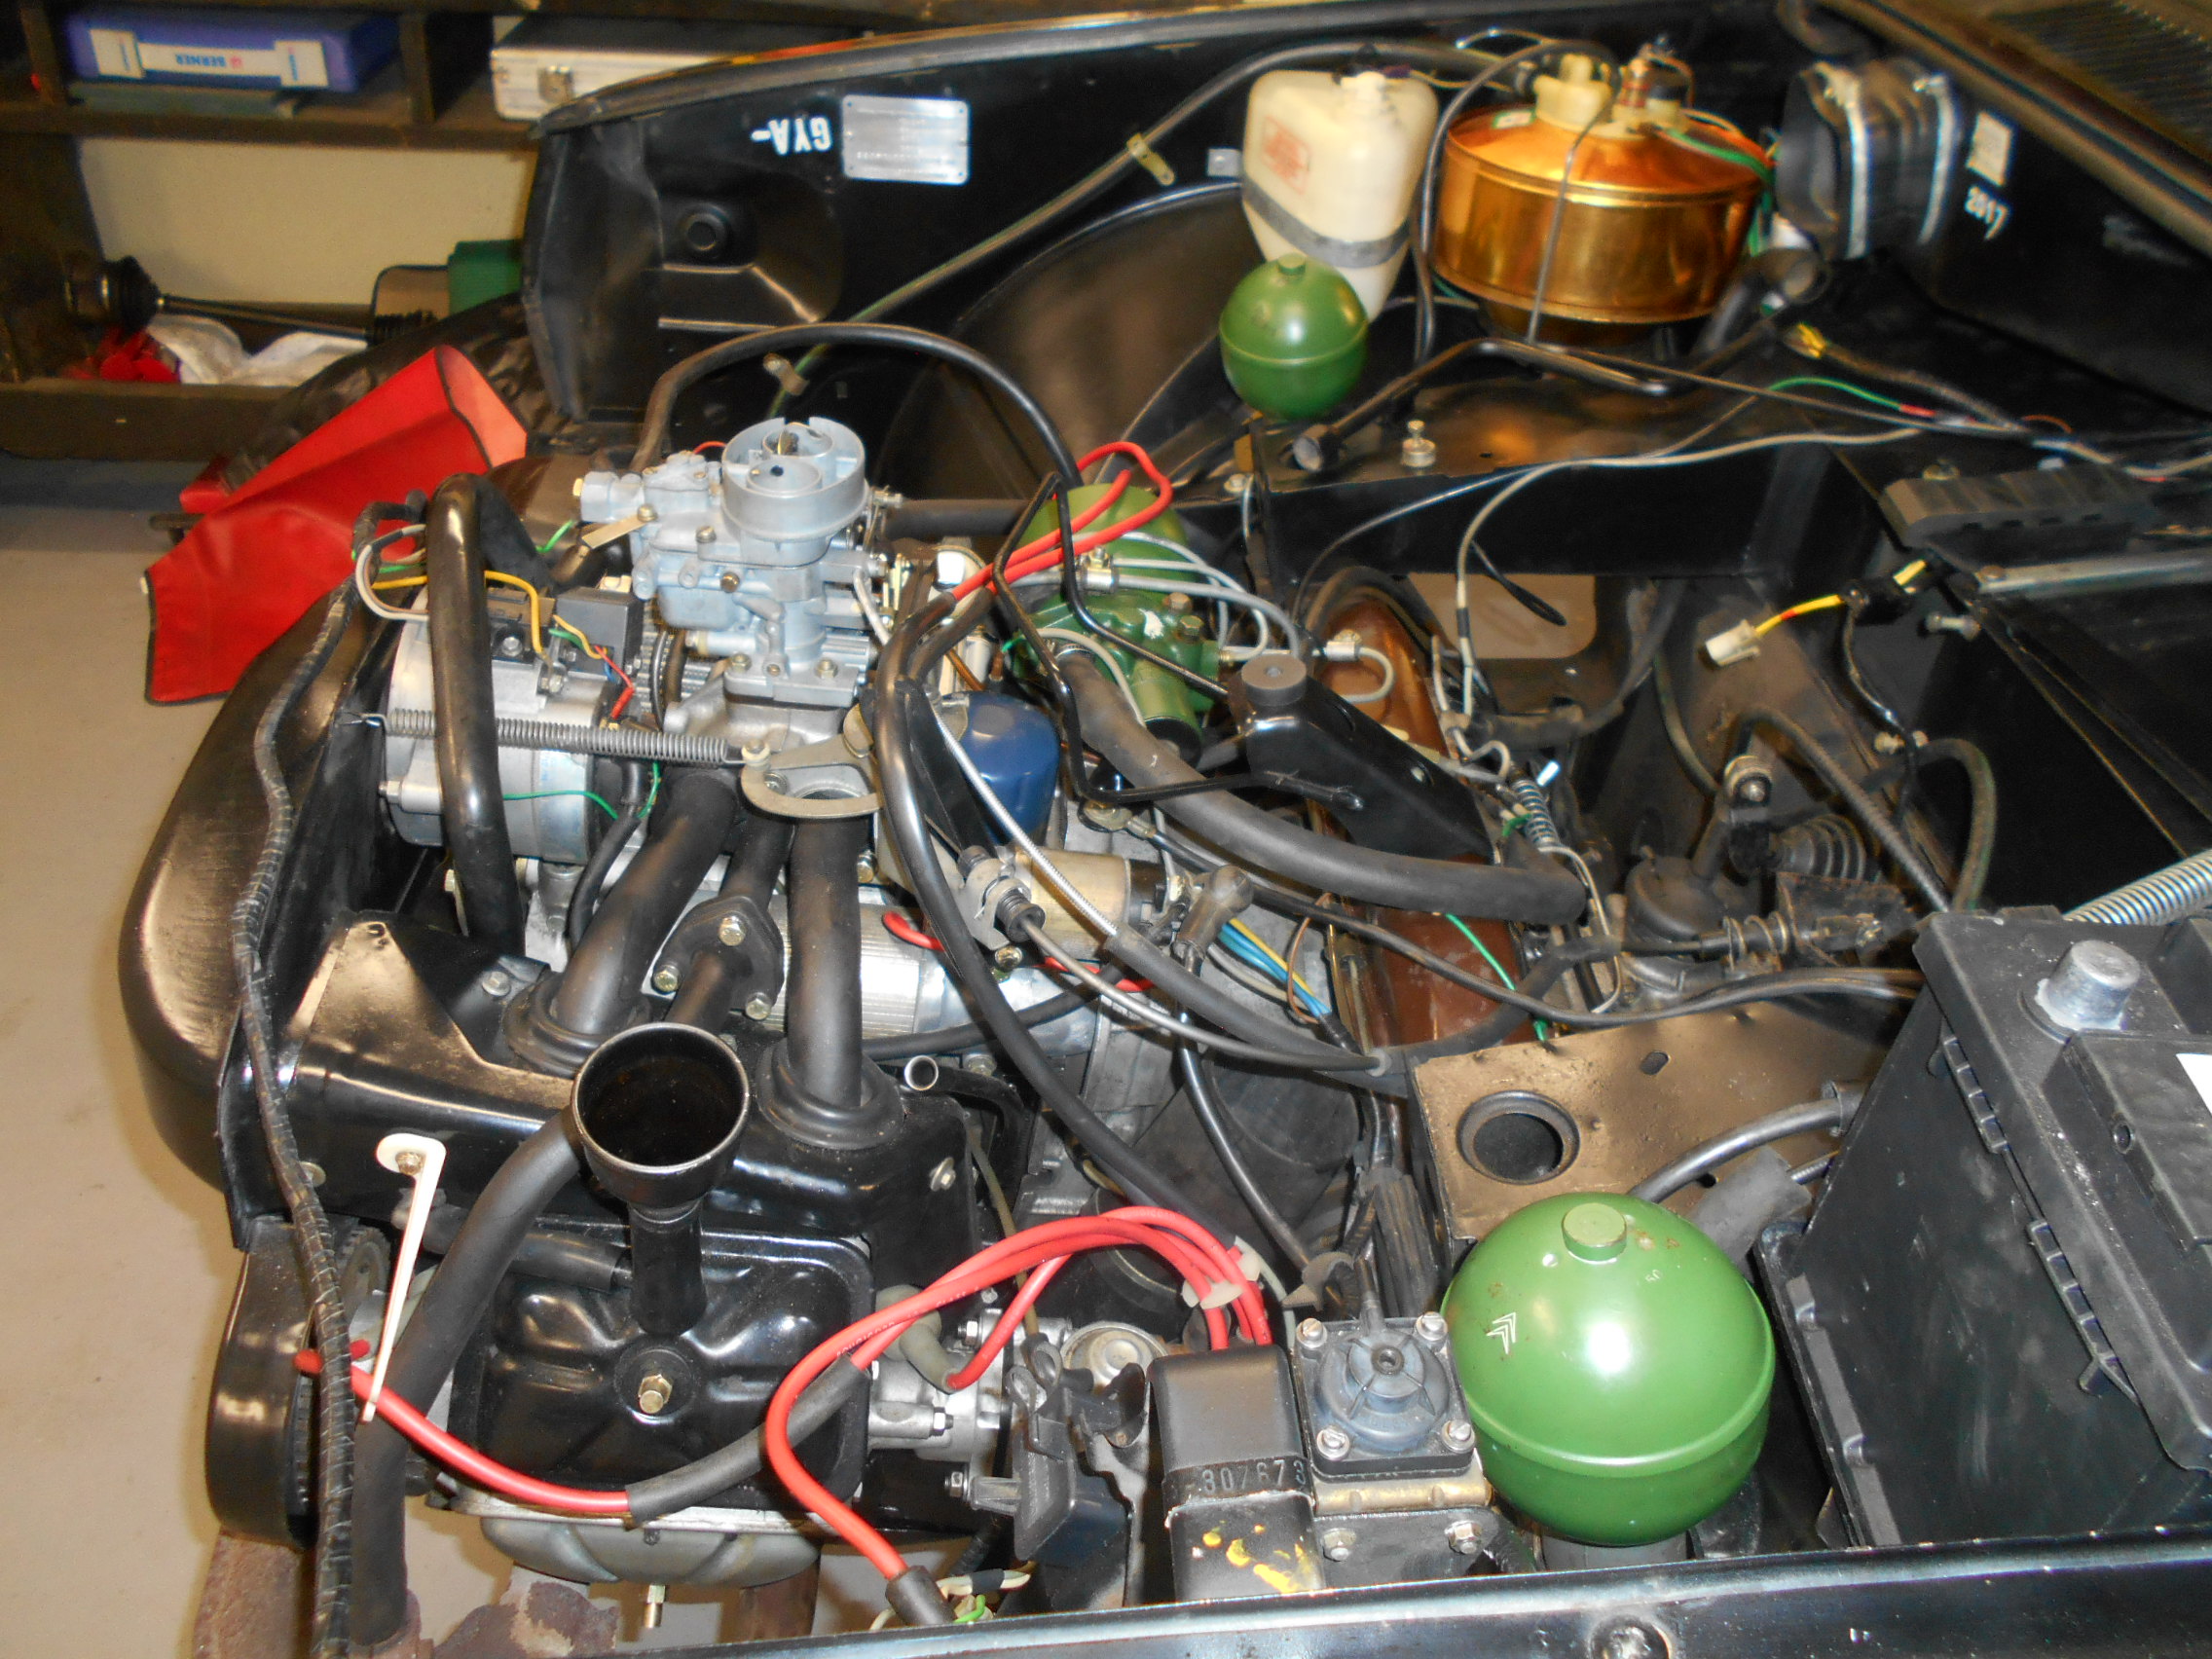
ASSEMBLY AND REINSTALLATION OF THE ENGINE-GEARBOX UNIT
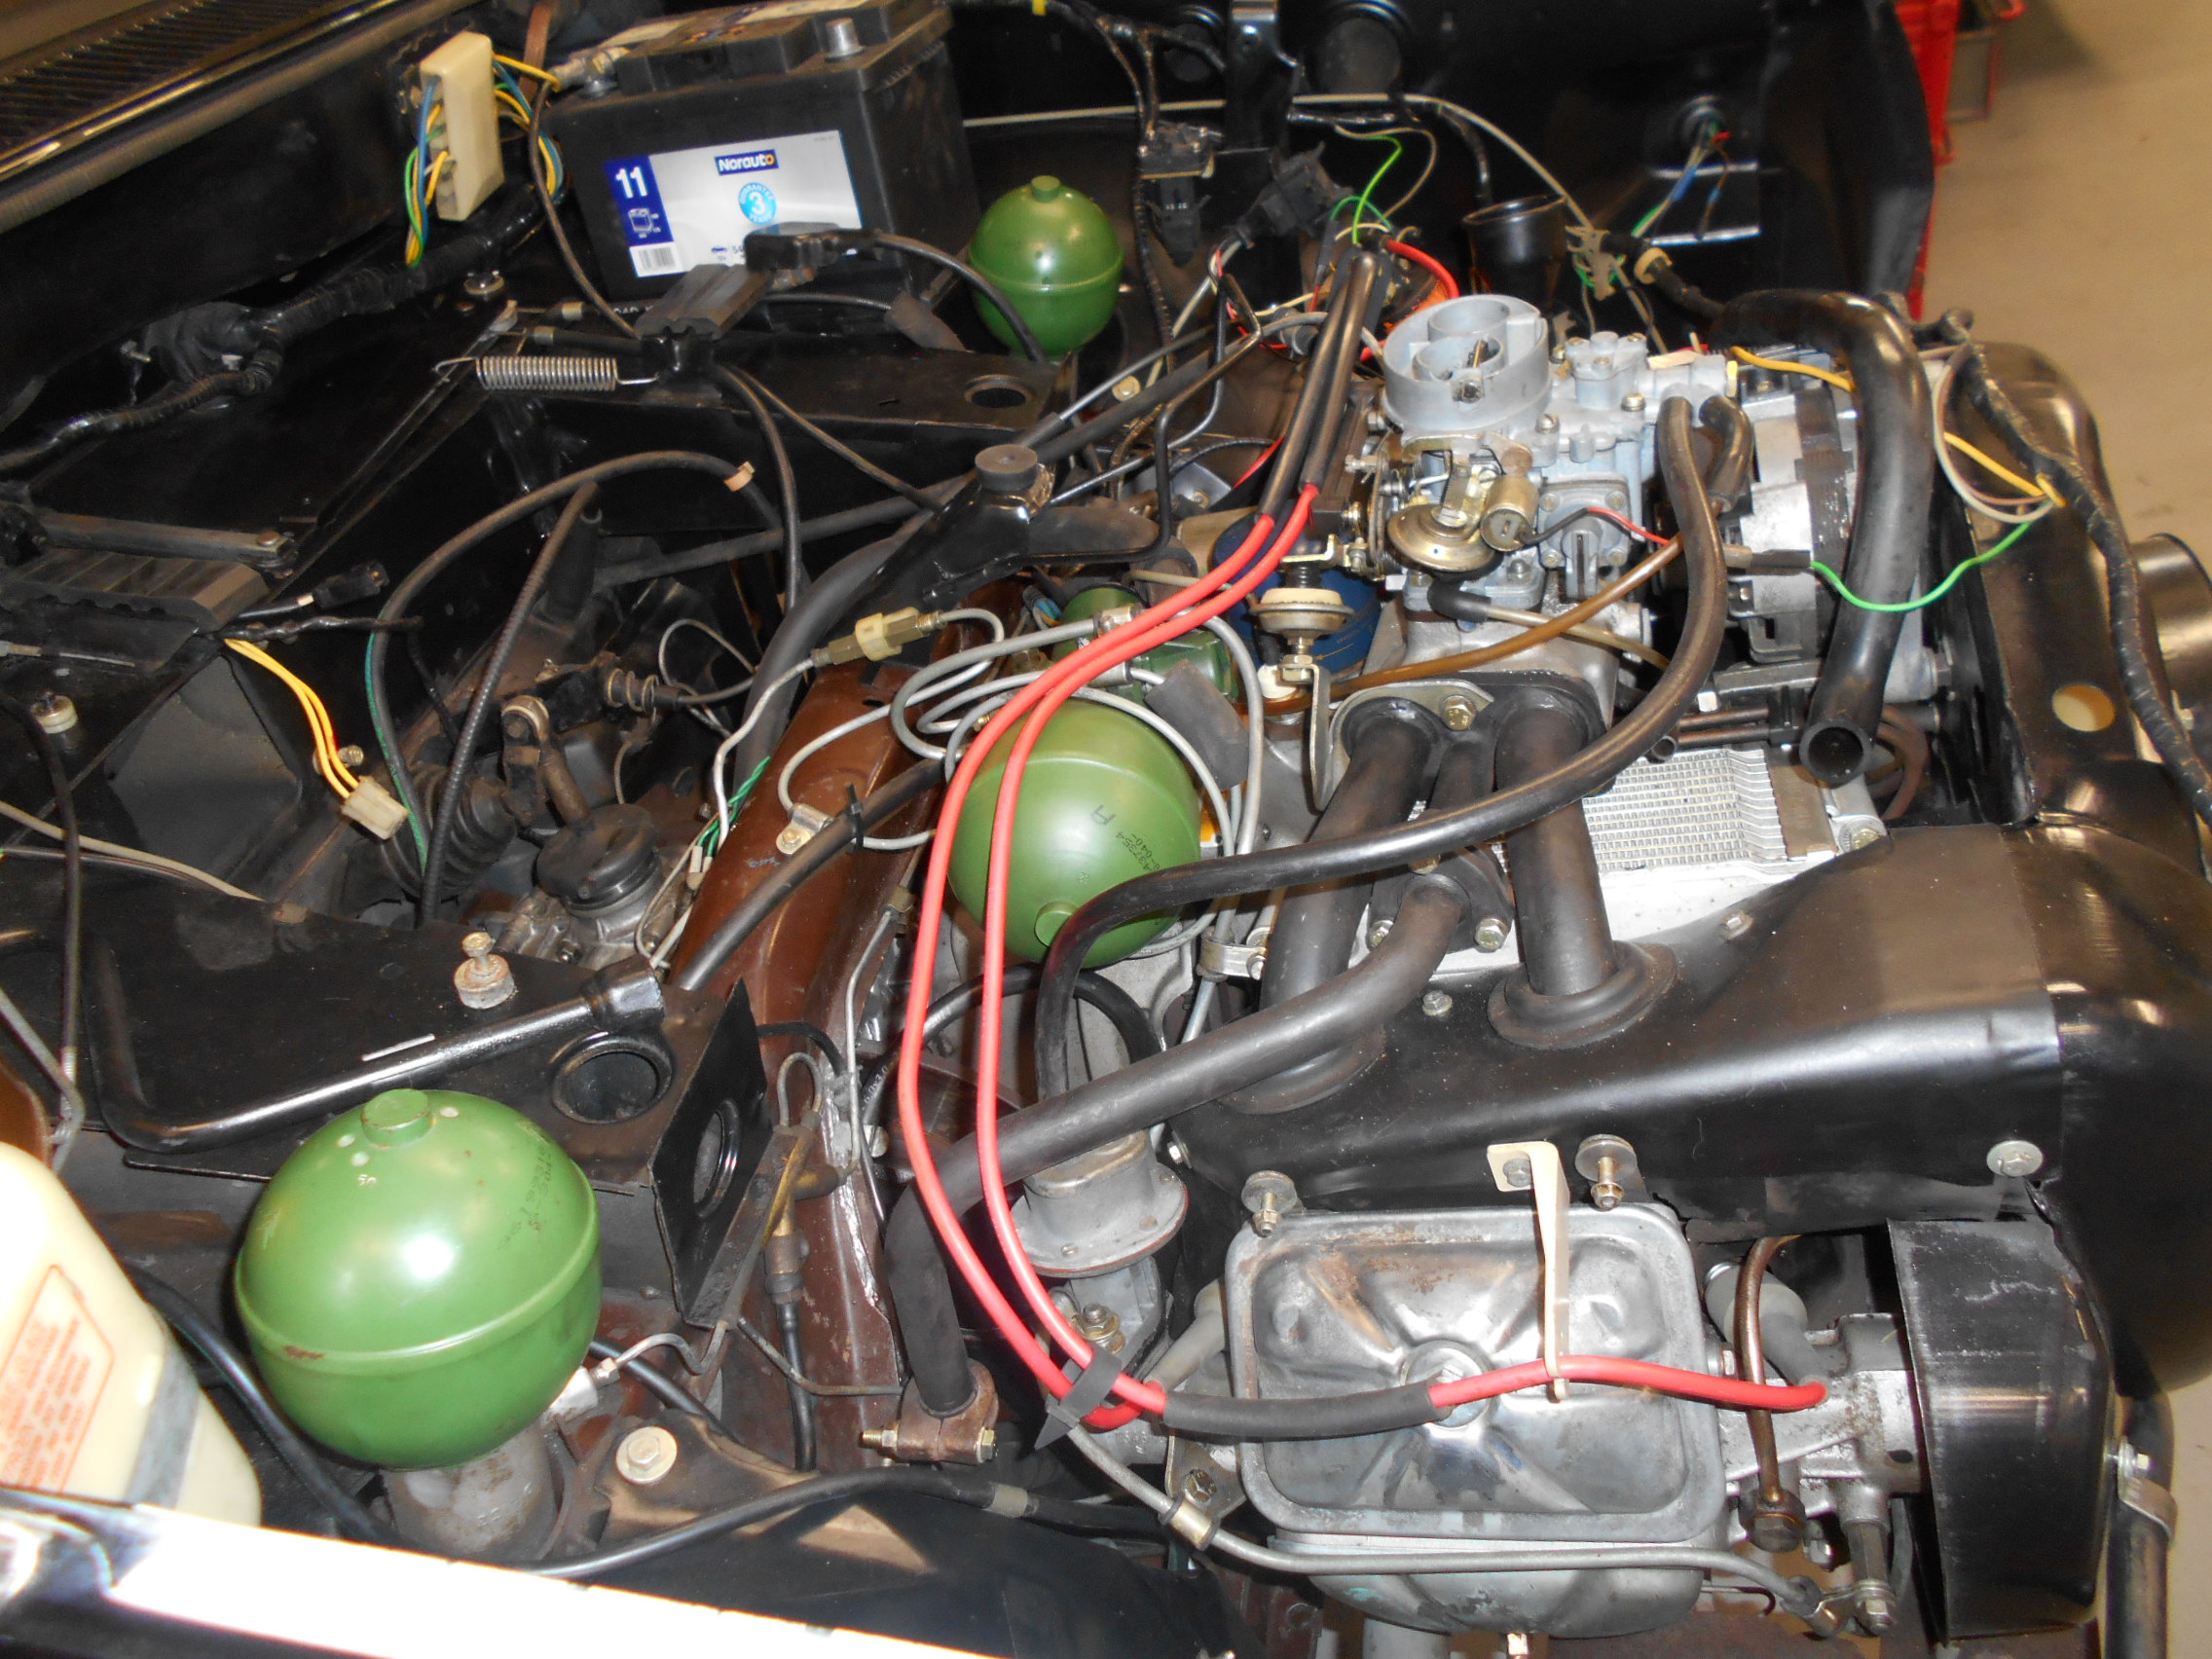
After resealing the engine and the gearbox, it’s time to refit all the external parts:
- The required removal/refitting of the high-pressure hydraulic pump (photo 38) is a good opportunity to replace its suction diaphragm, available from any good supplier specializing in GS/A parts.
The pump should be reinstalled on the engine block using a new O-ring.
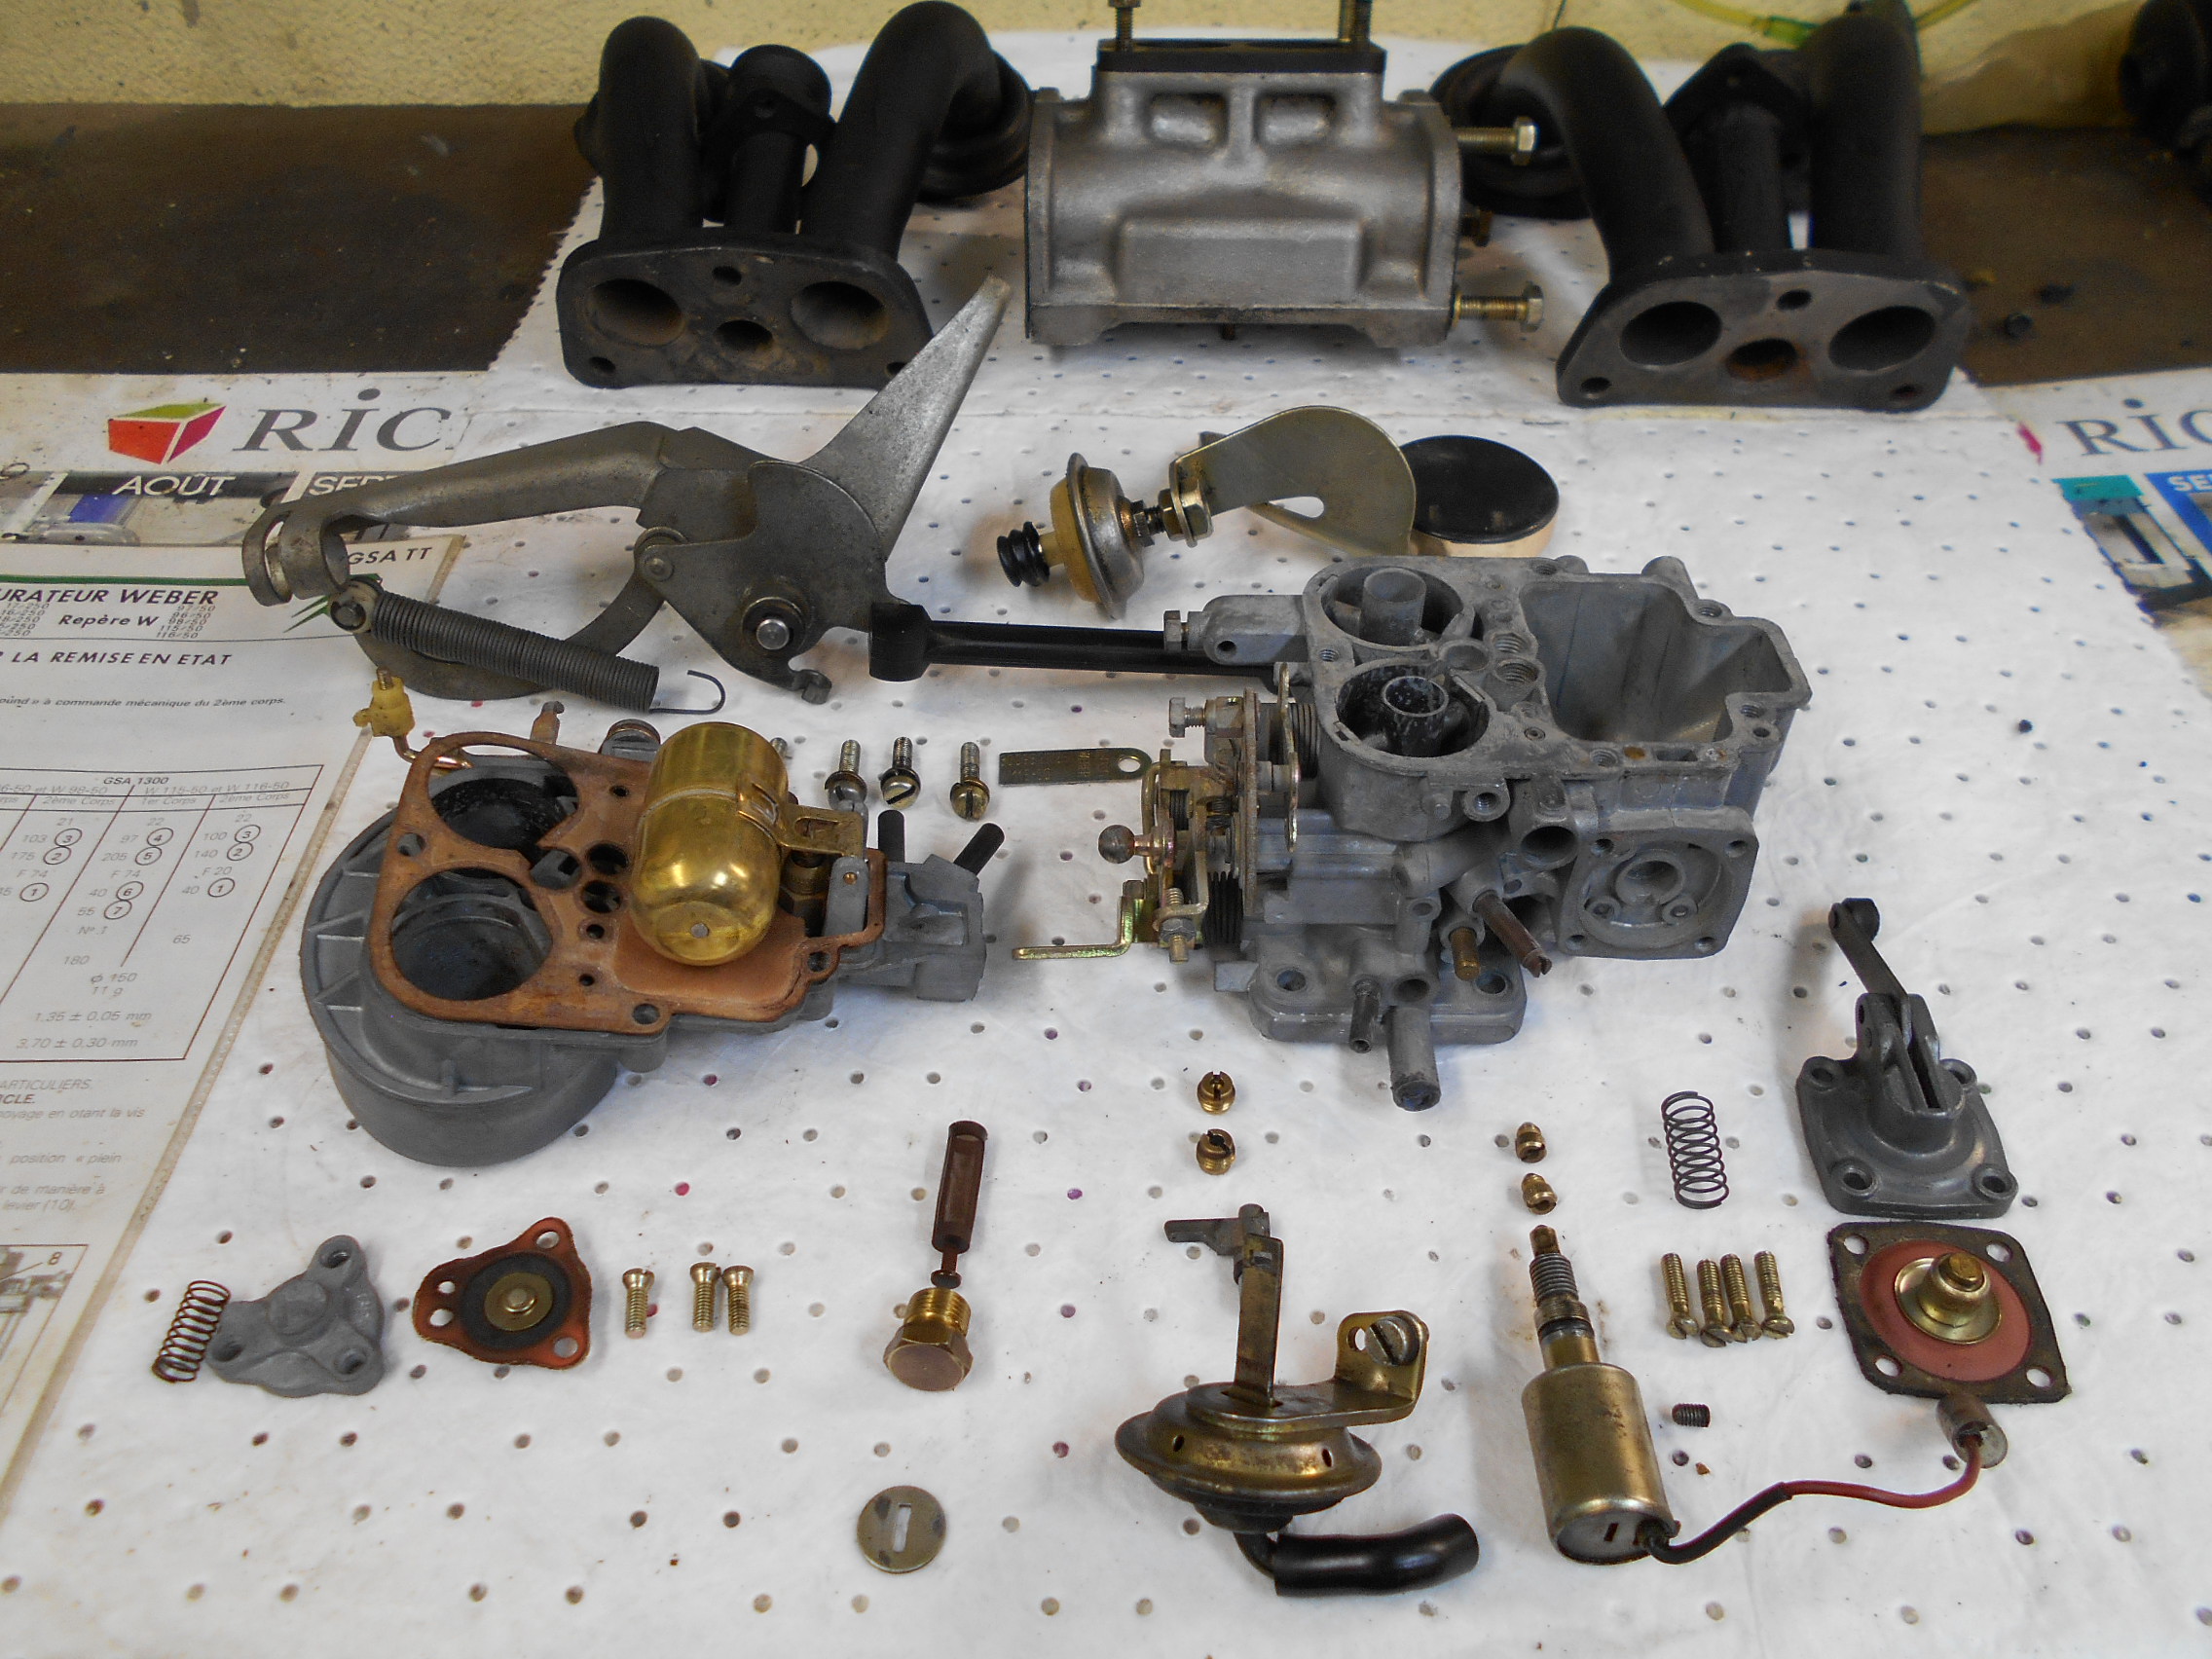
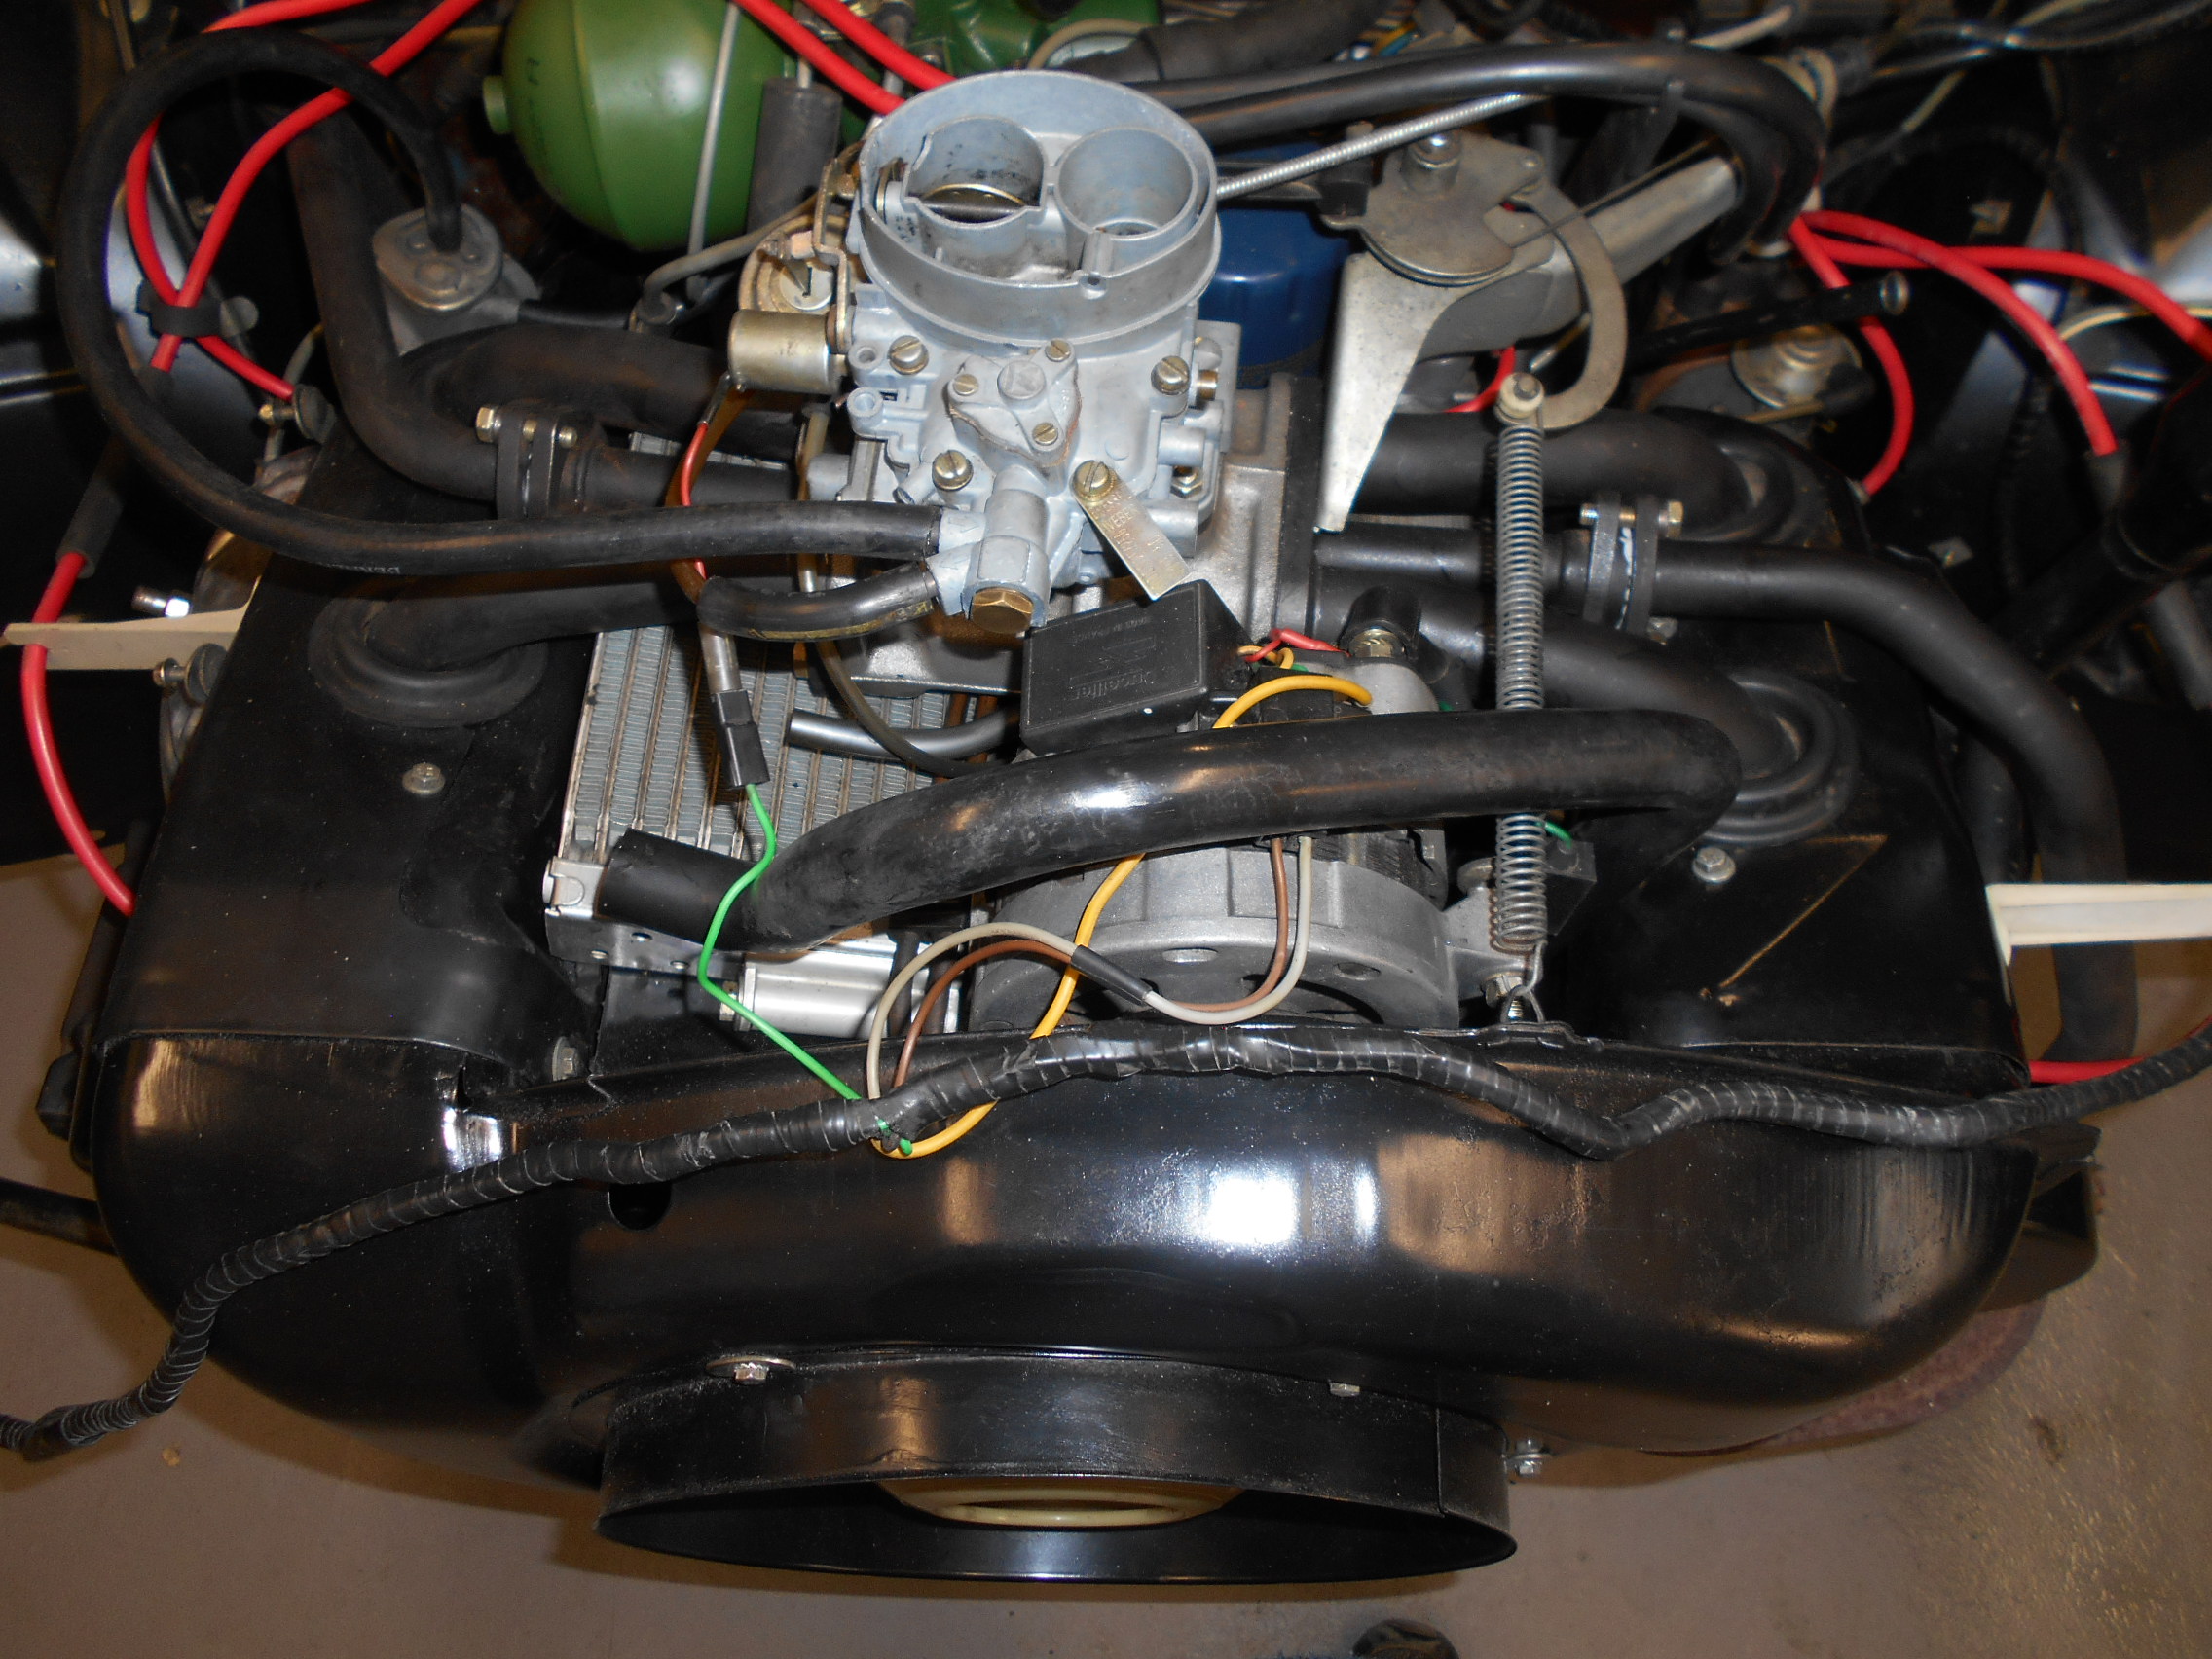
- After a prolonged period of inactivity, the carburetor should be completely overhauled and cleaned. After disassembling all components, soak them for 24 hours in paint thinner. Then blow compressed air through all orifices of the carburetor body. Next, put it in an ultrasonic bath for half an hour at 60°. Blow compressed air through it again before reassembling and checking the jets (photos 39 and 40). The carburetor pages in the shop manual allow you to check the float level and ensure that the correct jets are in the correct locations.

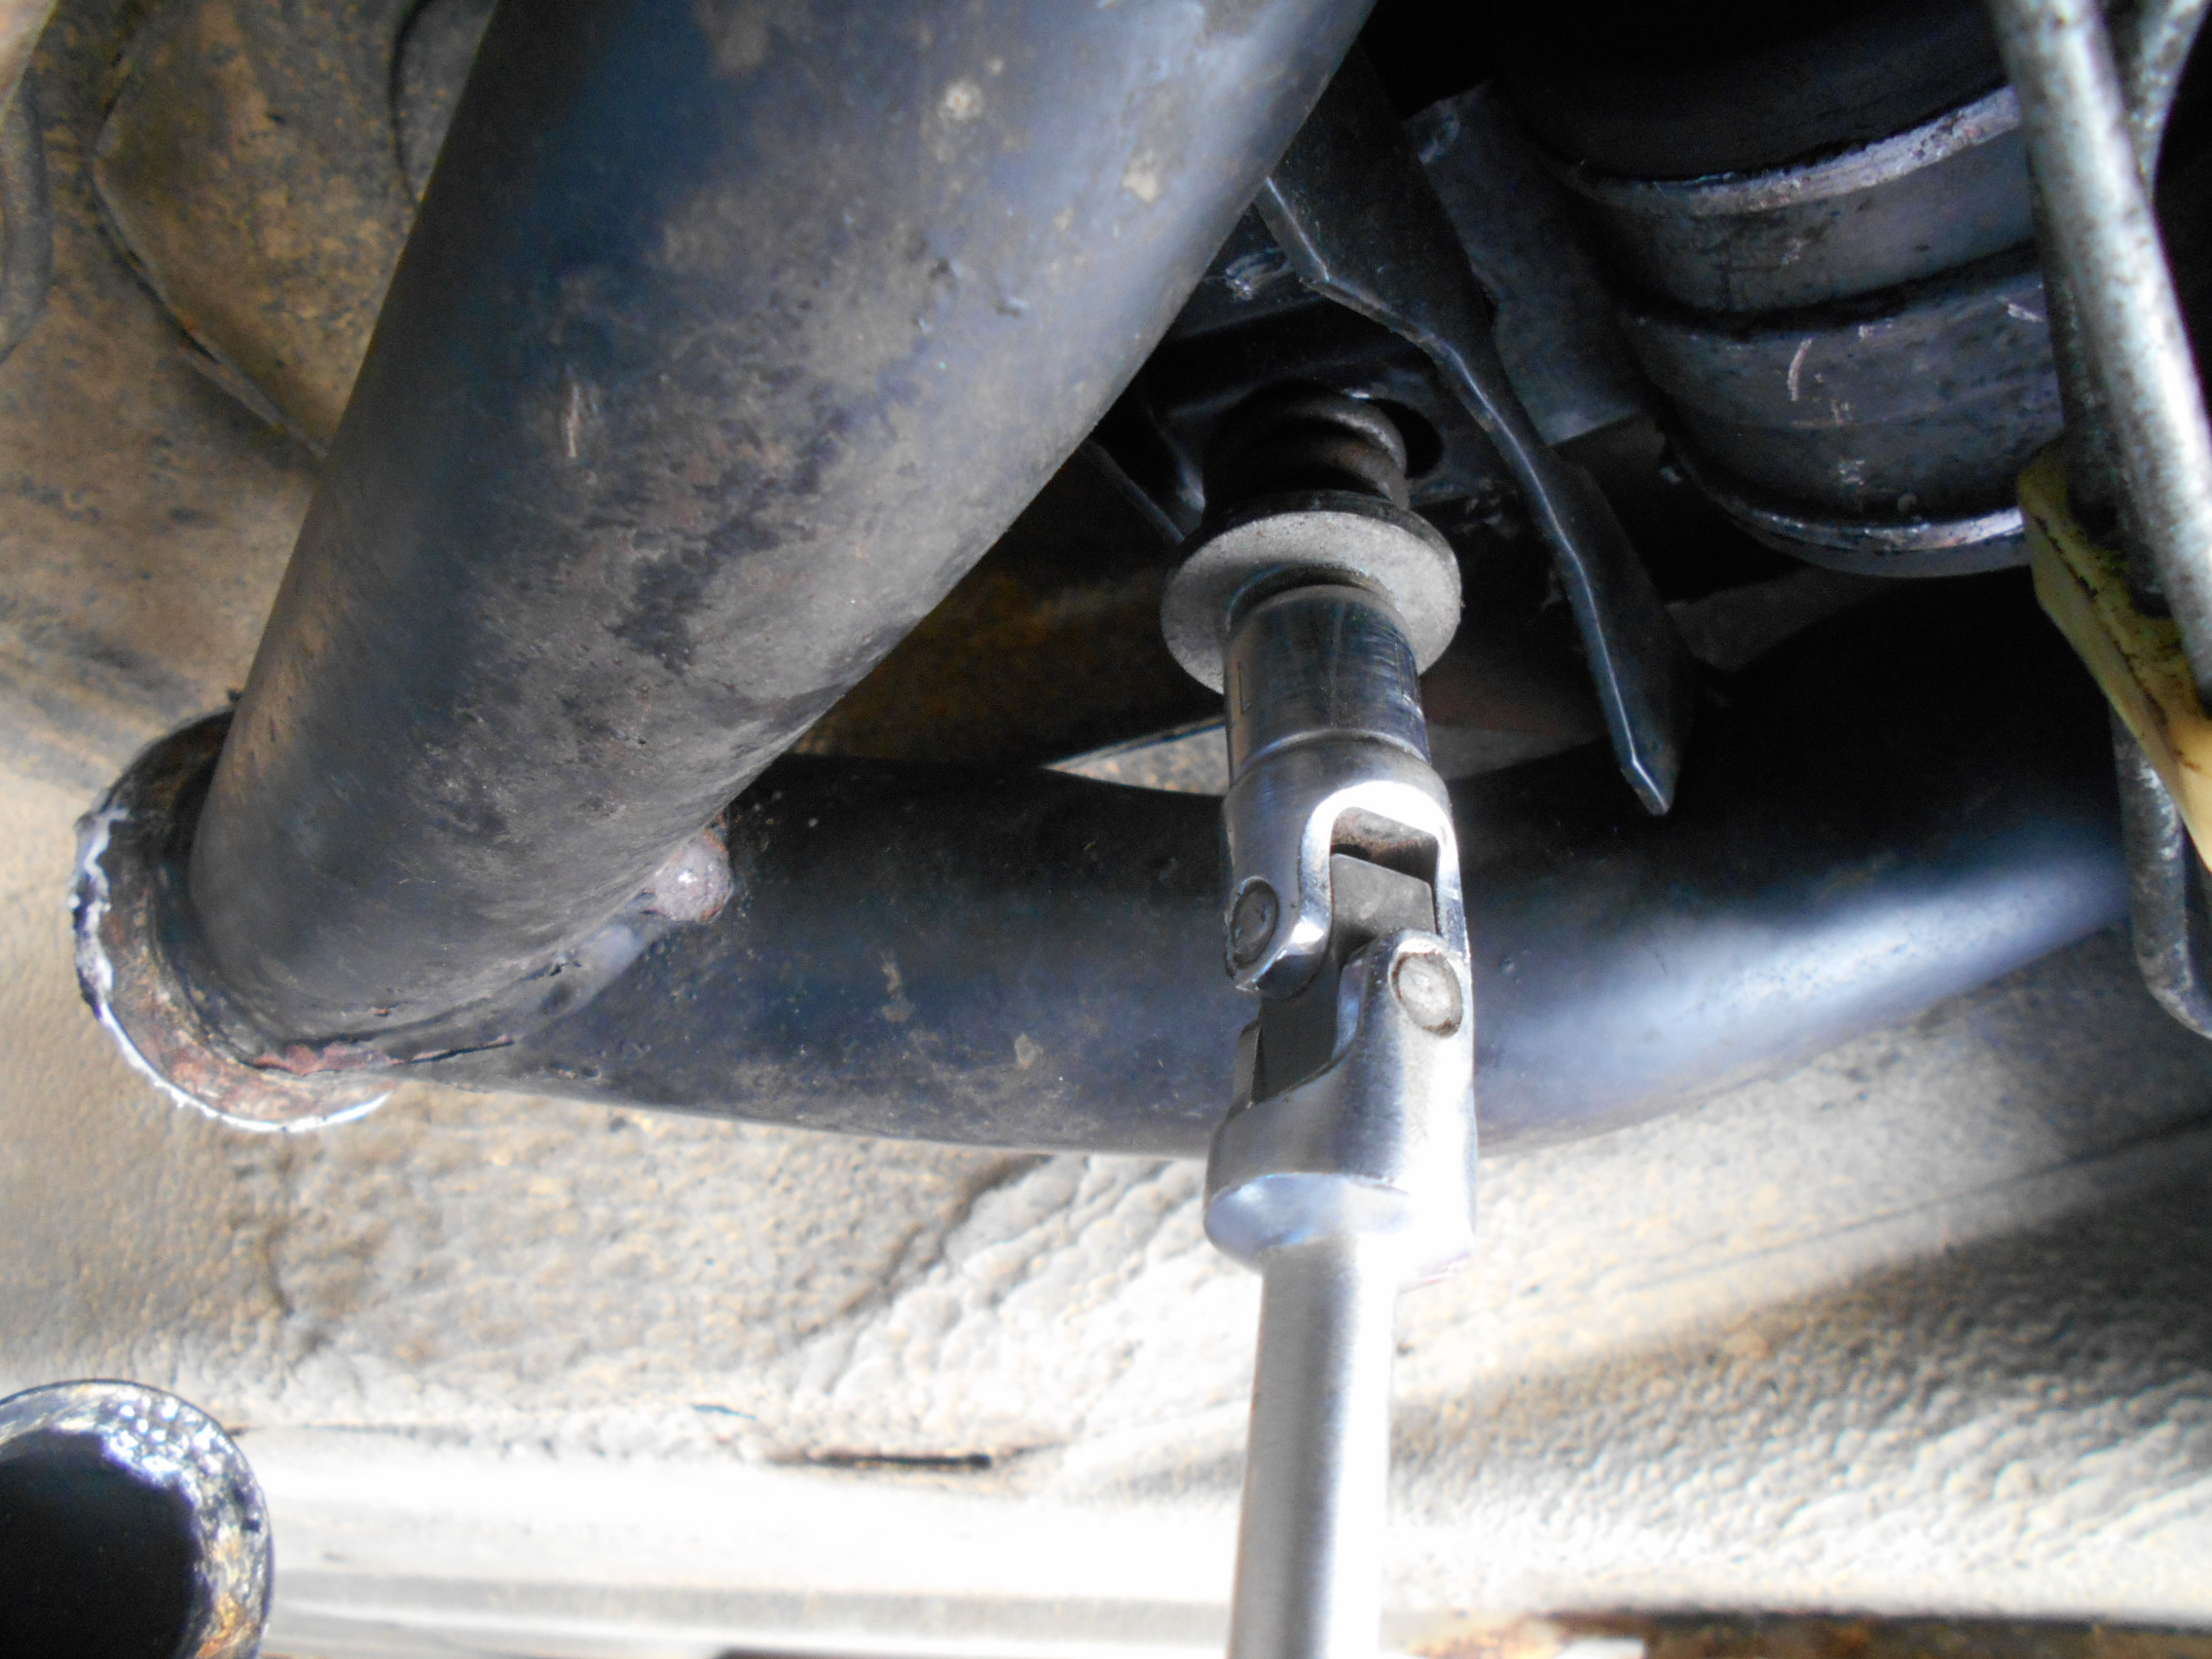
- Exhaust system: I recommend a test fitting (while the engine/gearbox unit is still out of the car) of the two front pipes and the Y-pipe in order to find the correct mounting angles for the pipes. Then tighten the clamps at the front of the front pipes, remembering to apply exhaust sealant to those front conical joints. Then remove the Y-pipe which cannot be present while levering the engine/gearbox unit into the engine bay. Once the engine/gearbox unit is correctly fitted in the engine bay, then fit the Y-pipe with sealant on its conical joints and don’t forget the spring on the long bolt supporting the Y-pipe under the gearbox (photo 40bis).
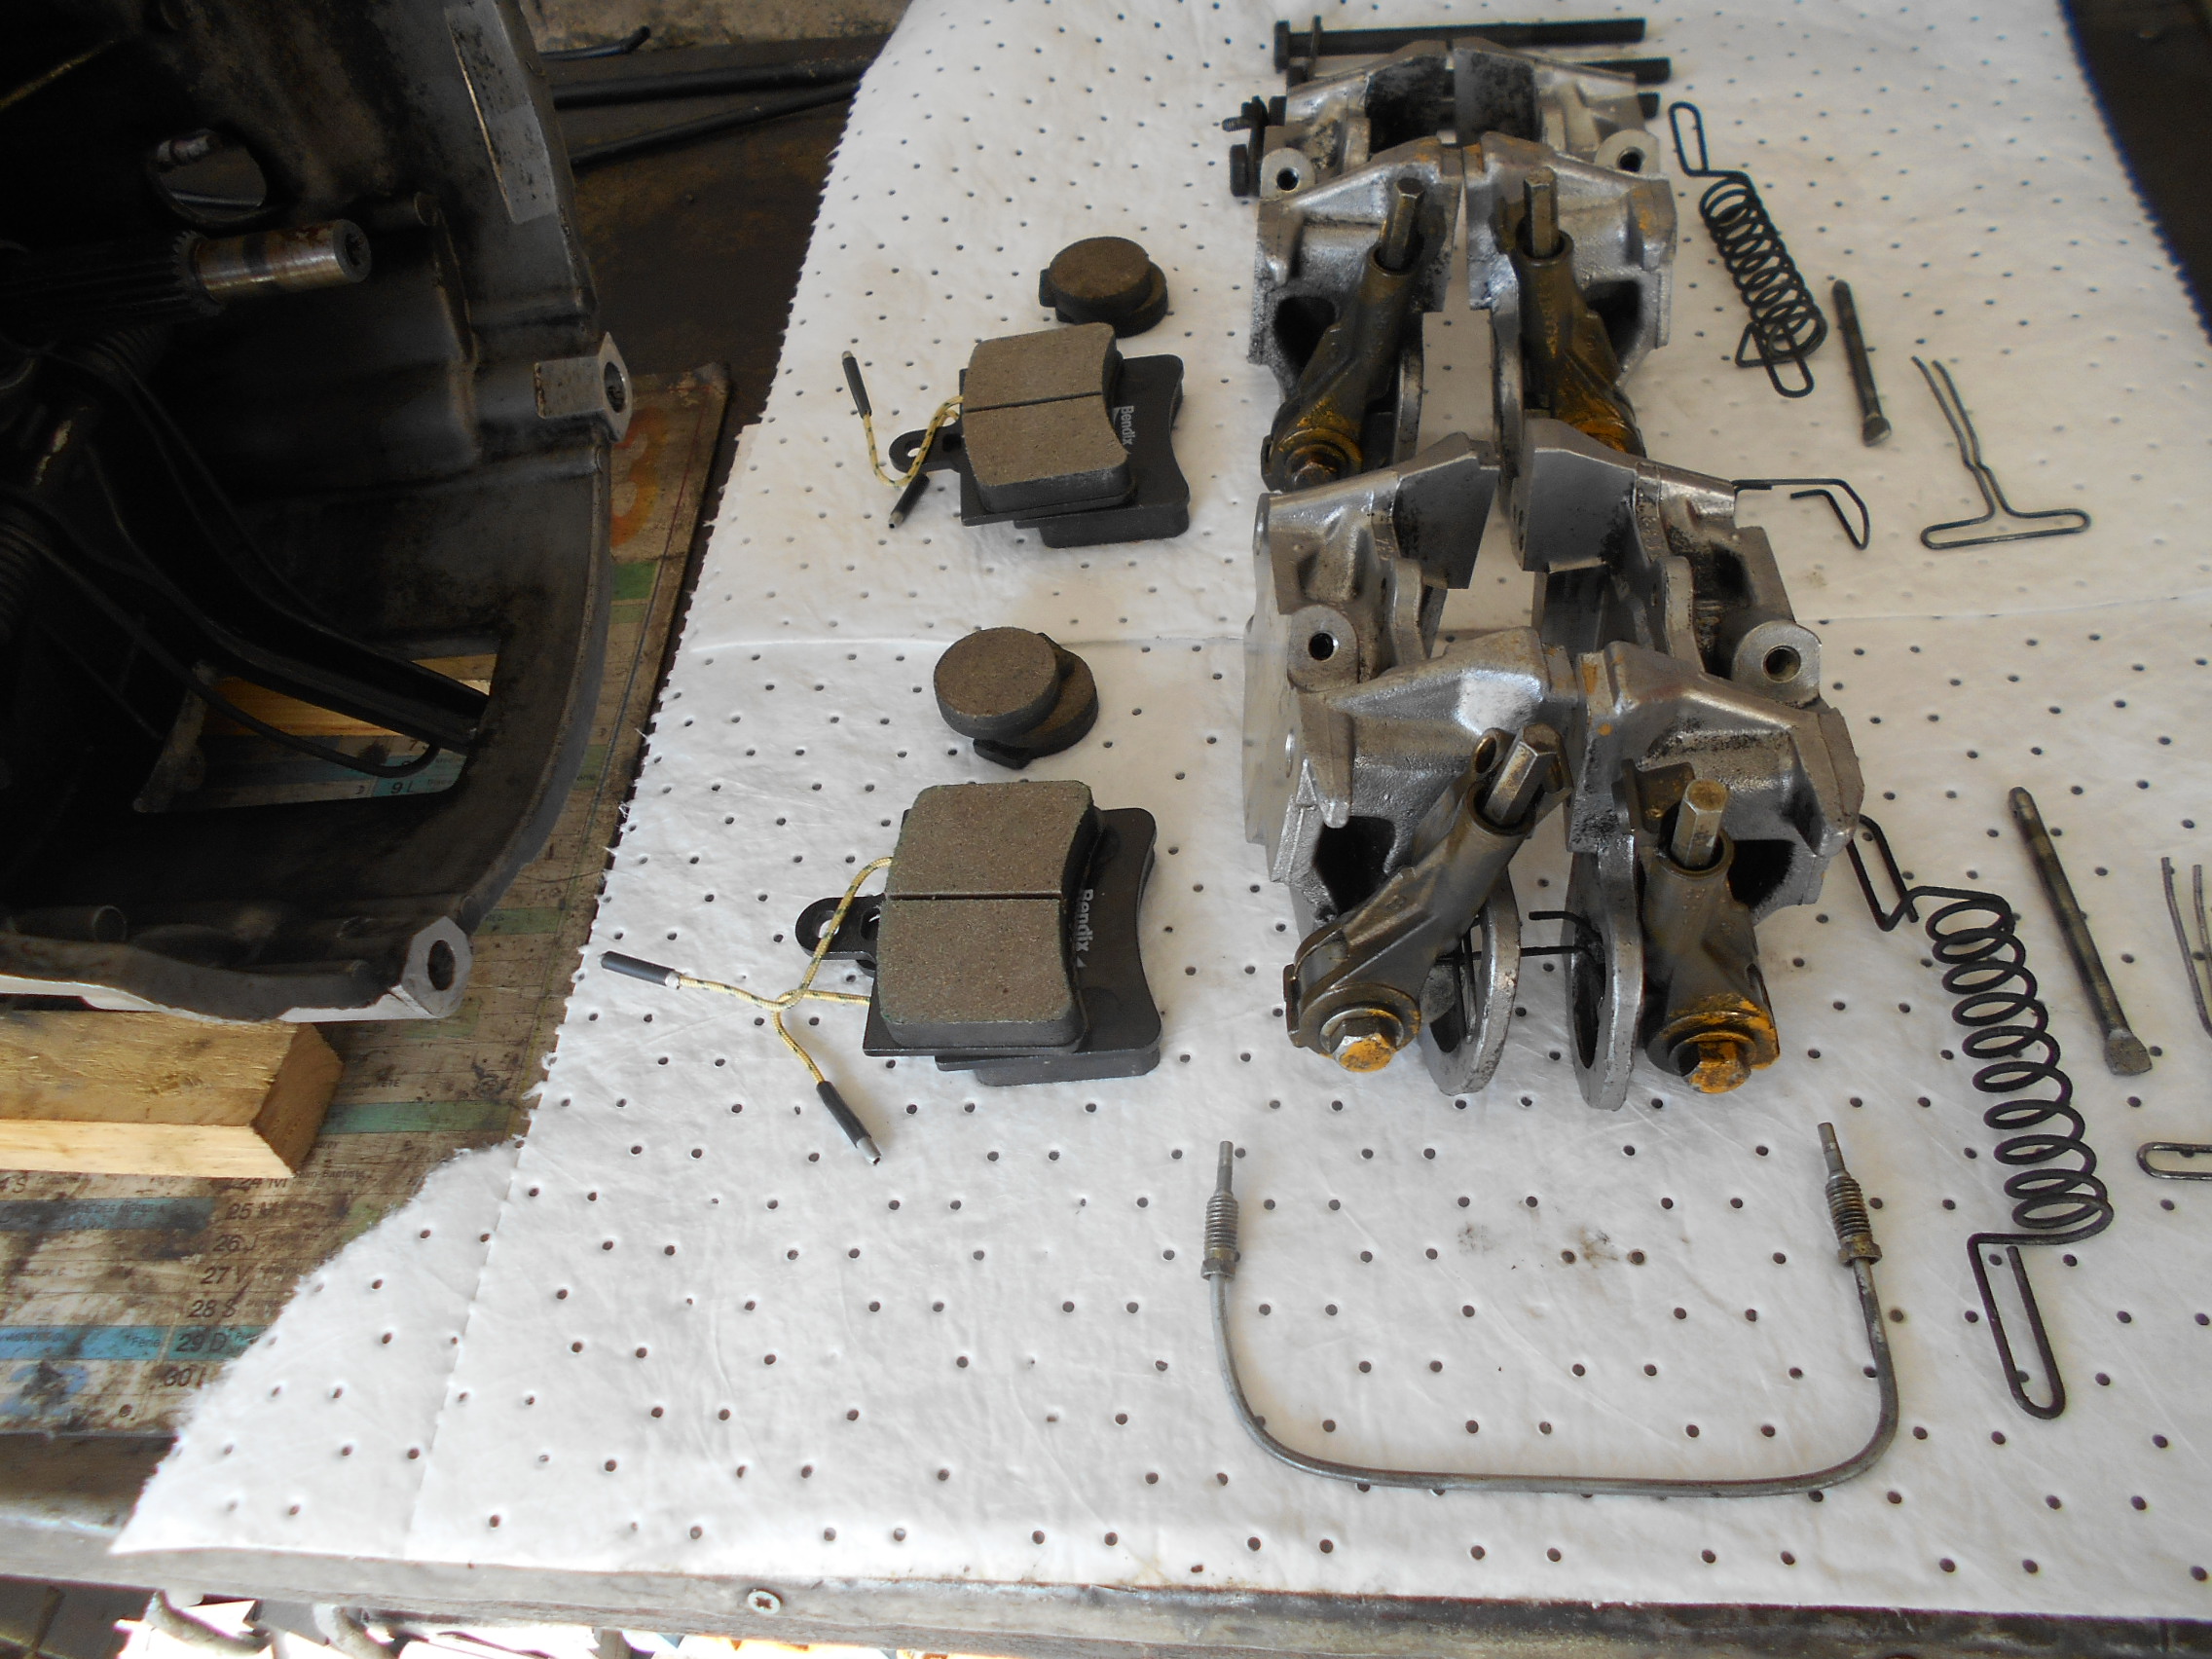
After cleaning and reassembling the brake calipers (photo 41), adjusting the parking brake pad clearances is easily done once everything is reassembled on the car.
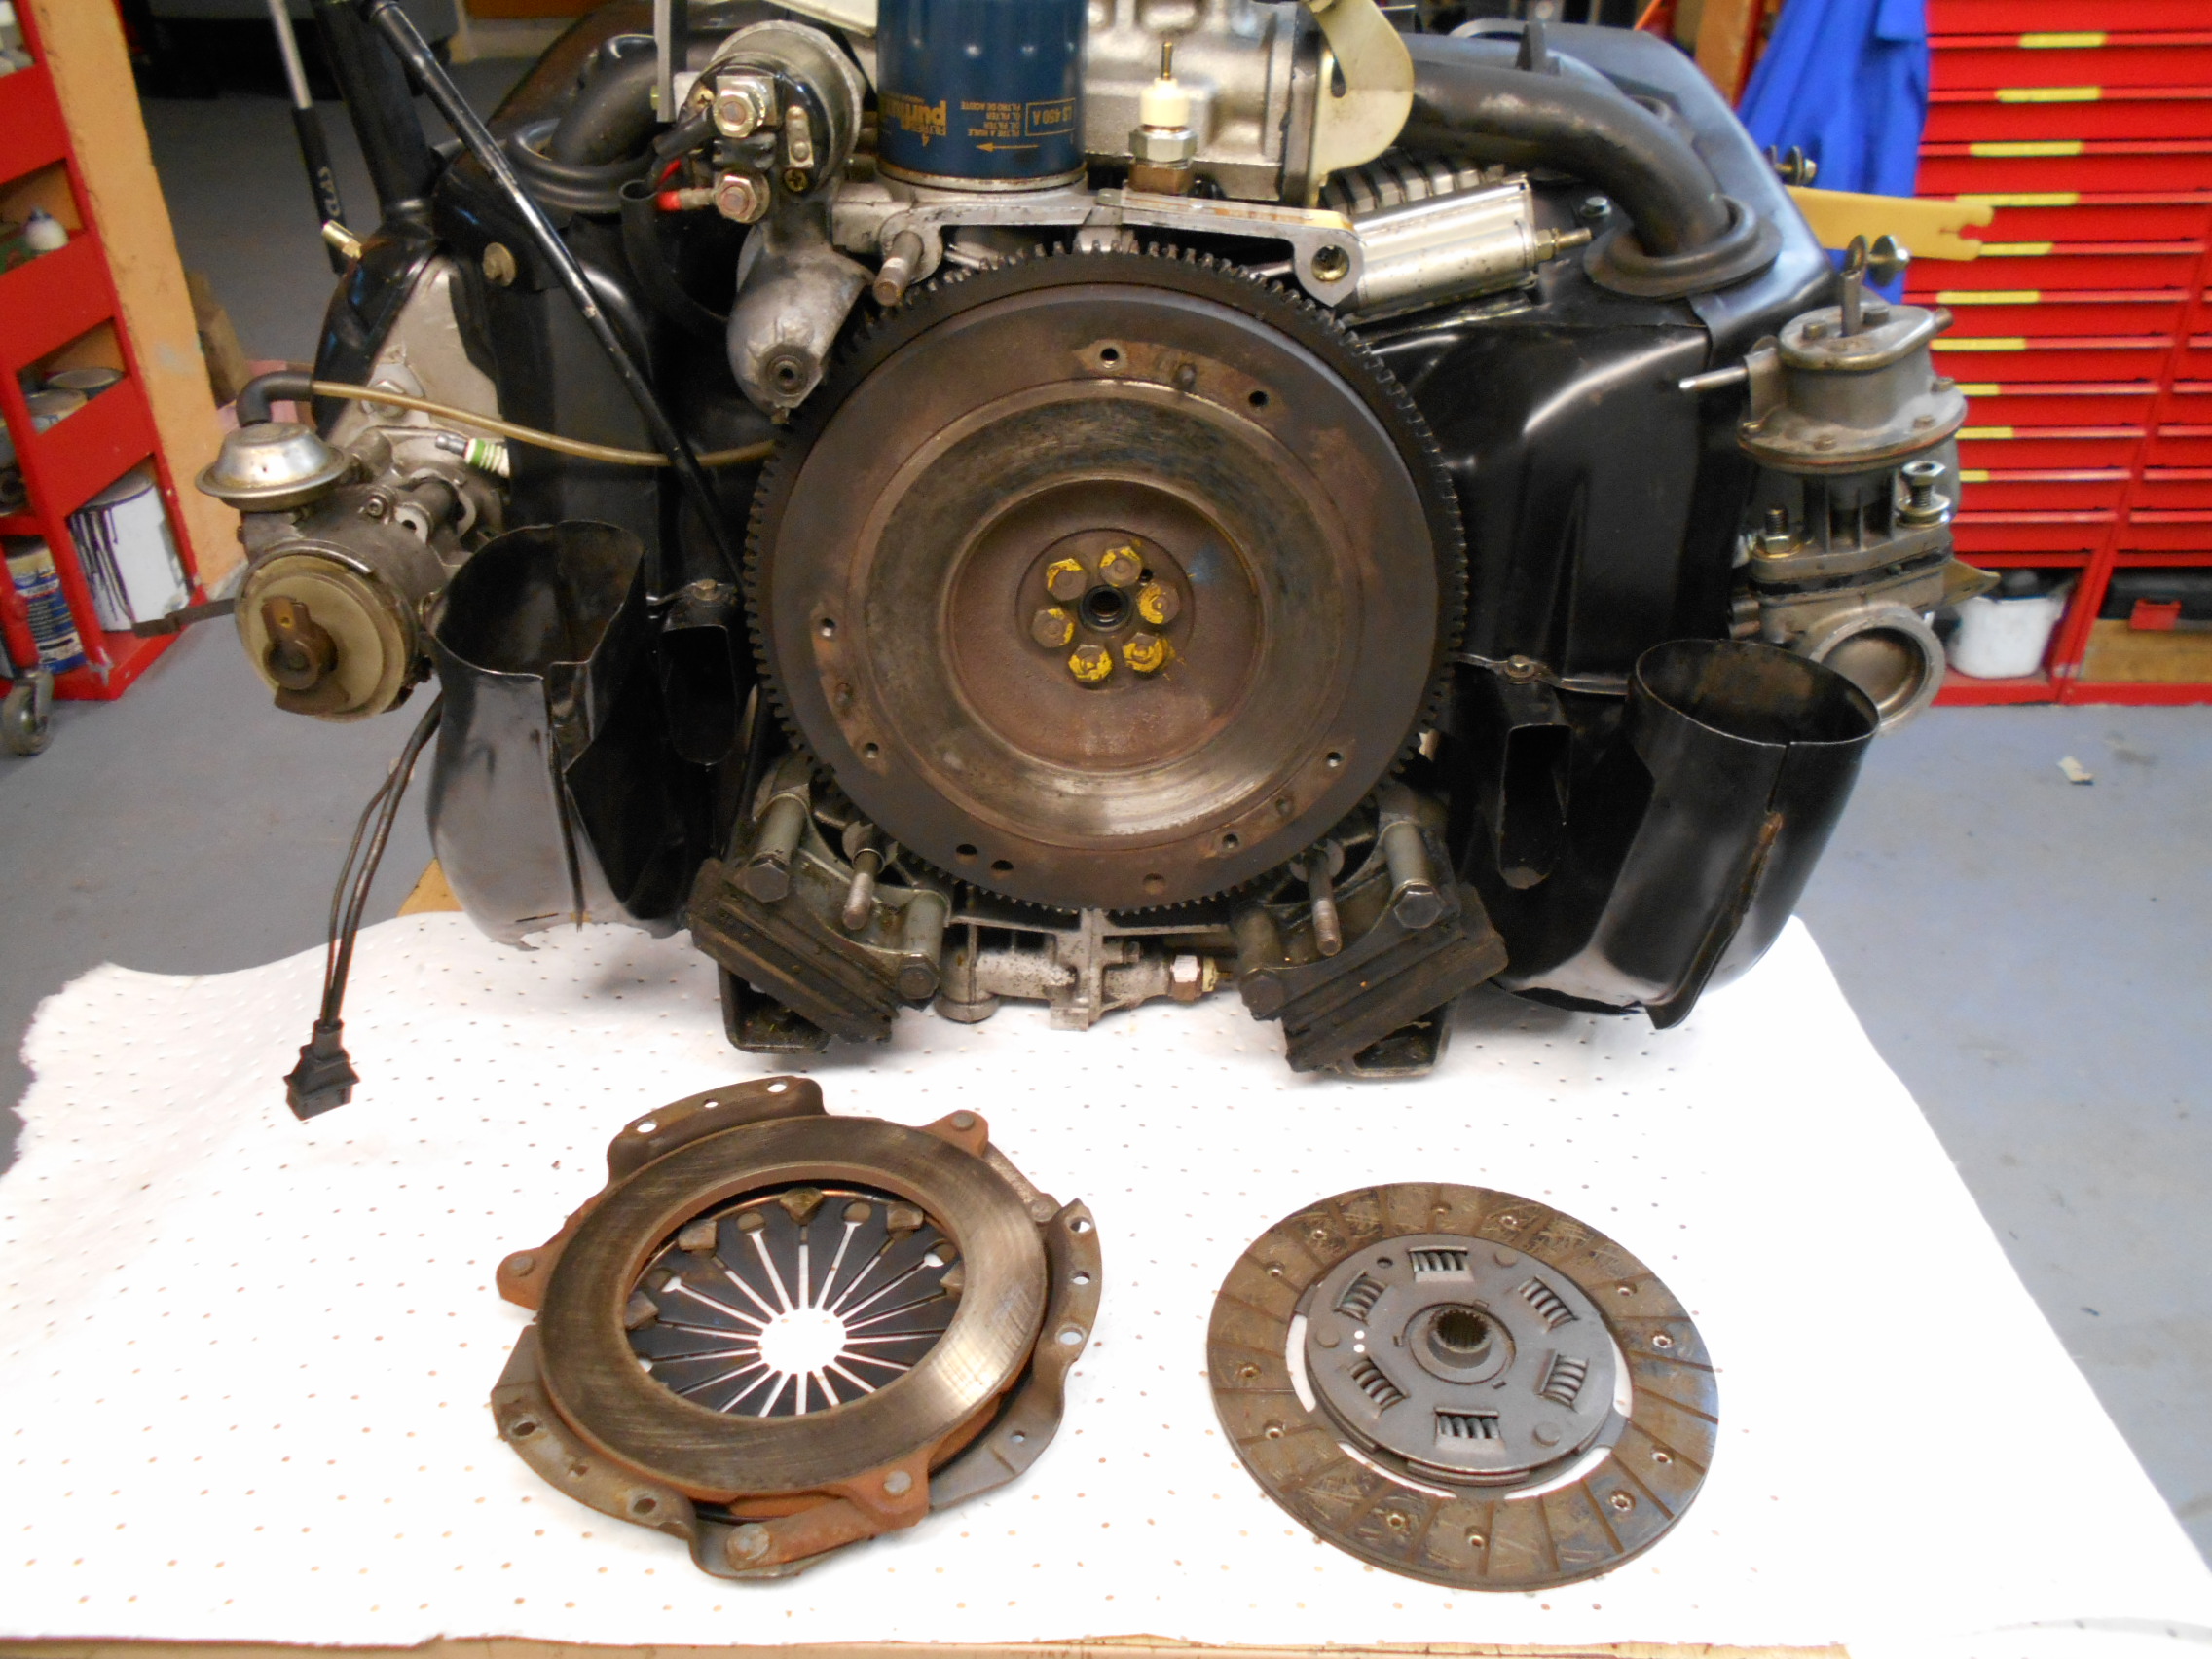
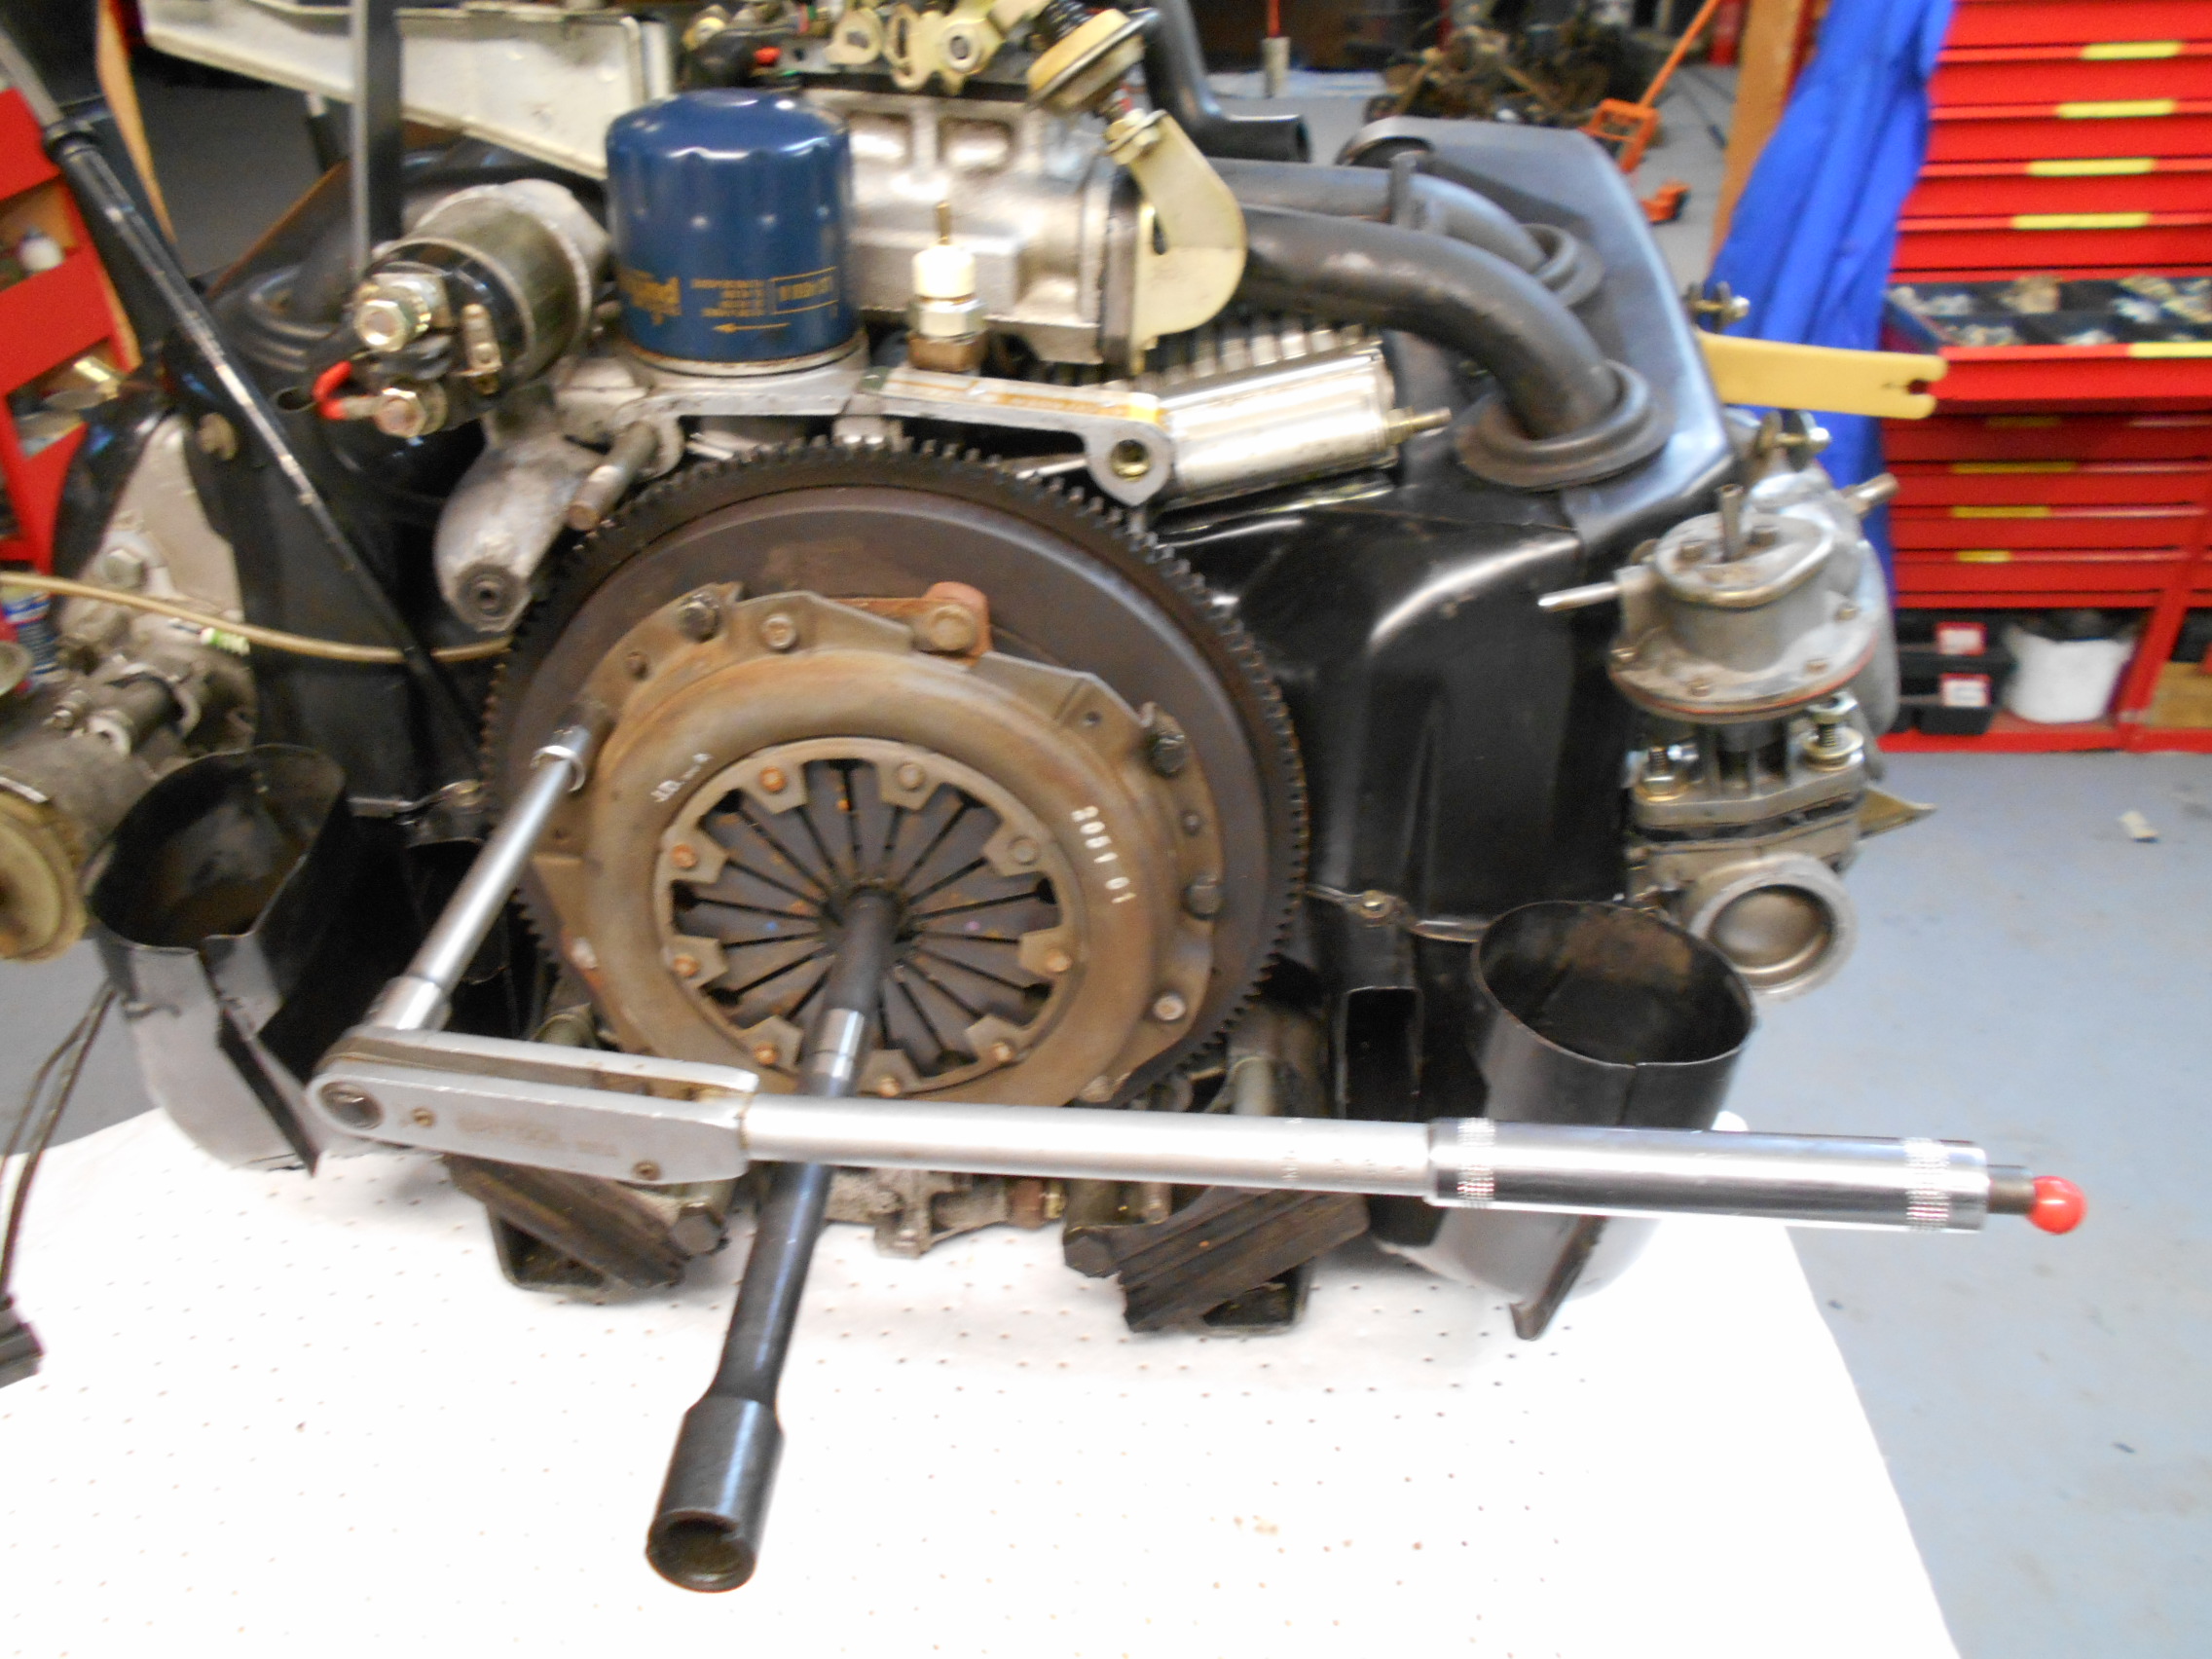
Prior to joining the engine and the gearbox, you may wish to replace the clutch (clutch mechanism, disc, and release bearing). The new disc is fitted and centered using a centering tool or a GS gearbox shaft. The tightening torque for the clutch mechanism screws is 1.8 daNm (photos 42 and 43).
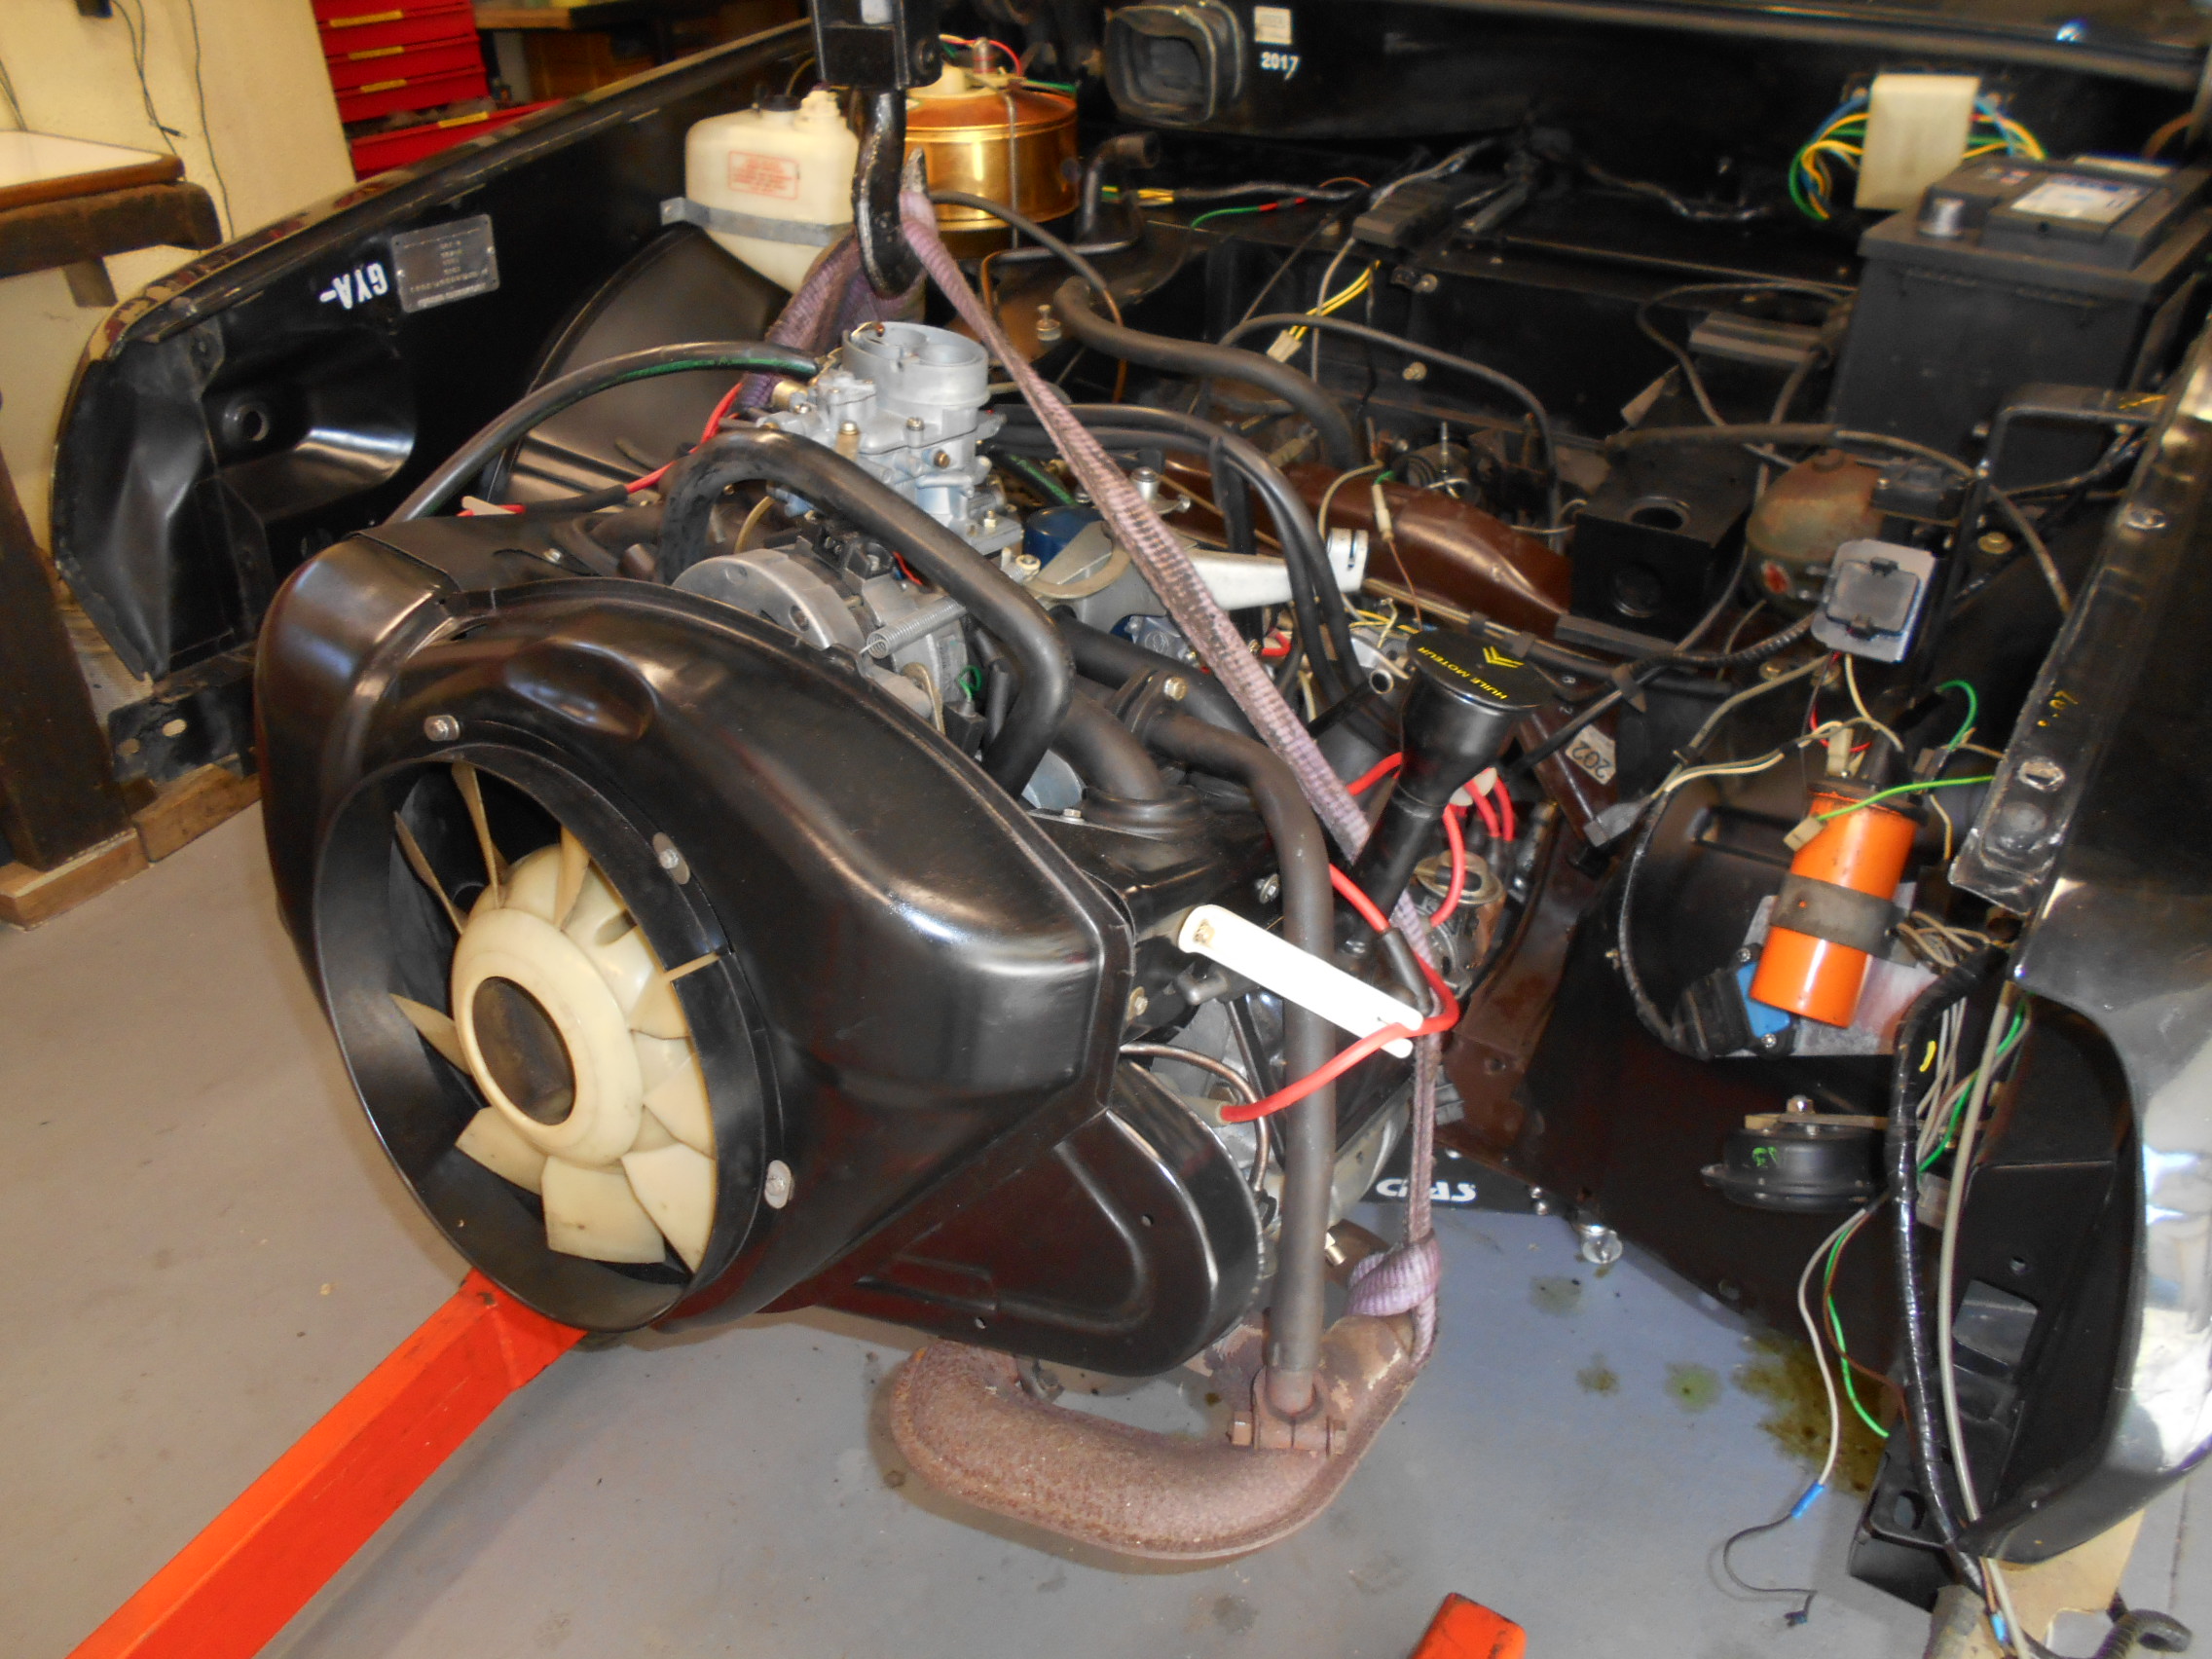
After joining the engine and gearbox (without the gearshift lever), levering the engine/gearbox unit into the engine bay requires precision to find the correct angle of inclination – while gradually advancing it into the engine bay (photos 45 to 51).
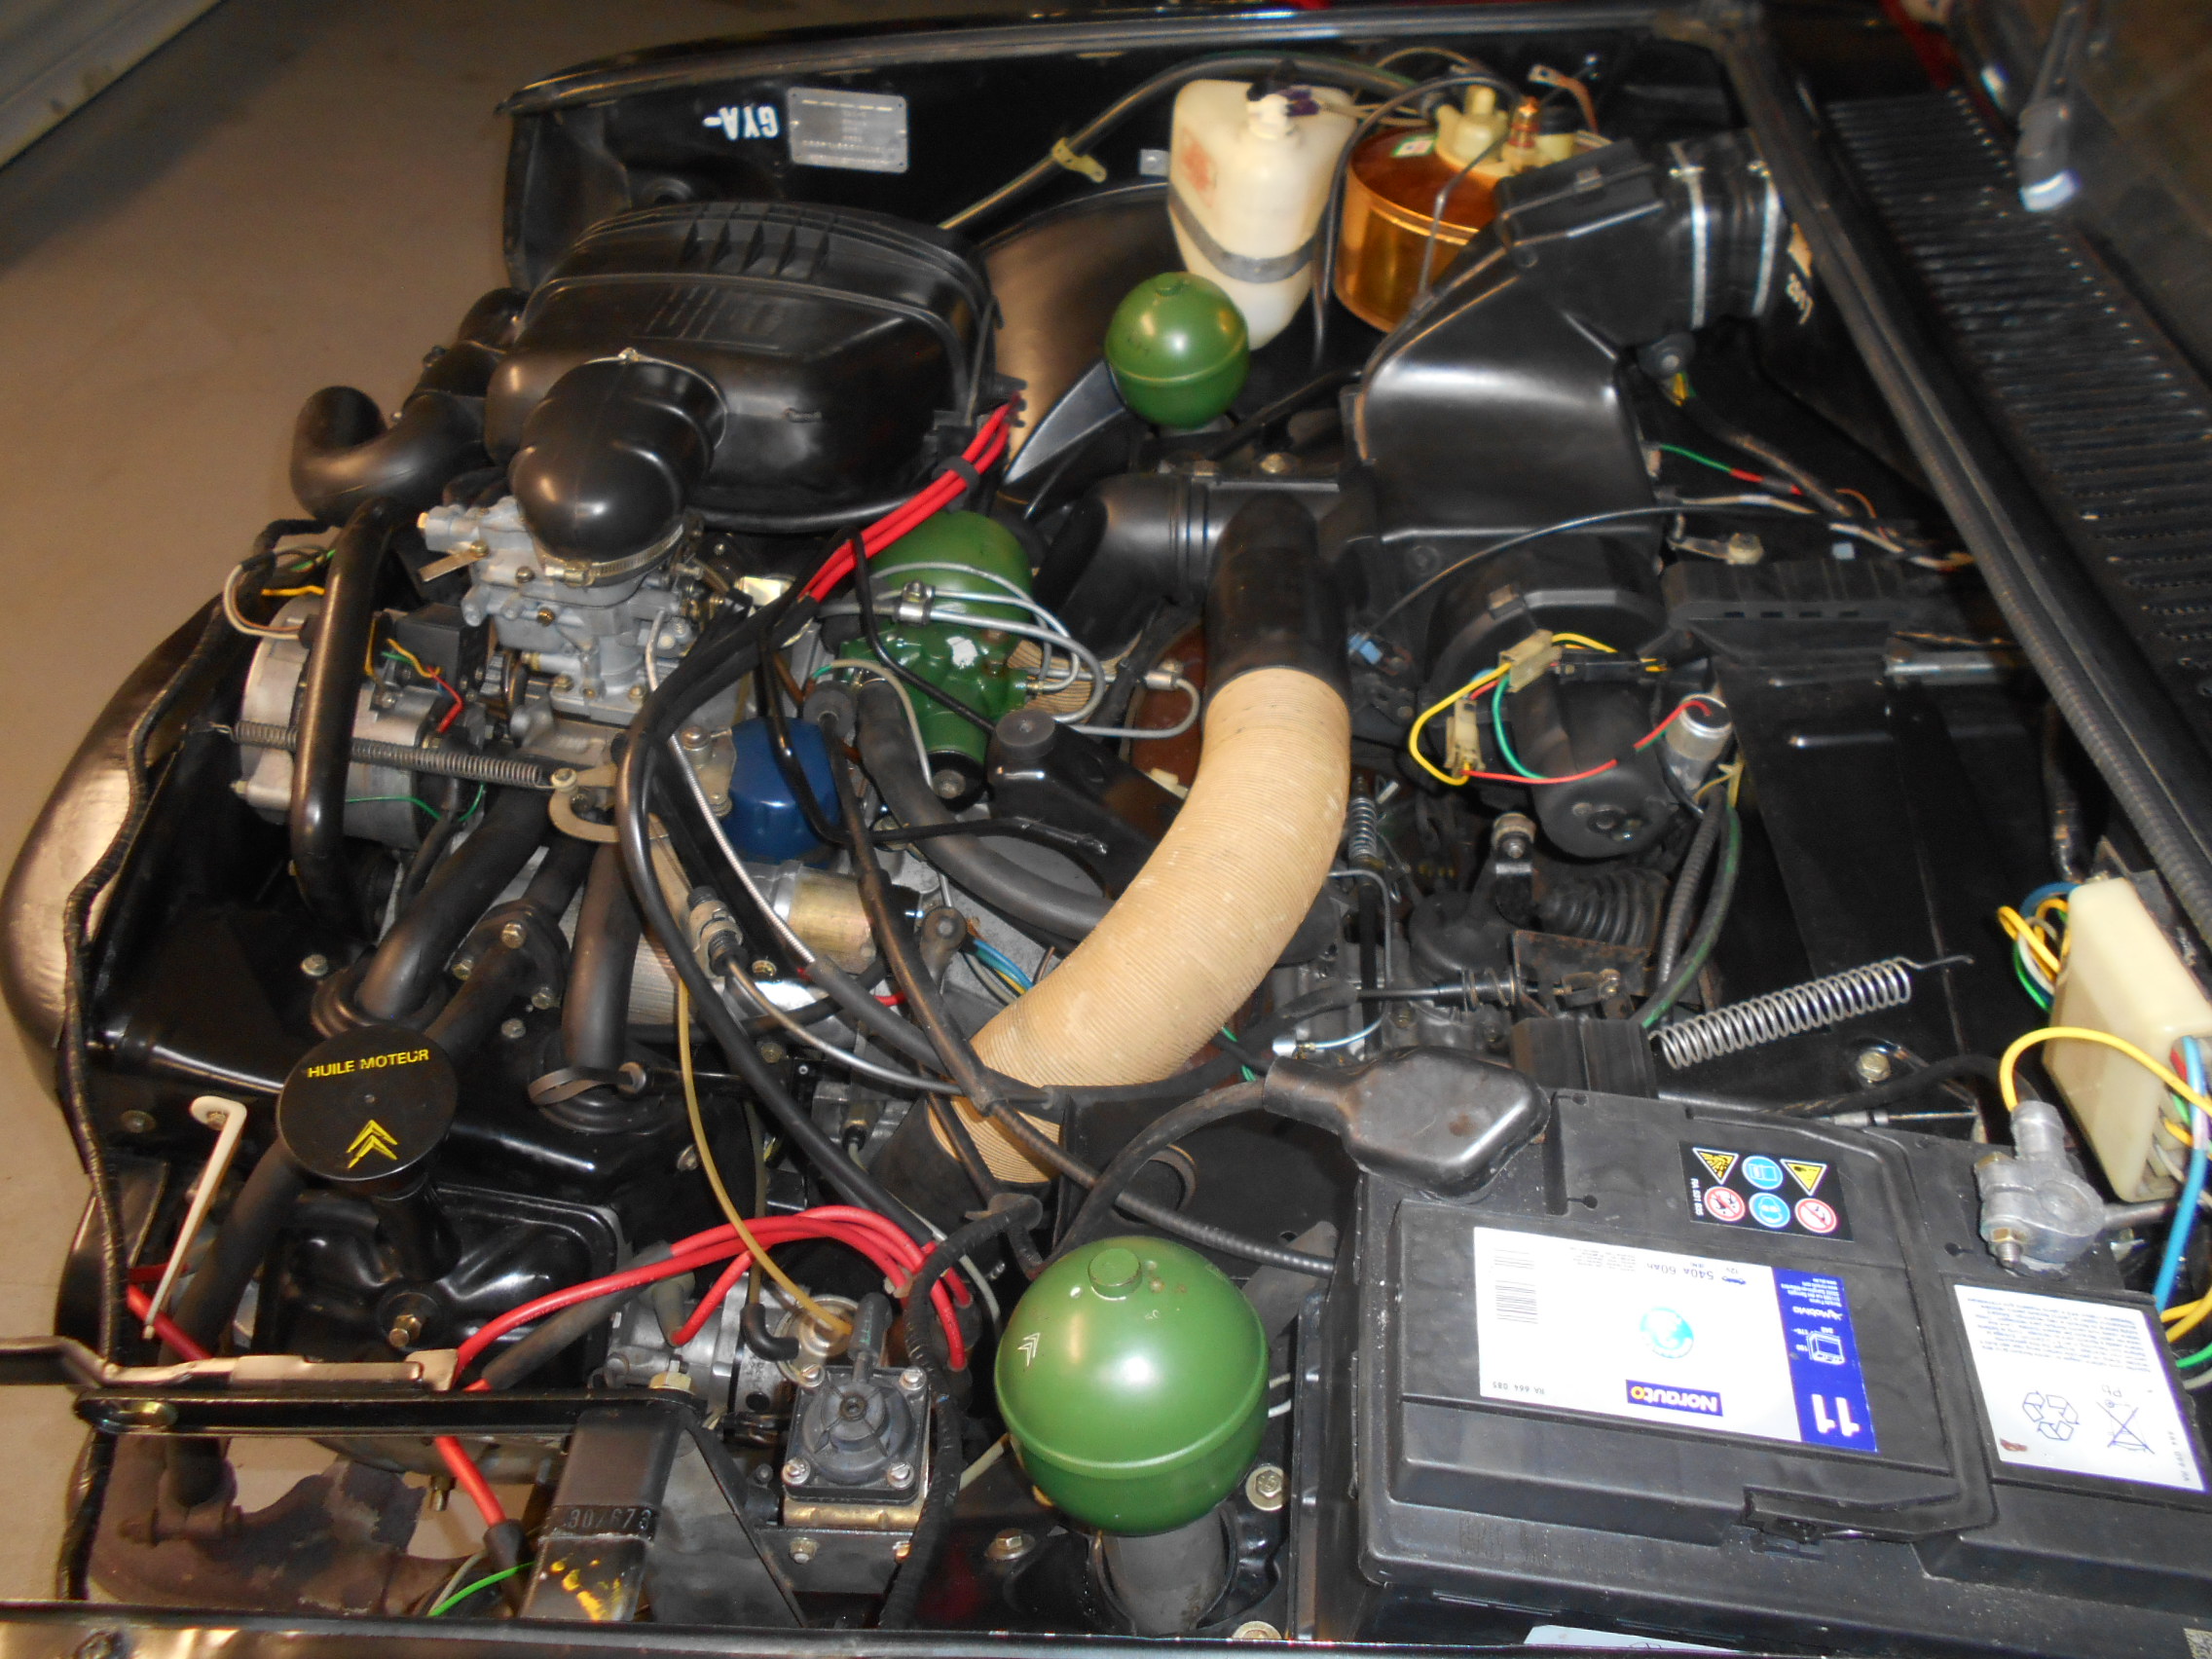
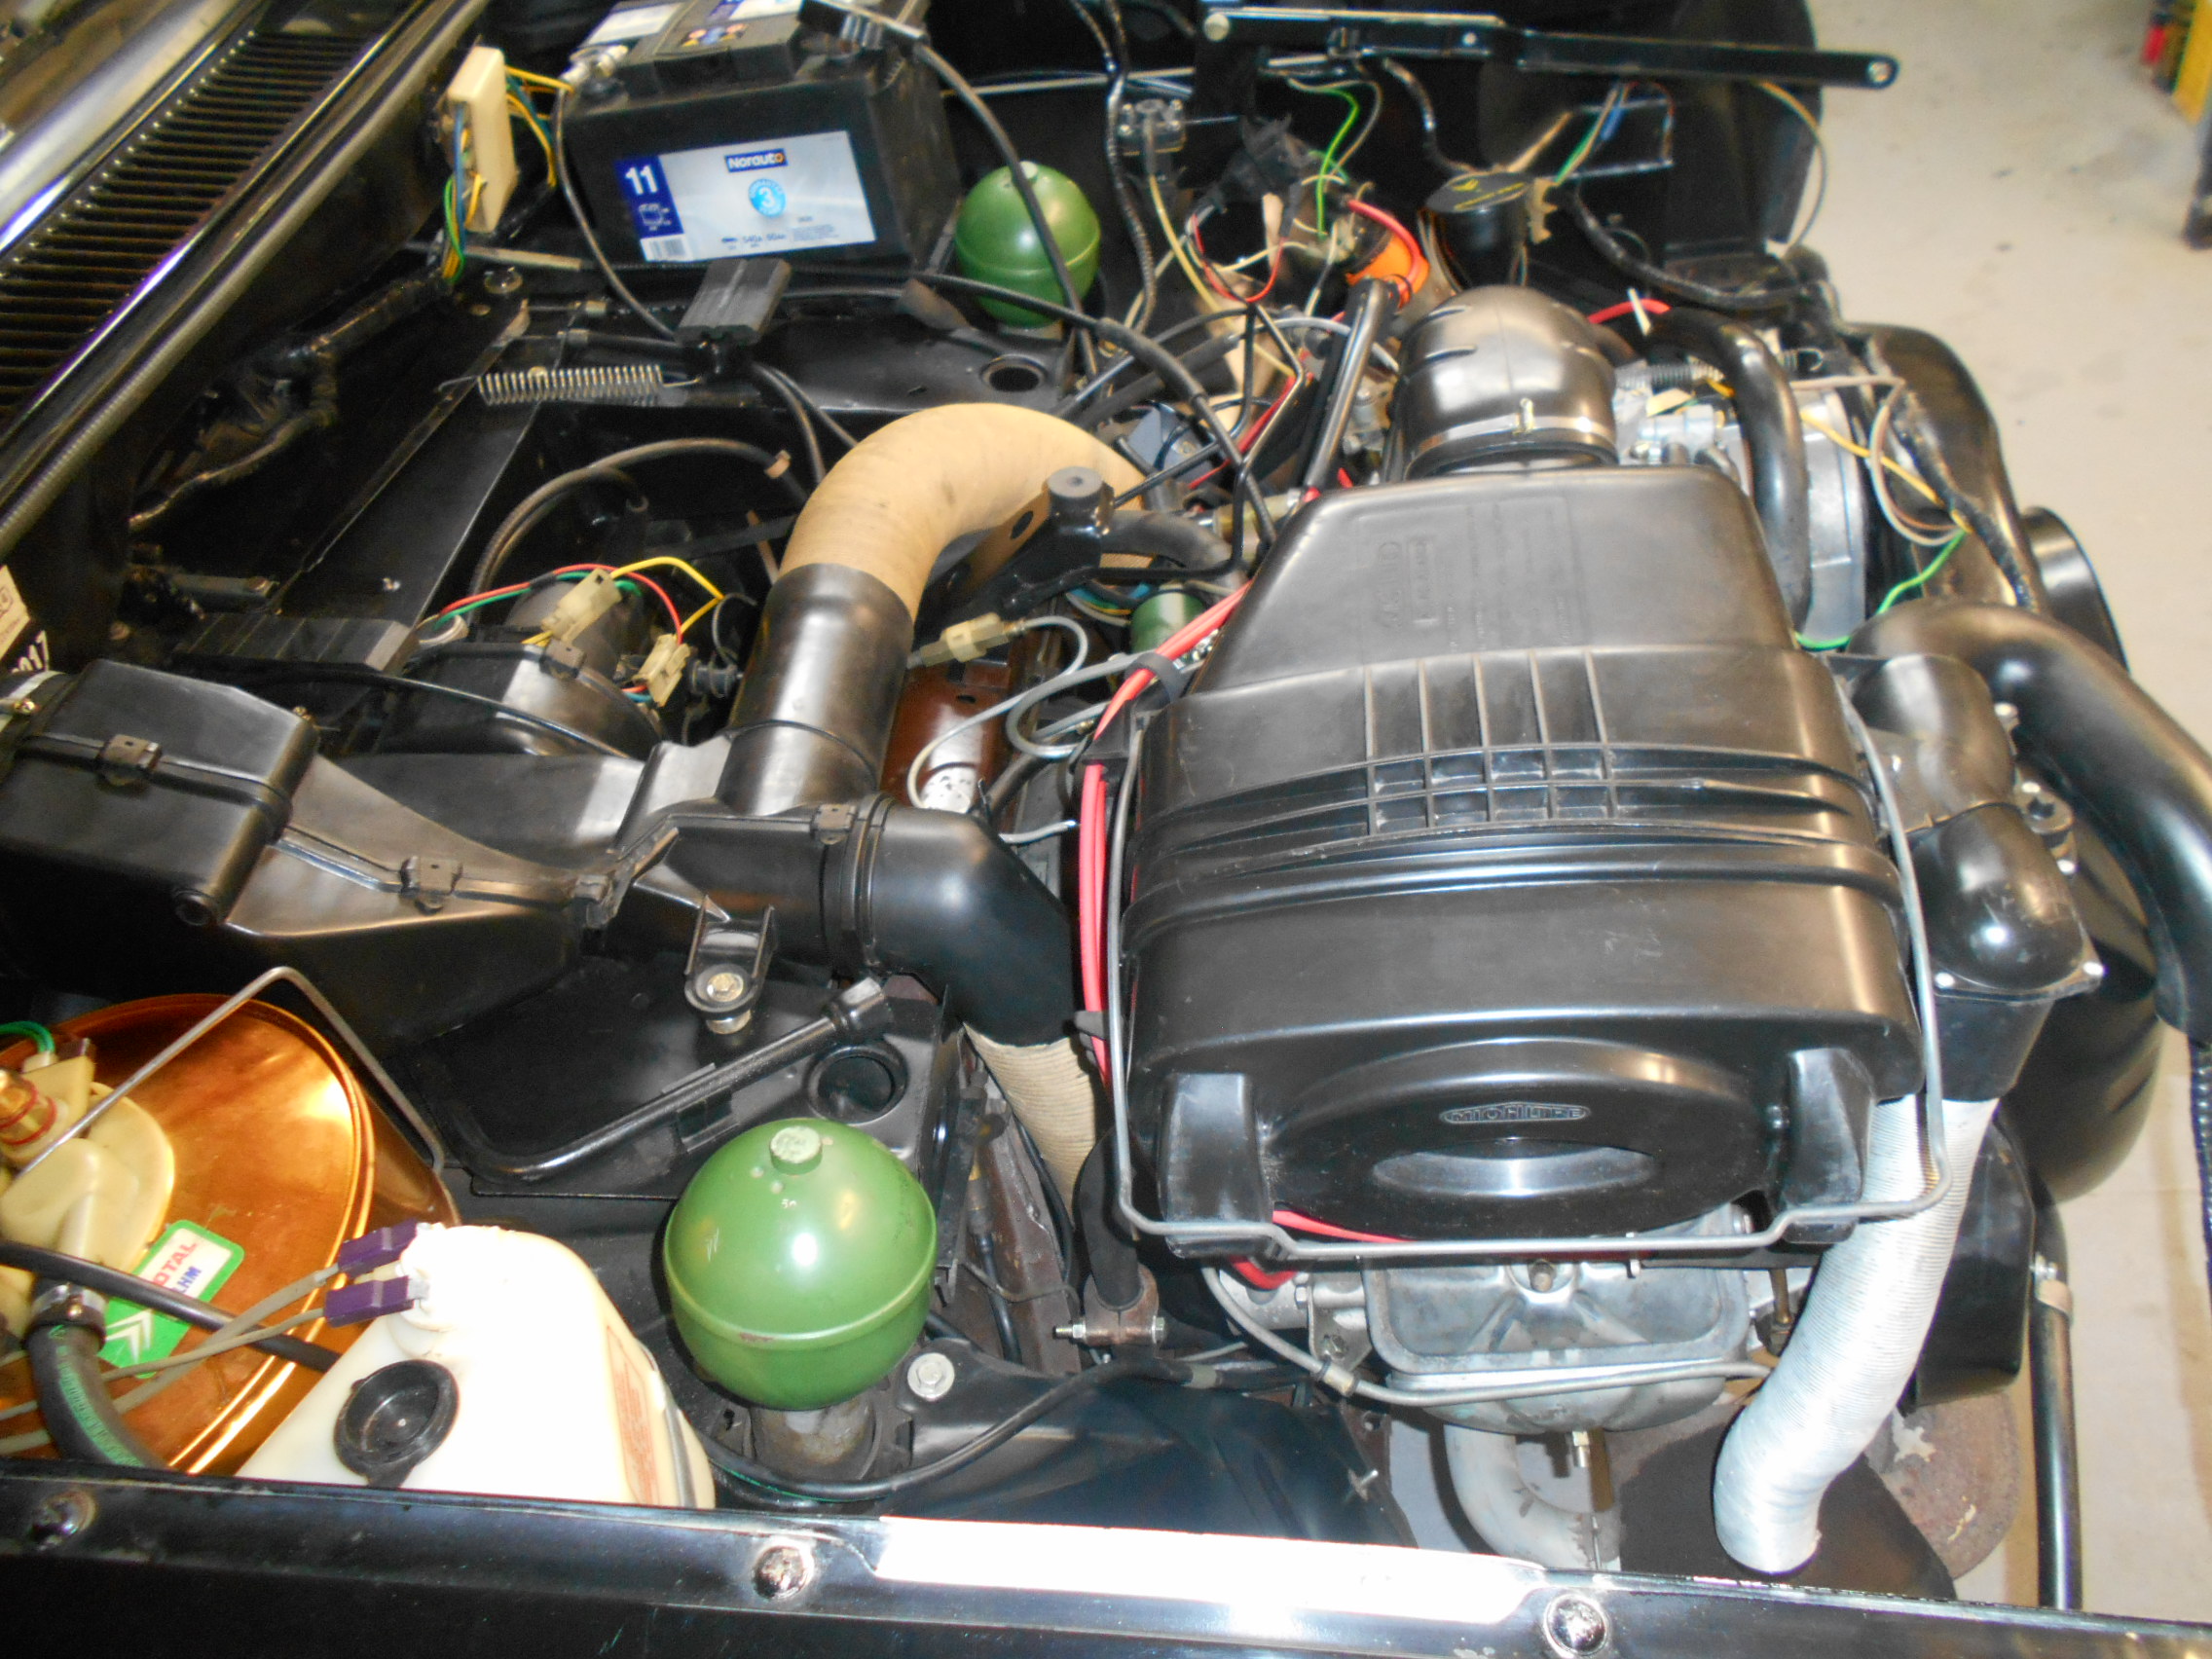
Refitting the driveshafts, air filter, and other components does not present any particular difficulties. And don’t forget bleeding the brakes.
Completing this work will allow you to fully enjoy your GS/A for tens of thousands of kilometers, without worrying about major technical problems, annoying oil leaks, and associated unpleasant fumes in the passenger compartment.